
Introduction
Printer error troubleshooting has become an essential skill in today’s digital workplace, where printing remains crucial despite our increasingly paperless world. Statistics show that the average office worker encounters printer issues at least once every two weeks, leading to frustration and productivity losses.
Whether you’re dealing with paper jams, poor print quality, connectivity problems, or mysterious error codes, most printer issues can be resolved without calling technical support. Understanding the root causes of these problems and knowing the right troubleshooting steps can save you time, money, and considerable stress.
Modern printers, while more advanced than ever, still face similar fundamental issues that have plagued printing technology for decades. The good news is that manufacturers have standardized many error messages and diagnostic procedures, making it easier to identify and resolve problems quickly.
This comprehensive guide will walk you through the most effective methods to diagnose and repair common printer errors, helping you become self-sufficient in maintaining your printing equipment and ensuring consistent, high-quality output.
What Is Printer Error Diagnosis?
Printer error diagnosis is the systematic process of identifying the root cause of printing malfunctions through observation, testing, and logical troubleshooting steps. This process involves analyzing error messages, examining physical components, and testing various printer functions to pinpoint specific issues.
Modern printers are equipped with sophisticated diagnostic systems that display error codes, LED indicators, and on-screen messages to help users identify problems. These diagnostic tools work in conjunction with printer software and drivers to provide detailed information about hardware status, ink levels, paper feed mechanisms, and connectivity issues.
Effective diagnosis requires understanding the printer’s basic operation principles, including how paper moves through the device, how ink or toner is applied, and how the printer communicates with computers and networks. This knowledge helps distinguish between hardware failures, software conflicts, and user errors.
The diagnostic process typically follows a structured approach: gathering information about the problem, identifying potential causes, testing solutions systematically, and verifying that repairs resolve the underlying issue rather than just treating symptoms.
8 Essential Steps for Printer Error Troubleshooting
Step 1: Identify and Document the Error Message
Start by carefully recording any error messages, codes, or unusual behaviors your printer displays. Take photos of error screens and note when the problem occurs – during startup, while printing, or during specific operations.
Check the printer’s LED indicators or display panel for blinking patterns or error codes. Consult your printer manual or manufacturer’s website to decode these messages, as they often provide specific guidance for resolution.
Step 2: Perform Basic Power and Connection Checks
Verify that your printer is properly connected to power and that all cables are securely attached. Try different power outlets and USB ports if applicable. For wireless printers, check that the WiFi connection is stable and the printer appears in your network settings.
Restart both your printer and computer to clear temporary glitches. This simple step resolves approximately 30% of printer issues by resetting communication protocols and clearing memory buffers.
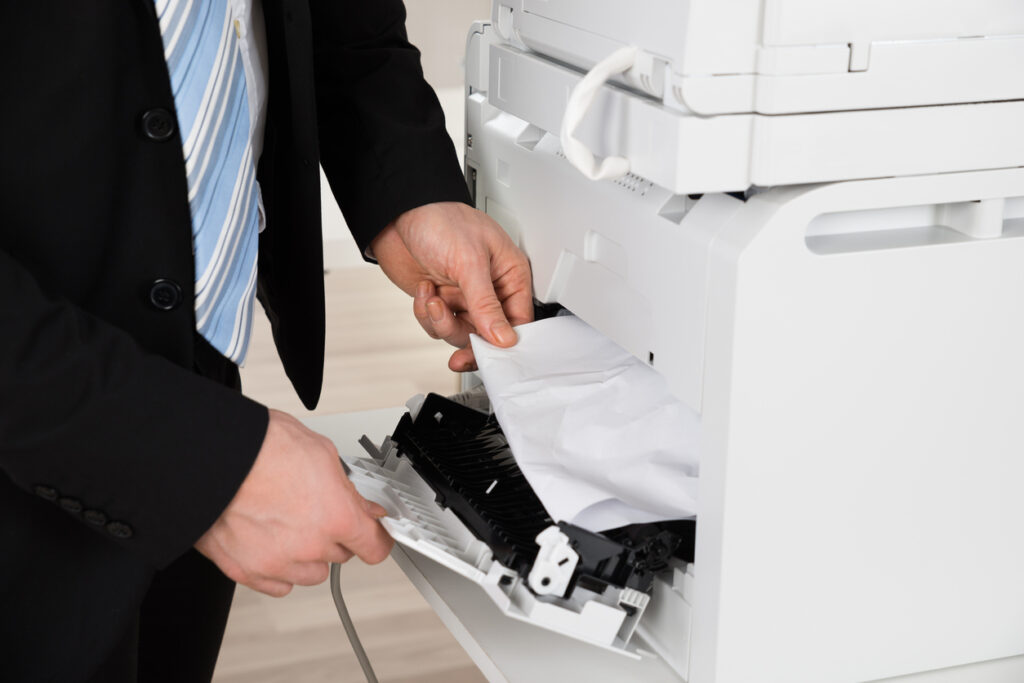
Step 3: Clear Paper Jams and Feed Issues
Open all printer compartments and carefully remove any visible paper, including small torn pieces. Check the paper path, including rear access panels and internal rollers, for obstructions or debris.
Ensure paper is loaded correctly in the tray with proper guides adjusted to the paper size. Use only recommended paper types and weights, as incorrect media can cause frequent jams and feed failures.
Step 4: Check and Replace Ink or Toner Cartridges
Examine ink or toner levels through your printer’s software or display panel. Replace low cartridges even if they show some remaining capacity, as inconsistent ink flow can cause various print quality issues.
Remove and reinstall cartridges to ensure proper seating. Clean cartridge contacts with a lint-free cloth if you notice connectivity issues or “cartridge not recognized” errors.
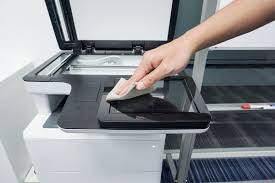
Step 5: Clean Print Heads and Internal Components
Use your printer’s built-in cleaning function to clear clogged print heads. This process typically involves printing test patterns that help distribute ink and clear blockages in the nozzles.
For manual cleaning, use distilled water or manufacturer-approved cleaning solutions on cotton swabs to gently clean accessible components. Avoid touching electronic contacts or delicate mechanisms.

Step 6: Update Drivers and Printer Software
Download the latest drivers from the manufacturer’s website rather than relying on generic Windows drivers. Outdated drivers often cause compatibility issues, especially after operating system updates.
Check for firmware updates for your printer, as these can resolve known bugs and improve performance. Most modern printers can update firmware automatically when connected to the internet.
Step 7: Test Print Quality and Alignment
Print test pages to evaluate print quality, color accuracy, and alignment. Most printers have built-in test functions accessible through their control panels or software utilities.
Perform print head alignment if text appears blurry or colors seem misregistered. This calibration process ensures precise ink placement and optimal print quality.
Step 8: Reset Printer Settings if Issues Persist
If common printer problems continue after previous steps, perform a factory reset to restore default settings. This process clears corrupted configurations that might cause persistent issues.
After resetting, reconfigure network settings, paper preferences, and print quality options according to your needs. Document your preferred settings to speed up future reconfigurations.

Advanced Diagnostic Tools and Software Solutions
Beyond basic troubleshooting, several advanced tools can help diagnose complex printer issues. Manufacturer-specific diagnostic software like HP Print and Scan Doctor or Canon My Printer provides automated problem detection and resolution for many common issues.
Network diagnostic tools become essential for wireless printers experiencing connectivity problems. Tools like WiFi Analyzer can help identify interference issues, while ping tests can verify network communication between your computer and printer.
For businesses managing multiple printers, centralized management software like PaperCut or FollowMe provides comprehensive monitoring and diagnostic capabilities. These solutions can predict maintenance needs and automate many troubleshooting procedures.
Third-party utilities such as DriverEasy or Driver Booster can help maintain updated drivers across multiple devices, reducing compatibility-related printer issues. However, always verify that downloaded drivers come from legitimate sources to avoid security risks.
Common Troubleshooting Mistakes and Prevention Tips
One of the most frequent mistakes in printer repair guide implementation is attempting complex repairs before checking simple solutions. Always start with basic steps like restarting devices and checking connections before disassembling hardware or reinstalling software.
Many users ignore regular maintenance, leading to preventable issues. Establish a routine that includes cleaning print heads monthly, checking ink levels weekly, and updating drivers quarterly. This proactive approach prevents most common printer problems from occurring.
Forcing paper removal during jams often causes more damage than leaving it for careful extraction. Always turn off the printer before clearing jams and follow the manufacturer’s specific removal procedures to avoid damaging feed mechanisms.
Using incompatible or low-quality consumables frequently causes problems that appear to be hardware failures. Stick to manufacturer-recommended papers, inks, and toners, even if third-party alternatives seem more economical.
Another common error is ignoring environmental factors that affect printer performance. Excessive humidity, dust, or temperature fluctuations can cause various issues including paper curling, ink smearing, and mechanical failures.
Rushing through diagnostic steps often leads to misidentifying problems and applying inappropriate solutions. Take time to properly diagnose issues before implementing fixes, and test each solution thoroughly before moving to more complex interventions.
Frequently Asked Questions
Why does my printer keep jamming even after I clear the paper? Persistent paper jams usually indicate mechanical issues like worn feed rollers, improper paper loading, or using incorrect paper types. Check that paper guides are properly adjusted and consider replacing worn rollers if the printer is older.
How often should I clean my printer to prevent problems? Perform basic cleaning monthly for regular users, including print head cleaning and exterior dusting. Heavy-use environments may require weekly maintenance, while occasional users can extend this to quarterly cleaning schedules.
What should I do if my printer doesn’t recognize new ink cartridges? Remove and reinstall cartridges ensuring proper seating, clean cartridge contacts with a dry cloth, and verify you’re using compatible cartridges. Some printers require firmware updates to recognize newer cartridge chip designs.
Why is my wireless printer constantly losing connection? WiFi connectivity issues often stem from router placement, interference from other devices, or outdated network drivers. Try moving the printer closer to your router, updating wireless drivers, and checking for firmware updates.
Conclusion
Mastering printer error troubleshooting skills empowers you to resolve most common printing issues quickly and efficiently, saving both time and money on unnecessary service calls. The systematic approach outlined in this guide addresses the vast majority of printer problems you’re likely to encounter in home or office environments.
Remember that prevention through regular maintenance often proves more valuable than reactive troubleshooting. Establishing consistent cleaning schedules, using quality consumables, and keeping software updated will significantly reduce the frequency of printer problems.
The key to successful printer repair guide implementation lies in patience and methodical problem-solving. Start with simple solutions before progressing to complex repairs, and don’t hesitate to consult manufacturer resources when dealing with model-specific issues.
By developing these troubleshooting skills and maintaining your equipment properly, you’ll ensure reliable printing performance and extend your printer’s operational lifespan. Keep this guide handy for quick reference, and consider creating a maintenance log to track recurring issues and successful solutions for future reference.
How to Fix When Your Printer Keeps Switching to Default Settings Automatically Read More.


Recent Comments