
Introduction
Printer cover sensor error repair is one of the most common DIY fixes that printer owners can perform at home, saving both time and money on professional service calls. These frustrating errors occur when your printer’s internal sensors fail to detect that covers and panels are properly closed, preventing normal printing operations even when everything appears correctly positioned.
Cover sensor errors affect all major printer brands including HP, Canon, Epson, Brother, and Lexmark, typically displaying messages like “Cover Open,” “Close Front Cover,” or “Rear Door Open” despite all covers being securely shut. These issues can arise from dust accumulation, sensor misalignment, damaged components, or simple mechanical obstructions.
This comprehensive guide will teach you how to diagnose and repair cover sensor problems using common household tools and techniques, helping you restore your printer’s functionality without expensive repair services or replacement costs.
What Is a Printer Cover Sensor Error?
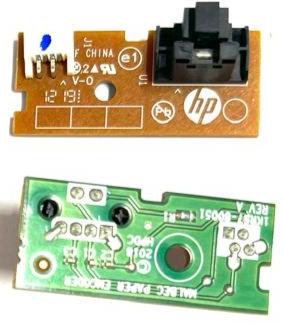
A printer cover sensor error occurs when your printer’s safety detection system incorrectly identifies open covers or access panels that are actually closed. Modern printers use various sensor technologies including magnetic reed switches, optical sensors, and mechanical microswitches to ensure all covers are properly secured before allowing print operations to begin.
These safety mechanisms prevent users from accessing moving parts during operation and protect internal components from dust, debris, and accidental contact. When sensors malfunction, they trigger false error messages that halt all printer functions until the perceived problem is resolved.
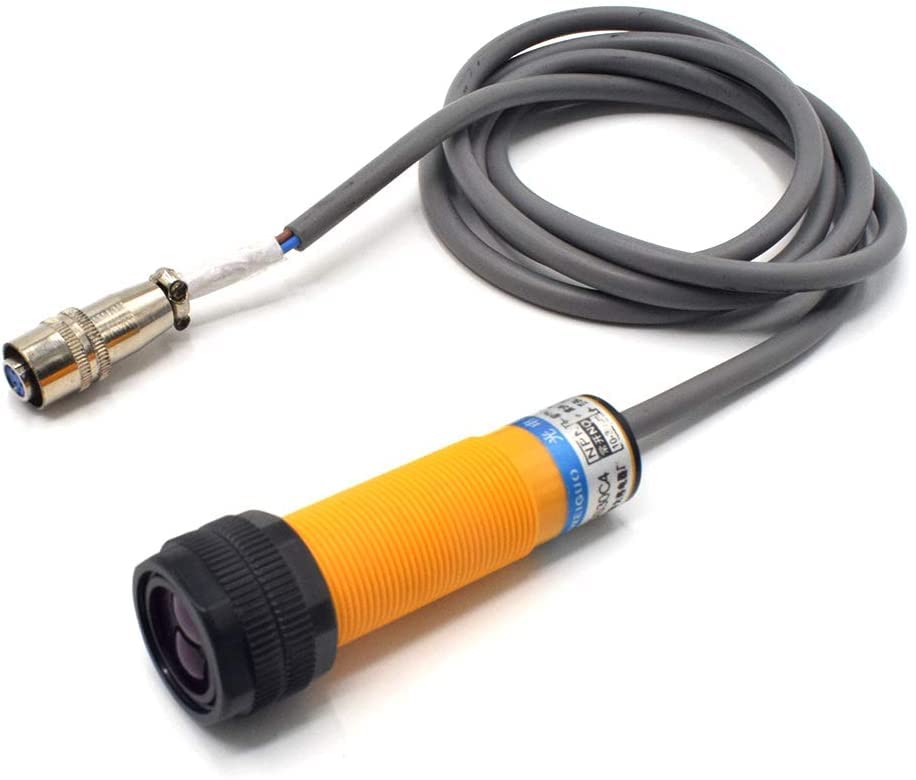
Fix printer cover sensor at home solutions typically address four main sensor types. Magnetic sensors use small magnets and reed switches to detect cover position. Optical sensors employ light beams that are interrupted when covers close. Mechanical switches physically contact cover edges when properly positioned. Hall effect sensors detect magnetic field changes caused by cover-mounted magnets.
Understanding your printer’s specific sensor technology helps determine the most effective repair approach and prevents unnecessary troubleshooting steps that don’t apply to your particular model.
8 Proven Steps for Printer Cover Sensor Error Repair
Step 1: Identify the Problematic Sensor Location
Begin by carefully examining your printer’s error message to determine which specific cover or panel is triggering the sensor fault. Common locations include front covers, rear access panels, scanner lids, and internal cartridge compartments.
Open and close each cover while observing your printer’s response. The problematic sensor will continue generating error messages even when its associated cover appears properly closed and secured.
Step 2: Clean Sensor Components Thoroughly
Power off your printer completely and use compressed air to remove dust, paper particles, and debris from sensor areas. Printer cover sensor troubleshooting often reveals that accumulated contamination interferes with proper sensor operation.
Use cotton swabs lightly moistened with isopropyl alcohol to clean optical sensor lenses and magnetic sensor surfaces. Avoid using water or harsh chemicals that could damage sensitive electronic components.
Step 3: Inspect and Realign Sensor Positioning
Examine sensor mounting brackets and positioning mechanisms for signs of damage, looseness, or misalignment. Sensors that have shifted from their original positions cannot properly detect cover closure.
Gently adjust sensor alignment using small screwdrivers or pliers, ensuring that magnetic sensors align with their corresponding magnets and optical sensors maintain clear light paths when covers are closed.
Step 4: Check Cover-Mounted Magnets and Targets
Many printer covers include small magnets or reflective targets that interact with sensors to indicate proper closure. Inspect these components for damage, displacement, or loss of magnetic strength.
Replace missing or weakened magnets using appropriate rare-earth magnets available from electronics suppliers. Ensure new magnets maintain proper polarity and positioning relative to their corresponding sensors.

Step 5: Test Mechanical Switch Operation
For printers using mechanical microswitches, manually test switch operation by gently pressing the actuator while observing for proper click feedback and electrical continuity.
DIY printer cover sensor fix procedures for mechanical switches often involve cleaning contact surfaces with electrical contact cleaner and adjusting actuator positioning for reliable operation.
Step 6: Verify Wiring and Connections
Inspect sensor wiring for damage, loose connections, or corrosion that could interrupt proper signal transmission. Look for pinched wires, damaged connectors, or oxidized contact surfaces.
Disconnect and reconnect sensor plugs to ensure secure electrical connections. Use electrical contact cleaner on corroded terminals and consider replacing damaged wiring segments if necessary.
Step 7: Calibrate Sensor Sensitivity Settings
Some printers offer diagnostic modes or service menus that allow sensor sensitivity adjustment. Access these settings according to your printer manual and fine-tune sensor responsiveness.
Calibration procedures vary significantly between manufacturers, so consult specific documentation for your printer model before attempting sensitivity adjustments.
Step 8: Replace Faulty Sensor Components
If cleaning, alignment, and calibration fail to resolve the issue, sensor replacement may be necessary. Order genuine replacement sensors from authorized parts suppliers to ensure compatibility.
Follow manufacturer disassembly procedures carefully when replacing sensors, taking photos during disassembly to aid reassembly and maintain proper component positioning.

Additional Printer Cover Sensor Repair Tools and Techniques
Specialized diagnostic tools can enhance printer cover sensor error repair success rates. Digital multimeters help test sensor electrical continuity and voltage levels during troubleshooting procedures.
Magnetic field detectors identify proper magnet positioning and strength in magnetic sensor systems. These inexpensive tools from electronics suppliers provide objective measurements that guide repair decisions.
Printer service manuals often include sensor adjustment procedures and diagnostic codes that aren’t available in standard user documentation. These technical resources provide detailed repair instructions for specific sensor configurations.
Online printer repair communities and forums offer model-specific troubleshooting advice from experienced technicians and DIY repair enthusiasts. These resources often include sensor replacement part numbers and supplier recommendations.
Consider creating a dedicated workspace with proper lighting, anti-static protection, and organized tool storage for complex sensor repair projects that require extended disassembly procedures.
Common Printer Cover Sensor Repair Mistakes to Avoid
Many DIY repair attempts fail due to preventable mistakes that can worsen sensor problems or damage other printer components. The most common error is attempting repairs without proper anti-static precautions, potentially damaging sensitive electronic circuits through electrostatic discharge.
Another frequent mistake involves forcing misaligned covers or sensors into incorrect positions, causing mechanical damage that complicates repair procedures. Always identify root causes before applying corrective force to any components.
Users often overlook the importance of documenting original sensor positions and wiring configurations before disassembly. Take detailed photos and notes to prevent reassembly errors that create new problems.
Printer cover sensor troubleshooting mistakes include using inappropriate cleaning solvents that can damage plastic components or dissolve sensor housings. Stick to recommended cleaning materials like isopropyl alcohol and compressed air.
Don’t attempt to modify sensor mounting brackets or covers without understanding the original design intent. Unauthorized modifications can create safety hazards or prevent proper sensor operation.
Avoid mixing replacement parts from different printer models, even within the same brand family. Sensor specifications and mounting configurations often vary between seemingly similar models.
Frequently Asked Questions
How do I know if my printer’s cover sensor is completely broken? Signs of failed sensors include persistent error messages despite proper cover closure, intermittent detection problems, or complete lack of response during manual testing. Professional diagnosis may be required for complex sensor systems.
Can I bypass a faulty cover sensor temporarily? While some sensors can be bypassed for emergency printing, this compromises safety features and may violate warranty terms. Temporary bypasses should only be used until proper repairs can be completed.
What tools do I need for basic cover sensor repairs? Essential tools include screwdrivers, compressed air, isopropyl alcohol, cotton swabs, and a digital multimeter. Advanced repairs may require replacement magnets, electrical contact cleaner, and anti-static equipment.
How much money can I save by repairing cover sensors myself? DIY cover sensor repairs typically cost $5-25 in materials compared to $75-150 for professional service calls. However, complex repairs requiring specialized parts may approach professional service costs.
Conclusion
Printer cover sensor error repair doesn’t have to be intimidating or expensive when you understand the basic principles and follow systematic troubleshooting procedures. The eight proven steps outlined in this guide address the most common sensor problems that can be resolved with basic tools and techniques.
Remember that patience and careful observation are key to successful DIY sensor repairs. Take time to properly diagnose issues before attempting corrections, and don’t hesitate to seek professional help for complex problems beyond your comfort level.
By mastering these repair techniques and avoiding common mistakes, you can maintain your printer’s reliability while saving significant money on service calls. Regular sensor maintenance and environmental cleanliness will prevent many future sensor problems and extend your printer’s operational lifespan.
Printer Screen Blank No Display Read More.


Recent Comments