
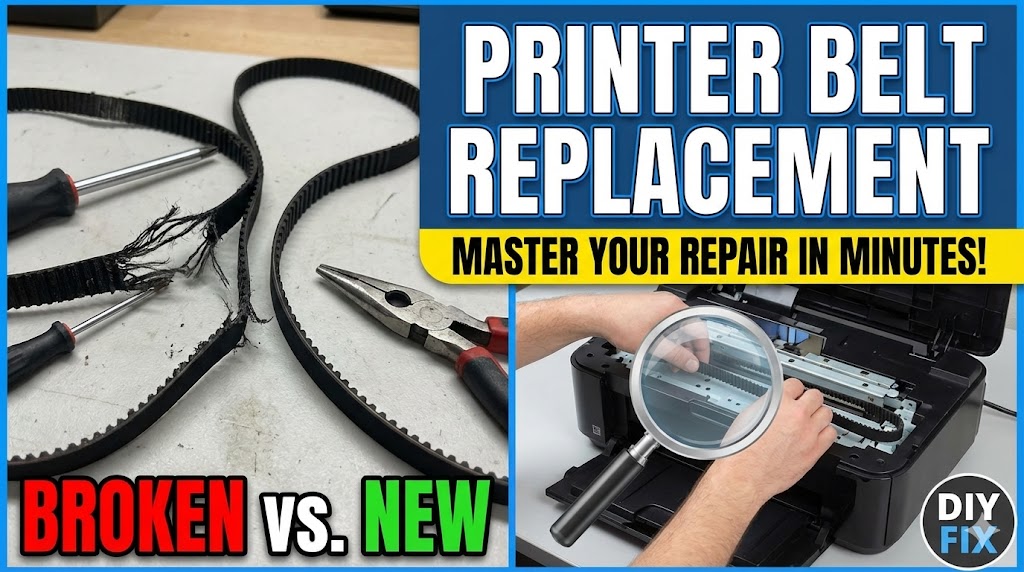
Introduction
Dealing with printer belt replacement can feel overwhelming, but it’s easier than you think. If your printer produces streaky prints, strange noises, or paper jams, a worn belt is often the culprit.
Printer belt replacement is a common maintenance task that saves you hundreds of dollars in repair costs. Instead of calling a technician or buying a new printer, you can fix the problem yourself in about 30 minutes.
This complete guide shows you everything about printer belt replacement—from identifying the right belt to installing it correctly. You’ll also learn how to adjust belt tension for perfect print quality every time.
Whether you own an HP, Canon, Brother, or Epson printer, these steps work for most laser and some inkjet models. Let’s get your printer running like new again.
What Is Printer Belt Replacement and Why Does It Matter?
Printer belt replacement means removing an old, worn belt from your printer and installing a new one. This belt is crucial for your printer’s operation.
Most laser printers use two types of belts:
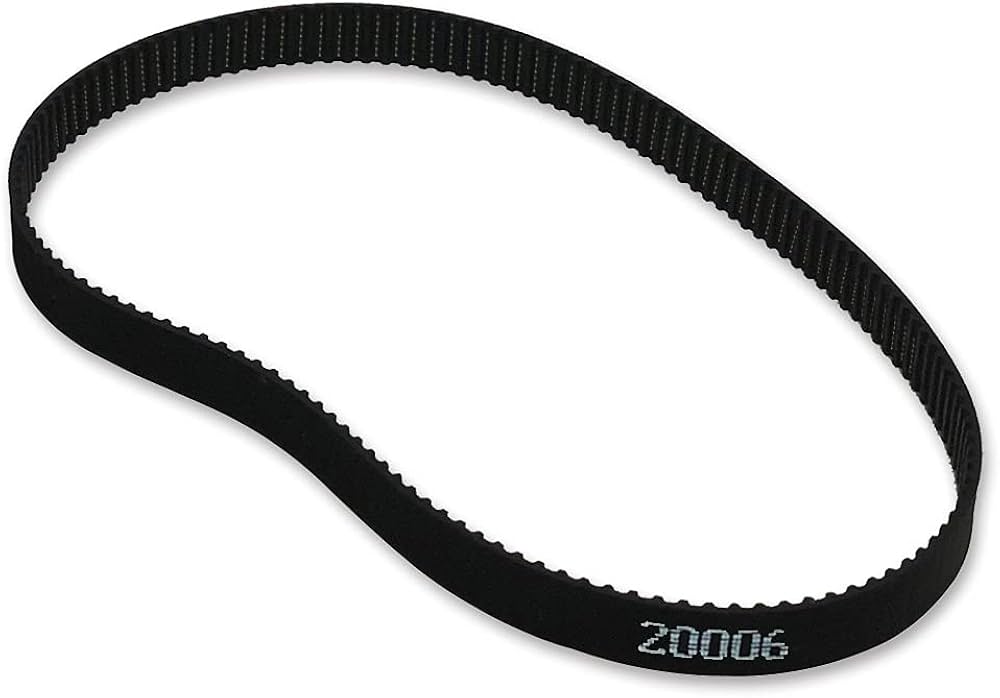
Transfer Belt moves toner from the drum to the paper. This is the most common belt that needs replacement.
Drive Belt moves paper through the printer and powers various mechanical parts.
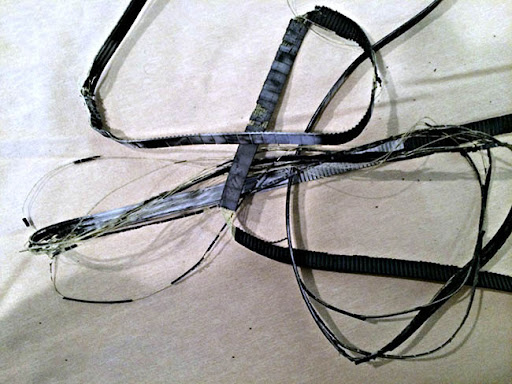
These rubber belts wear out over time. They stretch, crack, or lose grip. When this happens, you’ll notice problems immediately.
Signs you need printer belt replacement:
- Faded or streaky prints
- Repeating marks on pages
- Paper jams happening frequently
- Squealing or grinding noises
- Error messages about belt or transfer unit
Most printer belts last 50,000 to 100,000 pages. If you print heavily, you might need printer belt replacement every 1-2 years.
The good news? Printer belt replacement costs $20-$60 for the part. Professional repair costs $150-$300. Doing it yourself saves serious money.
5 Essential Steps for Printer Belt Replacement Success
Step 1: Identify the Correct Belt for Printer Belt Replacement
Before starting printer belt replacement, you need the exact right part.
Find your printer’s model number (usually on the front or back panel)
Check your printer manual for the belt part number
Search online using your model + “transfer belt” or “drive belt”
Verify the belt type:
- Transfer belt (wider, usually black or colored)
- Drive belt (narrow rubber band)
Order from reliable sources:
- Manufacturer’s official website
- Amazon or office supply stores
- Specialty printer parts suppliers
Check the package contents. Some kits include cleaning tools and gloves.
Pro tip: Buy genuine manufacturer parts when possible. Third-party belts might save $10 but often fail within months.
Step 2: Prepare Your Workspace for Printer Belt Replacement
Proper preparation makes printer belt replacement much smoother.
Turn off your printer and unplug it completely
Wait 10-15 minutes for internal components to cool down
Clear a large workspace with good lighting
Gather these tools:
- Clean, lint-free cloths
- Isopropyl alcohol (90% or higher)
- Small flashlight
- Your new belt
- Disposable gloves (toner can be messy)
Lay down newspaper or cloth to protect your work surface
Take photos with your phone before removing anything—this helps during reassembly
Safety note: Never skip the cooling period. Some printer components get extremely hot during operation.
Step 3: Remove the Old Belt During Printer Belt Replacement
This is where actual printer belt replacement begins.
Open printer access doors (usually front and top panels)
Locate the belt assembly:
- Transfer belts sit below the toner cartridges
- Drive belts connect to gears and pulleys
Remove toner cartridges and set them aside on newspaper
Release belt clips or latches (these vary by model)
For transfer belts:
- Pull the colored handles or tabs
- Slide the entire unit straight out
- Place in a plastic bag for disposal
For drive belts:
- Note how the belt wraps around pulleys
- Slip the belt off carefully
- Check for any damaged gears
Inspect the area for toner dust or debris—clean with a soft cloth
Common locations for printer belts:
- HP printers: Under toner cartridge area
- Brother printers: Behind front door panel
- Canon printers: Accessed from top or side
- Epson laser models: Below drum unit
Step 4: Install the New Belt for Successful Printer Belt Replacement
Installing correctly ensures your printer belt replacement lasts years.
Put on disposable gloves before handling the new belt
Remove the new belt from packaging carefully
For transfer belts:
- Line up the belt unit with the printer tracks
- Slide it in until you hear clicks
- Secure any locking tabs
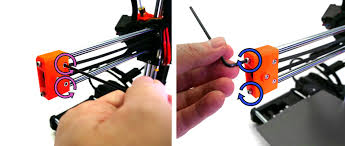
For drive belts:
- Loop the belt around the first pulley
- Stretch it to reach the second pulley
- Ensure it sits in all grooves properly
- Check that it’s not twisted
Don’t touch the belt surface with bare hands—oils from skin cause print defects
Reinstall toner cartridges in the correct order
Close all panels and secure latches
Plug in your printer and power it on
Most printers run an automatic alignment after printer belt replacement. Let this complete without interruption.
Step 5: Adjust Belt Tension After Printer Belt Replacement
Proper tension is critical after printer belt replacement for optimal performance.
Print a test page to check initial results
Look for these tension issues:
- Loose belt: Smudged or doubled images
- Tight belt: Squealing noises or uneven prints
Most modern printers auto-adjust tension, but older models need manual adjustment
For manual adjustment:
- Locate tension screws near belt pulleys
- Turn clockwise to tighten (1/4 turn at a time)
- Turn counterclockwise to loosen
- Test print after each adjustment
Correct tension feels firm but not rigid when gently pressed
Run 5-10 test pages to ensure consistent quality
Check the manufacturer’s manual for specific tension specifications
Perfect tension produces crisp, clear prints without any mechanical noise.
Professional Tools and Resources for Printer Belt Replacement
Having the right tools makes printer belt replacement significantly easier.
Essential maintenance tools:
Printer cleaning kits specifically designed for your printer model help maintain the new belt and surrounding components.
Anti-static wrist straps protect sensitive electronics during printer belt replacement. They cost under $10 and prevent static damage.
Compressed air cans clean hard-to-reach areas without leaving residue. Never use regular air compressors—they contain moisture.
Precision screwdriver sets help access belt assemblies in compact printers.
Helpful online resources:
Visit manufacturer support pages for video tutorials on printer belt replacement for your specific model. HP, Brother, and Canon offer excellent step-by-step videos.
YouTube channels like “Printer Tech Tips” and “Office Equipment Repair” show real-world printer belt replacement procedures.
Join printer repair forums where experienced technicians answer questions about printer belt replacement challenges.
Download your printer’s service manual (search: “your model + service manual PDF”) for detailed diagrams and specifications.
Common Mistakes to Avoid During Printer Belt Replacement
Don’t rush the cooling period. Many people damage printers by starting printer belt replacement immediately after printing. Hot components can burn you and warp new belts.
Don’t touch the belt surface. Oils from your fingers create print defects that won’t wash away. Always wear gloves during printer belt replacement.
Don’t force any parts. If the belt doesn’t slide in easily, you’re probably misaligned. Forcing it breaks clips and damages tracks.
Don’t skip the test prints. Some problems only appear after printer belt replacement when you try printing. Run at least five test pages before considering the job complete.
Don’t mix belt types. Transfer belts and drive belts aren’t interchangeable. Using the wrong belt during printer belt replacement causes immediate failure.
Don’t ignore alignment procedures. Most printers need calibration after printer belt replacement. Skipping this creates color registration problems and poor print quality.
Don’t overtighten drive belts. Excessive tension wears out bearings and motors. Belts should have slight give—not guitar-string tight.
Don’t forget to reset maintenance counters. Many printers track belt usage. Reset the counter after printer belt replacement to avoid premature replacement warnings.
Don’t dispose of old belts carelessly. Transfer belts contain toner residue. Seal them in plastic bags before throwing away to prevent environmental contamination.
Frequently Asked Questions About Printer Belt Replacement
Q1: How often do I need printer belt replacement?
Most printer belts last 50,000 to 100,000 pages depending on usage. Check your printer’s page count in the settings menu. If you notice print quality issues or strange noises, inspect the belt regardless of page count. Heavy users might need printer belt replacement annually.
Q2: Can I clean and reuse an old belt instead of printer belt replacement?
No. Once a printer belt shows wear, stretching, or cracks, cleaning won’t restore it. The rubber degrades over time and loses its grip. Attempting to reuse old belts causes poor print quality and potential damage to other components. Printer belt replacement is always the better option.
Q3: How long does printer belt replacement take?
Most people complete printer belt replacement in 20-40 minutes. Your first time might take an hour as you familiarize yourself with your printer’s design. Subsequent replacements go faster. Professional technicians finish in 15 minutes, but there’s no need to rush.
Q4: What’s the difference between transfer belt and drum replacement?
The transfer belt moves toner from the drum to paper. The drum holds the image before transfer. They’re separate components with different lifespans. Printer belt replacement typically happens more frequently than drum replacement. Drums last 10,000-50,000 pages while belts last 50,000-100,000 pages.
Q5: Will printer belt replacement fix all my print quality problems?
Printer belt replacement fixes issues caused by worn belts: streaks, fading, repeating marks, and smudges. It won’t fix problems caused by bad toner cartridges, clogged nozzles, or misaligned printheads. If quality doesn’t improve after printer belt replacement, investigate other components.
Q6: Do all printers have belts that need replacement?
No. Most laser printers have transfer belts. Some inkjet printers have drive belts for paper feeding. Simple inkjet printers often don’t have belts at all. Check your printer’s manual to determine if it requires printer belt replacement.
Conclusion
You now have complete knowledge about printer belt replacement and can confidently tackle this repair yourself. This essential maintenance task keeps your printer running smoothly and saves hundreds in professional repair costs.
The key to successful printer belt replacement is preparation and patience. Get the correct part, set up a clean workspace, and follow each step carefully. Most people complete printer belt replacement in under an hour.
Remember these critical points for printer belt replacement:
- Always let your printer cool completely first
- Wear gloves to avoid touching the belt surface
- Take photos before disassembly to guide reassembly
- Run test prints and adjust tension as needed
- Reset maintenance counters after installation
Printer belt replacement extends your printer’s life by years. With belts costing $20-$60 and the job taking less than an hour, there’s no reason to replace an otherwise functional printer.
Start your printer belt replacement project today. Order the correct belt, gather your tools, and follow this guide step by step. You’ll have professional-quality prints again in no time.
For more printer maintenance guides and troubleshooting tips, bookmark this page and explore our complete collection of printer repair resources.
For detailed printer maintenance schedules and best practices, visit the HP Printer Care and Support Center.
Fix Printer Changing IP Address : Stop Connection Chaos Now Read more


