

Introduction
Learning how to print barcodes and QR codes accurately is essential for businesses that rely on scanning technology. Whether you run a retail store, manage inventory, or ship products daily, poor barcode quality causes scanning failures that slow down operations and frustrate customers.
Many business owners struggle with blurry barcodes, unreadable QR codes, or prints that won’t scan. The problem often lies in incorrect printer settings rather than the printer itself.
This complete guide shows you exactly how to configure your printer for perfect barcode and QR code printing. You’ll learn the optimal settings, resolution requirements, paper choices, and common mistakes to avoid. By the end, you’ll produce scannable codes every single time.
What Does It Mean to Print Barcodes and QR Codes Accurately?
To print barcodes and QR codes accurately means creating codes that scan reliably on the first try. Accurate printing requires proper contrast, correct sizing, appropriate resolution, and clean edges.
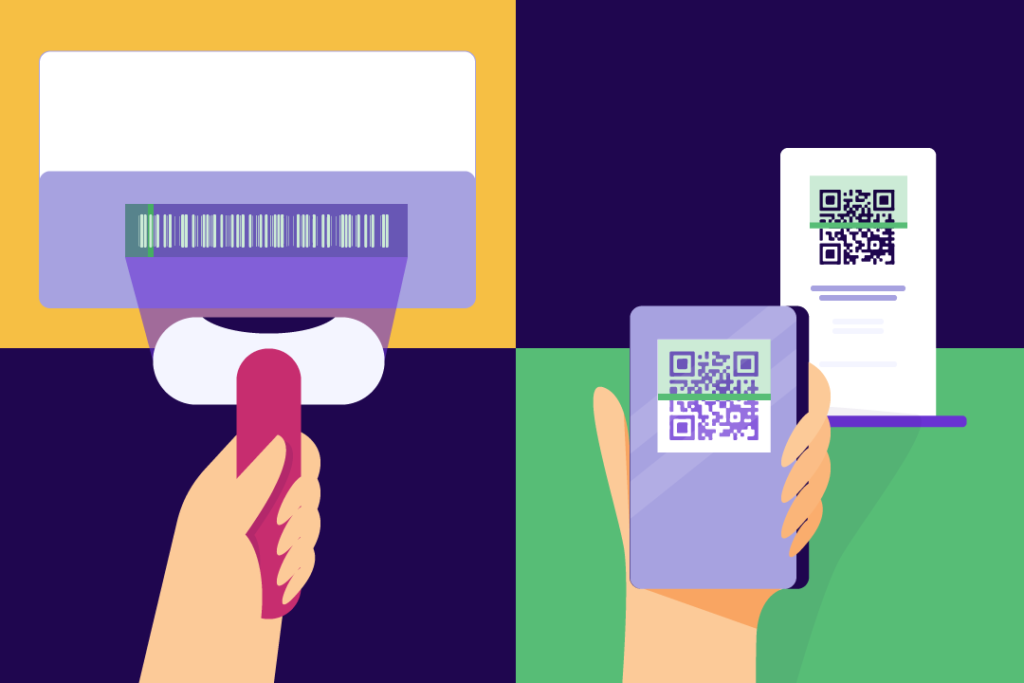
Barcodes use vertical lines of varying widths to encode data. Scanners read these by detecting light and dark patterns. If lines blur together or spacing is wrong, scanners cannot read the information.
QR codes store data in two-dimensional patterns of black squares on white backgrounds. They contain error correction, which means they can still work with minor damage. However, poor print quality reduces scan reliability significantly.
Several factors affect accuracy:
Resolution: Low resolution makes edges fuzzy and details unclear.
Contrast: Insufficient contrast between black and white areas prevents proper scanning.
Size: Too small codes become difficult for scanners to read.
Print quality: Smudges, streaks, or fading create scanning problems.
When you print barcodes and QR codes accurately, you ensure fast checkout, efficient inventory management, and smooth shipping operations. One scanning failure can cost valuable time and money.
7 Essential Steps to Print Barcodes and QR Codes Accurately
Step 1: Choose the Right Printer Type to Print Barcodes and QR Codes Accurately
Selecting the correct printer is the foundation for printing barcodes and QR codes accurately.
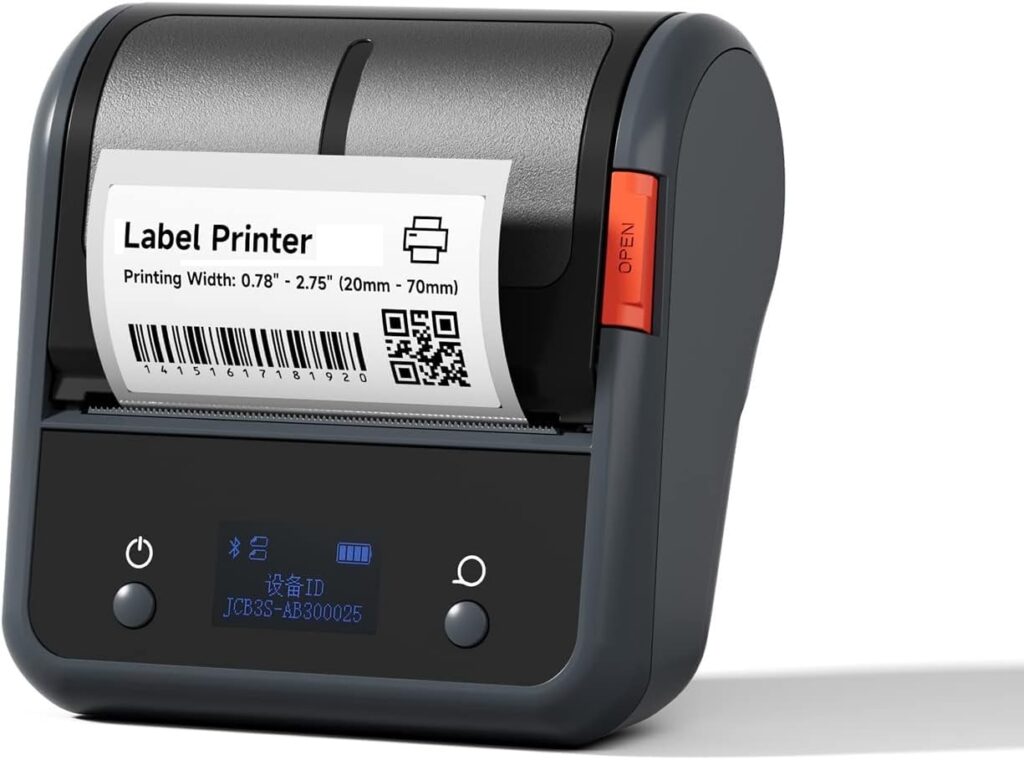
Thermal printers are the best choice for high-volume barcode printing. They create sharp, clean images without ink. Direct thermal printers work for short-term labels, while thermal transfer printers produce long-lasting barcodes.
Laser printers deliver excellent quality for paper-based barcodes. They produce crisp edges and consistent darkness. Brother, HP, and Canon laser printers work well for office barcode printing.
Inkjet printers can work but often produce less consistent results. Ink can smudge or bleed, affecting scan quality. If using inkjet, choose high-quality photo or pigment ink.
Avoid dot matrix printers. Their resolution is too low to print barcodes and QR codes accurately.
For professional operations, thermal printers like Zebra or Datamax models provide the most reliable results.
Step 2: Set the Correct Print Resolution for Accurate Barcodes
Resolution directly impacts your ability to print barcodes and QR codes accurately.
Minimum resolution: Use at least 203 DPI (dots per inch) for standard barcodes. This resolution works for larger codes but may struggle with small or dense information.
Recommended resolution: 300 DPI produces excellent results for most applications. This setting ensures clean edges and proper spacing.
High-quality resolution: 600 DPI creates perfect barcodes for small labels or high-density codes. Use this for pharmaceutical labels or tiny product stickers.
To adjust resolution:
In Windows, open printer properties before printing. Find the “Quality” or “Resolution” setting and select 300 DPI or higher.
On Mac, go to Print Settings and choose “Print Quality” options. Select “Best” or manually set DPI.
For thermal printers, access settings through the printer’s configuration software. Set darkness and speed appropriately for your material.
Never use “Draft” or “Economy” mode when printing barcodes. These modes reduce quality significantly.
Step 3: Configure Darkness and Contrast Settings
Proper darkness ensures you print barcodes and QR codes accurately with optimal scan rates.
For thermal printers:
Start with medium darkness (usually setting 10-15 on a scale of 1-30). Print a test label and scan it.
If the barcode won’t scan, increase darkness by 2-3 points. If bars bleed together, decrease darkness.
Adjust based on label material. Glossy labels need less heat than matte labels.
For laser and inkjet printers:
Check toner or ink levels. Low supplies produce faded prints.
In printer settings, set print quality to “High” or “Best.”
Disable any “Toner Saving” or “Eco Mode” features. These reduce darkness.
Ensure pure black (RGB: 0,0,0 or CMYK: 0,0,0,100) for barcode elements. Gray tones reduce contrast.
Test your settings by printing and scanning. The scanner should read the code instantly without multiple attempts.
Step 4: Select Appropriate Paper and Label Materials
Material choice significantly affects your ability to print barcodes and QR codes accurately.
For thermal printers:
Use thermal paper or labels specifically designed for your printer type. Direct thermal requires heat-sensitive paper. Thermal transfer needs regular labels with ribbon compatibility.
Choose matte finish for best results. Glossy labels can cause reflection issues with some scanners.
For laser printers:
Standard copy paper works for temporary barcodes. For durability, use label stock rated for laser printers.
Avoid paper thinner than 20 lb weight. Thin paper causes bleed-through.
For inkjet printers:
Use inkjet-compatible labels to prevent smudging. Regular paper absorbs ink unevenly.
Let prints dry completely before handling. Wet ink smudges easily.
Label size matters:
Ensure labels are large enough for your barcode type. Check minimum size requirements for your barcode format at GS1 standards.
Allow adequate quiet zones (white space) around codes. Barcodes need at least 0.25 inches of blank space on each side.
Step 5: Use Professional Barcode Generation Software
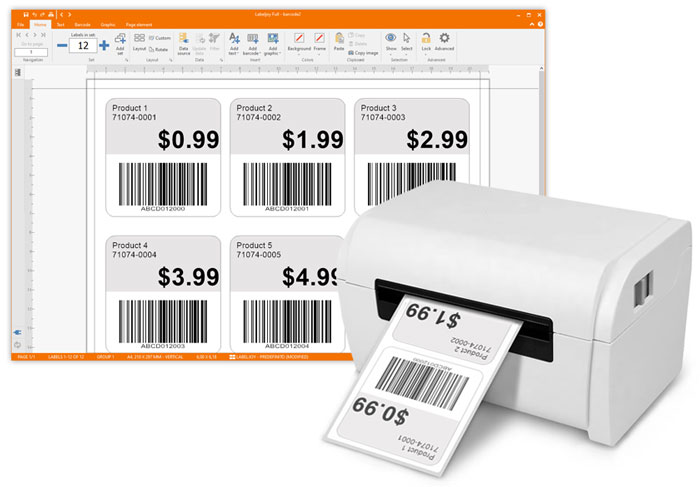
Quality software helps you print barcodes and QR codes accurately by ensuring proper formatting.
Professional options:
BarTender by Seagull Scientific offers comprehensive barcode design with printer optimization.
NiceLabel provides easy barcode creation with database connectivity.
ZebraDesigner works excellently with Zebra printers and supports all common formats.
Free alternatives:
Zint Barcode Generator creates various barcode types with customization options.
QR Code Generator websites produce downloadable QR codes in high resolution.
Key software features to use:
Enable “Auto Check Digit” to prevent data errors.
Set proper barcode symbology (Code 128, UPC, EAN, etc.) based on your needs.
Generate codes at actual print size to avoid scaling issues.
Export at 300 DPI or higher when saving images.
Avoid creating barcodes in word processors or basic design software. These tools don’t follow barcode specifications properly.
Step 6: Adjust Print Speed for Better Quality
Print speed affects your ability to print barcodes and QR codes accurately, especially with thermal printers.
Slower speeds produce better quality:
Reduce print speed to 2-4 inches per second for critical applications.
Faster speeds (6+ inches per second) can cause uneven heating and blurry edges.
Finding the right balance:
Test at different speeds with your specific material.
Scan printed codes at each speed setting.
Choose the fastest speed that still produces 100% scan success.
For non-thermal printers:
Avoid “Fast Draft” printing modes.
Select “Normal” or “Quality” print speeds.
Allow proper drying time between prints to prevent smudging.
Remember, a few extra seconds per print beats reprinting failed labels or dealing with scanning problems.
Step 7: Test and Verify Every Batch
Always verify your setup to print barcodes and QR codes accurately before production runs.
Testing process:
Print 5-10 sample labels using your settings.
Scan each code with your actual scanner equipment.
Test from different angles and distances.
Check scan success rate. Aim for 100% first-time reads.
What to check:
Bars should be distinct with no bleeding or gaps.
QR code squares should be clearly defined.
White areas should be clean without marks or toner spatter.
Edges should be sharp, not fuzzy.
If any codes fail to scan, adjust settings and test again. Never start a production run without successful test scans.
Additional Tools to Print Barcodes and QR Codes Accurately
Several tools help ensure consistent quality when you print barcodes and QR codes accurately:
Barcode verifiers measure print quality using industry standards. They grade codes from A to F based on contrast, edge definition, and other factors. Devices like Cognex verifiers ensure compliance with GS1 standards.
Print calibration tools help maintain consistent output. Run calibration routines monthly on thermal printers. This ensures proper alignment and heat distribution.
Label design templates save time and prevent errors. Create master templates with correct sizes, quiet zones, and placement. Reuse these for all similar products.
Color meters verify that black areas are truly black. Some printers produce dark gray instead of pure black, reducing scan reliability.
Multiple scanner types for testing ensure compatibility. Test with handheld scanners, fixed-position scanners, and smartphone apps. Codes should work with all devices.
Investing in verification tools prevents costly mistakes. One shipping error or inventory mishap costs more than quality control equipment.
Common Mistakes When Trying to Print Barcodes and QR Codes Accurately

Avoid these errors that prevent you from printing barcodes and QR codes accurately:
Scaling barcodes in design software: Never resize barcodes after generation. Scaling distorts bar widths and spacing. Always generate at final print size.
Using colored backgrounds: Barcodes need white or light-colored backgrounds. Colored paper or labels reduce contrast. Stick to white for maximum reliability.
Insufficient quiet zones: Crowding text or graphics too close to barcodes causes scan failures. Maintain minimum 0.25-inch margins around all codes.
Low-quality images: Saving barcode images as low-resolution JPEGs introduces compression artifacts. Use PNG or vector formats at 300+ DPI.
Ignoring barcode specifications: Each barcode type has specific size and ratio requirements. Using improper dimensions creates unreadable codes.
Mixing printer types mid-project: Switching between thermal, laser, and inkjet printers requires reconfiguring settings. Stick with one printer type for consistency.
Skipping regular maintenance: Dirty print heads or low toner produces inconsistent results. Clean thermal print heads weekly and replace supplies promptly.
Not testing with actual scanners: What looks good visually may not scan properly. Always verify with real scanning equipment before production.
FAQs: How to Print Barcodes and QR Codes Accurately
What DPI do I need to print barcodes and QR codes accurately?
Use at least 300 DPI to print barcodes and QR codes accurately for standard applications. For small labels or high-density codes, increase to 600 DPI. Never use less than 203 DPI, as lower resolutions create fuzzy edges that scanners cannot read properly.
Can I print barcodes and QR codes accurately with an inkjet printer?
Yes, but inkjet printers are less reliable than laser or thermal printers. To print barcodes and QR codes accurately with inkjet, use high-quality pigment ink, inkjet-compatible labels, and allow complete drying time. Set print quality to “Best” and verify scan success before production runs.
Why won’t my printed barcodes scan properly?
If you struggle to print barcodes and QR codes accurately that scan, check these issues: low print resolution (below 300 DPI), insufficient contrast, incorrect sizing, poor printer calibration, low ink or toner, or damaged scanner equipment. Test with known-good codes to isolate printer versus scanner problems.
What’s the best printer type to print barcodes and QR codes accurately?
Thermal printers are best to print barcodes and QR codes accurately for high-volume operations. They produce consistent, sharp images without ink. For office use, laser printers deliver excellent quality. Choose thermal transfer for durable labels or direct thermal for short-term applications.
Conclusion
Learning to print barcodes and QR codes accurately transforms your business operations. Proper printer settings, appropriate materials, and quality verification ensure every code scans perfectly on the first attempt.
Remember the essential steps: choose the right printer type, set minimum 300 DPI resolution, configure proper darkness levels, use appropriate label materials, leverage professional software, adjust print speed for quality, and always test before production runs.
To print barcodes and QR codes accurately, avoid common mistakes like scaling generated codes, using insufficient contrast, or skipping quiet zones. These errors create scanning failures that cost time and money.
Start by testing your current setup. Print sample codes, scan them with your equipment, and adjust settings based on results. Document your successful configurations for consistent future production.
With the right settings and attention to detail, you’ll print barcodes and QR codes accurately every time. This ensures smooth operations, faster transactions, and fewer costly errors in your business.
Troubleshooting Common Issues With Thermal Receipt Printers: 7 Quick Fixes Read More


