Introduction
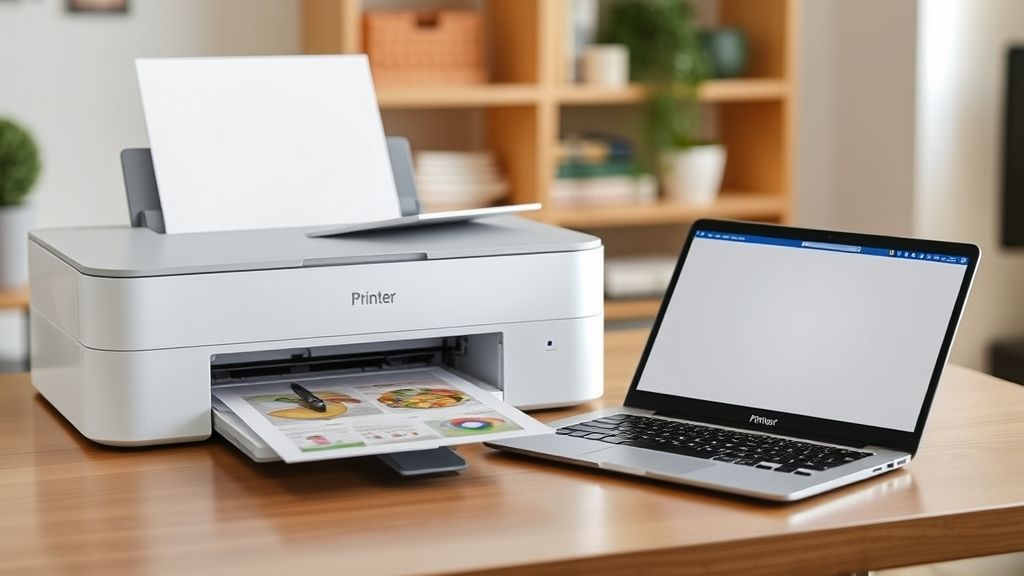
Looking to install printer on Chromebook but feeling lost without Google Cloud Print? You’re not alone. Since Google discontinued Cloud Print in 2020, many Chromebook users have struggled to find reliable printing solutions. The good news is that Chrome OS now offers robust native printing capabilities that make connecting to both modern and older printers surprisingly straightforward. This comprehensive guide walks you through multiple methods to set up your printer, troubleshoot common issues, and optimize your Chromebook printing experience—no Cloud Print required.
What Is Chromebook Native Printing?
Chromebook native printing refers to Chrome OS’s built-in printing system that replaced Google Cloud Print. This integrated printing solution allows your Chromebook to communicate directly with printers without requiring additional services or third-party apps. Native printing works through several connection methods, including:
- WiFi Direct Connection: Connects your Chromebook wirelessly to printers on the same network
- USB Connection: Allows direct physical connection between your Chromebook and printer
- Bluetooth: Supports compatible printers with Bluetooth capabilities
- Print Servers: Works with network print servers in business or education environments
Native printing offers improved reliability, faster printing response, and better security compared to the old Cloud Print system. Most importantly, it’s designed to work with both newer printers and many older models that support standard printing protocols like IPP (Internet Printing Protocol).
5 Ways to Install Printer on Chromebook Without Cloud Print

1. Setting Up a WiFi Printer on Chromebook
Most modern printers support wireless connections, making this the simplest method for most users.
Step 1: Ensure your printer is turned on and connected to the same WiFi network as your Chromebook.
Step 2: On your Chromebook, click on the time area in the bottom-right corner of the screen.
Step 3: Select the gear icon (⚙️) to open Settings.
Step 4: Scroll down and click on “Advanced” to expand additional options.
Step 5: Under the “Printing” section, select “Printers.”
Step 6: Click on the “Add Printer” button.
Step 7: Your Chromebook will automatically scan for available printers on your network. When your printer appears in the list, select it.
Step 8: If your printer isn’t automatically detected, select “Add Manually” and enter:
- Printer name (any name that helps you identify it)
- IP address (found in your printer’s network settings)
- Protocol (typically IPP)
- Queue (usually “ipp/print” or leave as default)
Step 9: Click “Add” to complete the setup.
Step 10: Test the connection by printing a test page.
2. Connecting via USB Cable
For printers without WiFi capabilities or when WiFi isn’t reliable, a direct USB connection works well.
Step 1: Connect your printer to your Chromebook using a USB cable.
Step 2: Turn on your printer if it isn’t already on.
Step 3: Your Chromebook should automatically detect the connected printer.
Step 4: A notification will appear in the bottom right corner. Click on it to complete the setup.
Step 5: If no notification appears, go to Settings > Advanced > Printing > Printers and click “Add Printer.”
Step 6: Your USB-connected printer should appear in the list. Select it and click “Add.”
Step 7: If prompted, allow Chrome OS to install any necessary drivers.
Step 8: Print a test page to confirm the setup was successful.
3. Using Manufacturer Print Services
Many printer manufacturers offer dedicated Chrome OS extensions that enhance functionality.
Step 1: Open the Chrome Web Store on your Chromebook.
Step 2: In the search bar, type your printer brand followed by “print service” (e.g., “HP Print Service” or “Epson Print Service”).
Step 3: Install the appropriate extension for your printer brand.
Step 4: Once installed, open Chrome Settings > Advanced > Printing > Printers.
Step 5: Click “Add Printer” and follow the manufacturer-specific instructions provided by the extension.
Step 6: Complete the setup process and test print a document.
These manufacturer services often provide additional features like scanning, ink level monitoring, and printer maintenance tools that aren’t available through the standard Chrome OS printing interface.

4. Setting Up Network/Enterprise Printers
For school or office environments with managed printers:
Step 1: Confirm with your IT administrator that the printer is compatible with Chromebooks.
Step 2: Obtain the necessary printer information:
- Printer name
- IP address
- Protocol (usually IPP, LPD, or IPPS)
- Queue name
Step 3: Go to Chrome OS Settings > Advanced > Printing > Printers.
Step 4: Click “Add Printer” then “Add Manually.”
Step 5: Enter the printer information provided by your IT department.
Step 6: Click “Add” to complete the setup.
Step 7: Print a test page to verify the connection.
5. Using Mopria Print Service
Mopria is a standards organization that creates universal printing solutions compatible with various devices, including Chromebooks.
Step 1: Ensure your printer is Mopria-certified (most modern printers are).
Step 2: Connect your printer and Chromebook to the same WiFi network.
Step 3: On your Chromebook, go to Settings > Advanced > Printing > Printers.
Step 4: Click “Add Printer” and your Mopria-compatible printer should appear in the discovered printers list.
Step 5: Select your printer and click “Add.”
Step 6: Print a test document to confirm successful setup.
Additional Printing Tools for Chromebooks
While native printing works well for most users, several tools can enhance your Chromebook printing experience:
1. Print Management App: Chrome OS includes a built-in Print Management tool that allows you to view and cancel active print jobs. Access it by typing “chrome://print-management” in your browser address bar.
2. Print Preview: Before sending documents to your printer, Chrome OS offers a robust print preview tool that lets you adjust settings like orientation, color, paper size, and page selection.
3. Save as PDF: If you’re having printer issues, you can always select “Save as PDF” in the print dialog to save your document digitally until you resolve the printing problem.
4. Third-Party Print Apps: For specialized printing needs, apps like “Printing for Chrome” or “PrinterShare” provide additional functionality beyond what Chrome OS offers natively.
5. Google Workspace Integration: If you use Google Docs, Sheets, or Slides, these apps offer optimized printing options directly from their File menus.

Common Chromebook Printer Problems and Solutions
Printer Not Found
Problem: Your Chromebook can’t discover your printer during setup.
Solutions:
- Ensure your printer and Chromebook are connected to the same WiFi network
- Restart both your printer and Chromebook
- Check if your printer has a firewall blocking connections
- Verify your printer has the latest firmware installed
- Try connecting via USB temporarily to establish initial communication
Print Jobs Stuck in Queue
Problem: Documents appear to send but never actually print.
Solutions:
- Clear the print queue by going to chrome://print-management
- Restart your printer
- Check for paper jams or ink/toner issues
- Ensure your printer is online and not in sleep mode
- Delete and re-add the printer in Chrome OS settings
Poor Print Quality
Problem: Prints appear faded, streaked, or incorrectly formatted.
Solutions:
- Use your printer’s maintenance tools to clean printheads or align cartridges
- Check printer settings for quality options in the print dialog
- Try printing in draft mode first, then adjust settings as needed
- Update your printer’s firmware
- For important documents, consider converting to PDF first to preserve formatting
Connection Drops Frequently
Problem: Your printer works initially but loses connection often.
Solutions:
- Position your printer closer to your WiFi router
- Check for interference from other electronic devices
- Consider a USB connection for more reliability
- Update your router’s firmware
- Set a static IP address for your printer in your router settings
Frequently Asked Questions
Can I print from Android apps on my Chromebook?
Yes, most Android apps installed on your Chromebook can print to your configured printers. Simply look for the print option within the app, which typically appears as a printer icon or under a “Share” or “More” menu.
Will any printer work with my Chromebook?
Most modern printers manufactured after 2017 work well with Chromebooks. For best compatibility, look for printers that support IPP printing, have WiFi Direct capabilities, or are specifically labeled as Chrome OS compatible.
My old printer isn’t being detected. Can I still use it?
Older printers without network capabilities can often still work with Chromebooks using a direct USB connection. If your printer is very old, you might need a print server device that connects to your printer via USB and makes it available on your network.
Can I print when my Chromebook is offline?
To print from a Chromebook, you typically need network access to communicate with the printer. However, if you’re using a direct USB connection to the printer, you can print even when your Chromebook isn’t connected to the internet.
Conclusion
Installing a printer on Chromebook without Cloud Print is now easier than ever thanks to Chrome OS’s improved native printing capabilities. Whether you prefer wireless printing, USB connections, or specialized manufacturer services, there’s a solution that fits your specific printer model and needs. Remember to keep both your Chromebook and printer updated with the latest firmware for the best compatibility, and don’t hesitate to try different connection methods if your first attempt doesn’t succeed. With the straightforward steps outlined in this guide, you can have your Chromebook and printer working together seamlessly in just a few minutes—no technical expertise required.
Printer Printing Slowly? 10 Proven Solutions to Fix Sluggish Output Read More.


Recent Comments