
Introduction
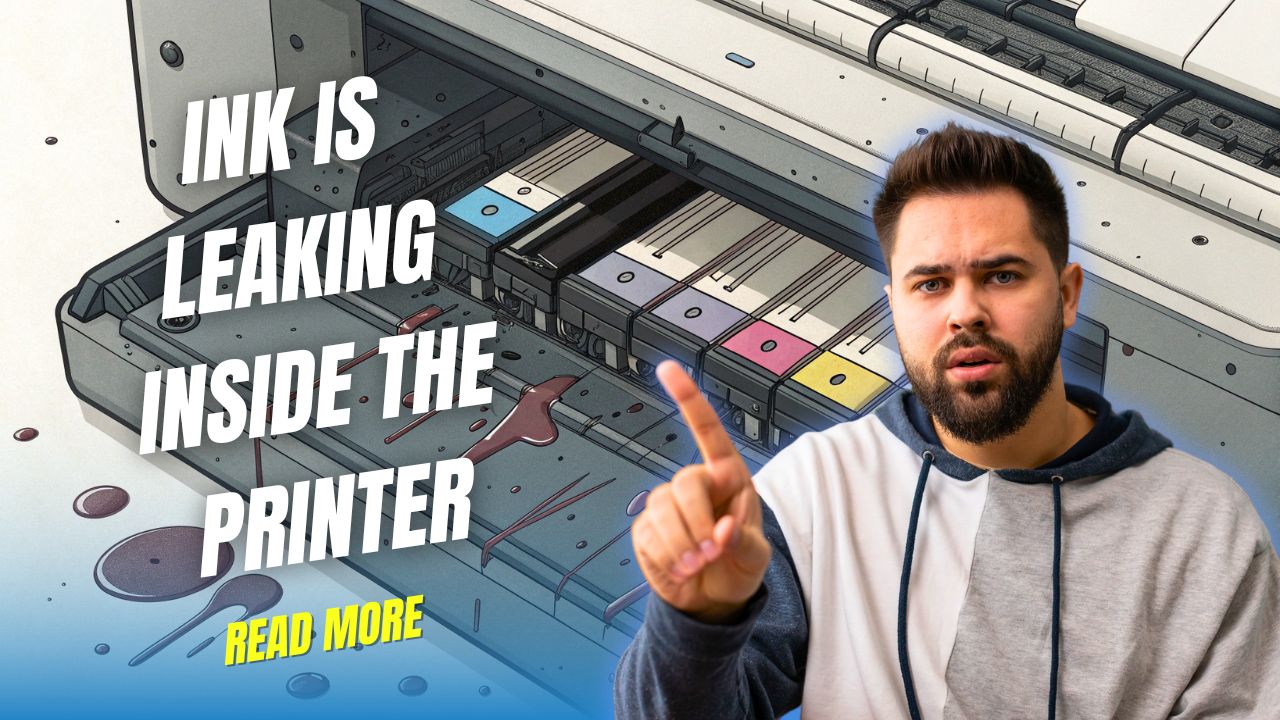
Discovering ink leaking inside printer components can be alarming, but this common issue is typically manageable with the right approach and proper cleaning techniques. Ink leaks occur in various printer types, from inkjet to laser printers, and can result from damaged cartridges, improper installation, or normal wear and tear over time.
When ink spills inside your printer, it can cause print quality issues, mechanical problems, and potentially permanent damage if not addressed promptly. The good news is that most ink leaks can be cleaned effectively without professional repair services, saving you both time and money.
This comprehensive guide will walk you through identifying ink leaks, safely cleaning your printer, and implementing preventive measures to avoid future incidents. Whether you’re dealing with a minor spill or extensive ink contamination, these proven solutions will help restore your printer’s functionality.
What Is Ink Leaking Inside a Printer?
Ink leaking inside a printer refers to the unwanted spillage of liquid ink from cartridges, ink tanks, or delivery systems onto internal printer components. This occurs when ink escapes its designated pathways and contaminates mechanical parts, circuit boards, paper feed mechanisms, or the printer’s interior housing.
Common leak locations include the cartridge bay area, print head assembly, ink delivery tubes, and waste ink collection systems. Leaks can range from minor drips that create small stains to major spills that flood internal compartments with liquid ink.
Several factors contribute to internal ink leaks: aging cartridge seals, overfilled ink tanks, damaged cartridge installation, transportation damage, temperature fluctuations, or manufacturing defects. Inkjet printers are particularly susceptible due to their liquid ink systems, though laser printers can experience toner powder spills with similar cleanup requirements.
The severity of ink leaking inside printer situations varies significantly. Minor leaks might only affect print quality with streaks or smudges, while major leaks can cause mechanical failures, electrical damage, or complete printer malfunction. Early detection and prompt cleanup are crucial for preventing permanent damage and maintaining printer longevity.
6 Essential Steps to Fix Ink Leaking Inside Printer
Step 1: Immediately Power Down and Disconnect
Turn off your printer immediately and unplug it from the power source. This prevents electrical damage from ink contacting circuit components and stops any ongoing printing processes that could spread the leak further.
Remove any connected USB or network cables to ensure complete disconnection. Allow the printer to cool down for at least 15 minutes before beginning cleanup, as internal components may be hot from recent operation.
Step 2: Assess the Leak Extent and Location
Open all accessible printer panels and compartments to evaluate the leak’s scope. Use a flashlight to inspect hard-to-see areas and identify which components have ink contamination.
Take photos of the leak for reference and potential warranty claims. Document the ink colors involved and approximate quantities to determine the appropriate cleaning approach and materials needed.
Step 3: Remove and Inspect Ink Cartridges
Carefully remove all ink cartridges or tanks, checking each one for cracks, loose seals, or obvious damage. Place damaged cartridges in sealed plastic bags to prevent further spillage.
Examine the cartridge bay for pooled ink and note which cartridge positions show contamination. This information helps identify the leak source and guides your cleaning priorities.
Step 4: Clean Internal Components Systematically
Begin cleaning with lint-free cloths, cotton swabs, and distilled water. For stubborn ink stains, use isopropyl alcohol (70% or higher) applied sparingly to avoid damaging plastic components.
Clean accessible metal parts, plastic housings, and rubber rollers gently. Avoid saturating electronic components or forcing cleaning materials into tight spaces where they might cause damage.
Step 5: Address Print Head and Delivery System
If your printer has a removable print head, carefully extract it following manufacturer instructions. Clean the print head contacts with alcohol and cotton swabs, then rinse with distilled water if heavily contaminated.
For non-removable print heads, use the printer’s built-in cleaning cycle after reassembly. Clean ink delivery tubes and connections visible in the cartridge bay area using appropriate solvents.
Step 6: Dry, Reassemble, and Test
Allow all cleaned components to air dry completely for at least 2-4 hours before reassembly. Ensure no cleaning residue remains on electrical contacts or mechanical parts.
Install new or cleaned cartridges carefully, ensuring proper seating and secure connections. Reconnect power and run printer diagnostic tests to verify proper operation and print quality restoration.

Advanced Cleaning Tools and Techniques
Professional printer cleaning kits contain specialized tools designed specifically for ink spill cleanup, including extended cotton swabs, precision cleaning solutions, and lint-free wipes that won’t leave residue on sensitive components.
Ultrasonic cleaners can effectively restore heavily contaminated print heads and small mechanical parts. Submerge components in distilled water or specialized cleaning solutions for 10-15 minutes, then rinse thoroughly and dry completely.
For persistent stains on plastic components, enzymatic cleaners designed for ink removal can break down dried ink deposits that resist standard cleaning methods. Apply these products carefully following manufacturer instructions to avoid component damage.
Consider investing in printer maintenance software that can run deep cleaning cycles and diagnostic tests after cleanup. These programs help verify that all printer functions operate correctly and can identify remaining issues that manual cleaning might miss.

Common Mistakes When Cleaning Ink Leaks from Printers
Using Paper Towels or Tissues: Paper products leave lint and fibers inside printer mechanisms, potentially causing paper jams and mechanical problems. Always use lint-free cloths or specialized cleaning materials designed for electronic equipment.
Applying Excessive Liquid Cleaners: Over-saturating components with cleaning solutions can damage circuit boards, corrode metal parts, and create new problems. Use minimal amounts of cleaning solutions applied to cloths rather than directly onto printer components.
Forcing Disassembly: Attempting to remove components that aren’t designed for user maintenance can break delicate plastic tabs, damage electrical connections, or void warranty coverage. Only remove parts explicitly covered in your printer’s user manual.
Ignoring Electrical Safety: Cleaning powered equipment or failing to allow adequate drying time can cause electrical shorts, component failure, or safety hazards. Always disconnect power and ensure complete drying before reassembly.
Using Inappropriate Cleaning Products: Harsh chemicals, acetone, or household cleaners can dissolve plastic components, damage rubber seals, or leave residues that interfere with printer operation. Stick to distilled water, isopropyl alcohol, and printer-specific cleaning solutions.
Rushing the Drying Process: Inadequate drying time allows moisture to remain in sensitive areas, potentially causing corrosion, electrical problems, or mold growth. Allow at least 2-4 hours for complete air drying, longer in humid conditions.
Reinstalling Damaged Cartridges: Using cartridges that caused the original leak without replacement can lead to recurring problems and additional contamination. Replace damaged cartridges rather than attempting repairs.
These mistakes often worsen the original problem or create new issues that require professional repair services to resolve properly.
Frequently Asked Questions
Q: Can ink leaking inside printer damage it permanently? A: Minor leaks cleaned promptly rarely cause permanent damage. However, extensive leaks that reach circuit boards or sit uncleaned for extended periods can cause corrosion, electrical failures, and permanent component damage requiring professional repair or replacement.
Q: How do I prevent future ink leaks in my printer? A: Use genuine cartridges, handle them carefully during installation, store spare cartridges properly, maintain stable temperature conditions, and replace aging cartridges before they fail. Regular printer maintenance and gentle handling significantly reduce leak risks.
Q: Is it safe to use my printer immediately after cleaning an ink leak? A: No, allow all components to dry completely for 2-4 hours minimum before powering on. Moisture can cause electrical shorts or component damage. Test with a single page initially to ensure proper operation before resuming normal use.
Q: Should I contact professional repair services for ink leaks? A: Minor leaks can typically be cleaned by users following proper procedures. Contact professionals for extensive contamination, electrical component exposure, or if cleaning attempts don’t restore proper printer function. Warranty coverage may apply for manufacturing defects.
Conclusion
Successfully managing ink leaking inside printer situations requires prompt action, proper cleaning techniques, and patience during the restoration process. By following the systematic approach outlined in this guide – from immediate shutdown through thorough cleaning and careful reassembly – you can often restore your printer to full functionality without professional intervention.
Remember that prevention is always preferable to cleanup. Using genuine cartridges, proper handling techniques, and regular maintenance significantly reduces the likelihood of future ink leaks. When leaks do occur, addressing them quickly with appropriate cleaning methods minimizes damage and preserves your printer’s lifespan.
The key to successful ink leak cleanup lies in thorough preparation, systematic cleaning, and complete drying before reassembly. With these techniques and preventive measures, you’ll be well-equipped to handle any ink spill emergency and maintain your printer’s optimal performance for years to come.
How to Fix “Unable to Print” Message on HP Printer Read More.


Recent Comments