
Learning how to uninstall printer driver software properly is essential for maintaining a clean, efficient computer system. Whether you’re replacing an old printer, troubleshooting printing issues, or simply cleaning up unused software, incomplete driver removal can cause system conflicts, printing errors, and wasted storage space. Many users struggle with stubborn printer drivers that seem impossible to remove through standard Windows uninstall procedures.
Printer drivers are complex software packages that integrate deeply into your operating system, creating registry entries, installing services, and placing files in multiple system directories. Simply deleting a printer from your devices list doesn’t remove these underlying components, which can interfere with new printer installations or cause system performance issues.
The challenge becomes even more complex when dealing with multiple printer brands, corrupted installations, or drivers that were improperly installed initially. Understanding the complete removal process ensures your system remains clean and functional while preventing conflicts that could affect future printer installations or overall system stability.
How to uninstall printer driver?
Complete printer driver removal involves eliminating all traces of printer software from your computer system, including the driver files, registry entries, services, and associated applications. Unlike simple device removal, which only disconnects the printer from Windows, comprehensive driver uninstallation ensures no leftover components remain that could cause future conflicts.
How to uninstall printer driver completely requires understanding that modern printer drivers consist of multiple interconnected components. The core driver enables basic printing functionality, while additional software handles advanced features like scanning, faxing, and printer management utilities. Print spooler services manage job queuing, and various registry entries store configuration settings and device information.
When drivers aren’t removed properly, these components can accumulate over time, consuming disk space and potentially causing system instability. Orphaned registry entries might reference non-existent hardware, while leftover services continue running in the background, using system resources unnecessarily.
Incomplete removal becomes particularly problematic when installing newer versions of the same printer driver or switching between different printer brands. Conflicting driver components can prevent successful installation, cause printing errors, or create situations where your computer recognizes multiple phantom printers that don’t actually exist.
Professional removal ensures a clean slate for future printer installations and eliminates potential sources of system conflicts, performance degradation, and printing reliability issues.
7 Proven Methods to Completely Uninstall Printer Drivers

1. Use Windows Settings for Basic Removal
Start with Windows’ built-in removal tools, which handle most standard printer driver uninstallations effectively. Navigate to Settings > Devices > Printers & scanners and locate your printer in the list.
Click on the printer name and select “Remove device” to disconnect it from Windows. This process removes the basic device association but may leave driver files and registry entries intact.
For more thorough removal, access “Apps & features” in Windows Settings and search for your printer manufacturer’s name. Uninstall all related software packages, including printer utilities, scanning software, and maintenance applications.
2. Remove Drivers Through Device Manager
Device Manager provides deeper access to driver removal and can eliminate stubborn drivers that resist standard uninstallation methods. Right-click the Start button and select “Device Manager” from the context menu.
Expand the “Printers” section and locate your printer driver. Right-click the device and select “Uninstall device.” Check the box that says “Delete the driver software for this device” to ensure complete removal.
If your printer appears under “Print queues” instead of “Printers,” follow the same process in that section. Some printers may also appear under “Other devices” if they’re not properly recognized by Windows.
3. Use Print Management Console for Advanced Removal
The Print Management console offers professional-level tools for how to uninstall printer driver operations, particularly useful for removing network printers or dealing with complex driver installations.
Type “printmanagement.msc” in the Run dialog (Windows + R) to access this tool. Navigate to “Print Servers” > “Local Print Server” > “Drivers” to see all installed printer drivers on your system.
Right-click the driver you want to remove and select “Delete.” This method removes the driver package completely, including any shared components used by multiple printers of the same brand.
4. Clear Print Spooler and Registry Entries
Manual print spooler clearing ensures no print jobs or driver references remain in the system queue. Open Command Prompt as administrator and stop the print spooler service with “net stop spooler.”
Navigate to C:\Windows\System32\spool\PRINTERS and delete all files in this directory. These files represent queued print jobs and temporary driver data that could interfere with future installations.
Restart the print spooler with “net start spooler” to complete the clearing process. This step is particularly important when removing drivers for printers that experienced frequent errors or print job failures.
5. Use Manufacturer’s Uninstall Utilities
Most major printer manufacturers provide specialized removal tools designed specifically for their drivers. HP offers the HP Print and Scan Doctor, Canon provides removal utilities through their support website, and Epson includes uninstall tools with their driver packages.
Download the appropriate removal tool from your printer manufacturer’s official website. These utilities are designed to locate and remove all components associated with their specific drivers, including hidden files and registry entries that manual removal might miss.
Run these tools as administrator and follow the prompts to ensure complete removal. Manufacturer tools often detect and remove multiple versions of the same driver that might have accumulated over time.
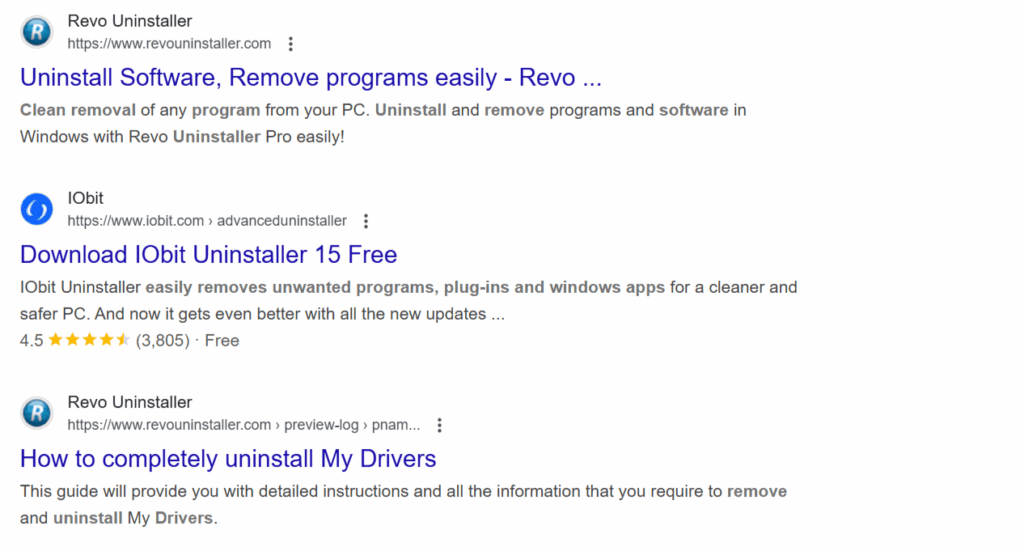
6. Employ Third-Party Driver Removal Software
Professional driver removal applications like Display Driver Uninstaller (DDU) or Driver Sweeper can eliminate stubborn printer drivers that resist standard removal methods. These tools scan your system comprehensively and remove all traces of specified drivers.
Download reputable driver removal software from trusted sources and create a system restore point before proceeding. Boot into Safe Mode for the most thorough cleaning, as this prevents driver components from being actively used during removal.
Follow the software’s instructions carefully, as these tools are powerful and can remove critical system components if used incorrectly. Focus specifically on printer-related drivers to avoid accidentally removing essential system drivers.
7. Perform Registry Cleanup and System Restart
Complete how to uninstall printer driver procedures with manual registry cleanup if necessary. Open Registry Editor (regedit) and navigate to HKEY_LOCAL_MACHINE\SYSTEM\CurrentControlSet\Control\Print\Printers to remove any remaining printer entries.
Exercise extreme caution when editing the registry, as incorrect changes can cause system instability. Create a registry backup before making any modifications and only delete entries you’re certain relate to the removed printer.
After completing all removal steps, restart your computer to ensure all changes take effect and any remaining driver components are cleared from system memory.

Professional Tools and Advanced Techniques
Beyond standard removal methods, professional IT administrators use specialized tools for managing driver installations across multiple computers. Microsoft’s System Center Configuration Manager provides enterprise-level driver deployment and removal capabilities for large organizations.
PowerShell scripts can automate driver removal processes, particularly useful when dealing with multiple computers or standardizing driver configurations across an organization. These scripts can remove specific driver versions while preserving newer installations.
Windows Deployment Toolkit includes driver management features that help maintain clean driver environments during system deployments. These tools prevent driver accumulation that commonly occurs in environments where multiple printer types are tested or used temporarily.
Group Policy settings can prevent automatic driver installation, giving administrators complete control over which printer drivers are allowed on corporate networks. This proactive approach prevents many of the driver conflicts that necessitate manual removal procedures.
Common Removal Mistakes and How to Avoid Them
One of the most frequent mistakes when learning how to uninstall printer driver procedures is assuming that disconnecting the printer physically removes the driver software. Physical disconnection only breaks the communication link – all driver files, services, and registry entries remain intact on your system.
Many users attempt driver removal while the printer is still connected and active. This approach often fails because Windows actively uses driver components, preventing their deletion. Always disconnect printers and stop related services before attempting removal.
Rushing through removal procedures without checking for related software components leaves partial installations that can cause future problems. Printer manufacturers often install multiple applications alongside drivers – utilities, scanning software, and maintenance tools that require separate removal.
Ignoring error messages during removal processes frequently leads to incomplete uninstallation. When removal tools encounter errors, they typically indicate specific components that couldn’t be deleted, requiring alternative removal methods or manual intervention.
Another common error is failing to restart the computer after driver removal. Many driver components only fully unload during system restart, and attempting new installations before restarting can result in conflicts between old and new driver versions.
Finally, many users don’t verify removal completion before installing new drivers. Running new installations over incomplete removals often creates hybrid driver configurations that function poorly and are difficult to troubleshoot later.
Frequently Asked Questions
Q: Will uninstalling printer drivers affect other connected printers? A: It depends on whether printers share driver components. Removing generic drivers may affect multiple devices, while manufacturer-specific drivers typically only impact printers from that brand. Check which printers use the same driver before removal.
Q: Can I reinstall the same printer driver after complete removal? A: Yes, complete removal actually improves reinstallation success rates by eliminating conflicting components from previous installations. Always restart your computer before reinstalling drivers after removal.
Q: Why do some printer drivers reappear after removal? A: Windows 10/11 sometimes automatically reinstalls drivers for connected devices. Disable automatic driver installation in Device Manager settings or disconnect the printer until you’re ready to install the correct driver version.
Q: Is it safe to remove printer drivers using registry editing? A: Registry editing should be a last resort and only performed by experienced users. Incorrect registry modifications can cause system instability. Always backup the registry before making any changes and consider using automated removal tools instead.
Conclusion
Mastering how to uninstall printer driver software completely is an essential skill for maintaining optimal computer performance and preventing printing conflicts. The seven methods outlined in this guide provide comprehensive solutions for removing even the most stubborn printer drivers, from basic Windows tools to advanced professional utilities.
Success in printer driver removal depends on understanding that modern drivers consist of multiple integrated components requiring systematic removal approaches. Whether you’re using Windows’ built-in tools, manufacturer utilities, or third-party removal software, the key is thoroughness and patience in ensuring all driver components are eliminated.
Remember that proper removal preparation – including disconnecting printers, stopping services, and creating system backups – prevents most removal complications before they occur. By following these proven methods and avoiding common mistakes, you can maintain a clean system environment that supports reliable printing performance and smooth driver installations for years to come.
Print Job Scheduling Software: 8 Best Solutions for Automated Print Management in 2025 Read More


Recent Comments