
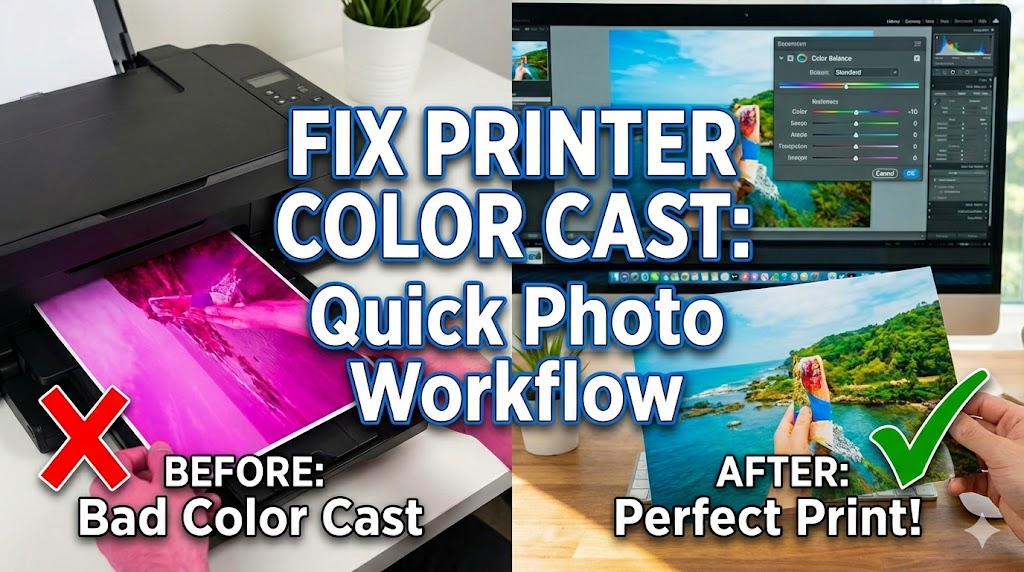
Is your printer printing with color cast ruining your beautiful photos? You’re not alone. Many photographers and home users face frustrating color cast printing problems that turn their vibrant images into odd-tinted prints. Whether your photos look too warm, too cool, or just plain wrong, this guide will help you identify and fix these annoying issues fast.
Color accuracy matters. When you spend hours capturing the perfect shot, the last thing you want is a printer that adds unwanted color tints. The good news? Most color cast problems are fixable with simple adjustments to your workflow. In this post, you’ll discover exactly why your printer creates color casts and learn step-by-step solutions to get accurate, beautiful prints every time.
What Is a Color Cast in Printing?
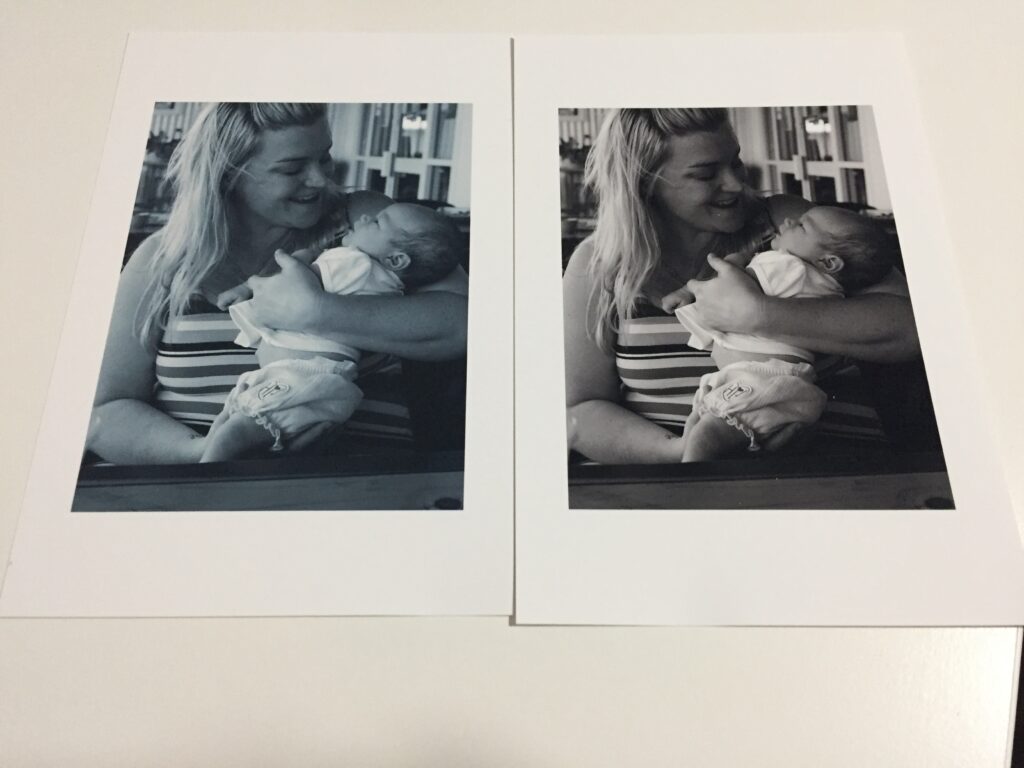
A color cast happens when your printed photos show an unwanted color tint across the entire image. Instead of accurate colors, you might see prints that look too orange, too blue, too green, or too magenta. This problem affects the overall tone of your image and makes your photos look unprofessional.
Color casts differ from other printing problems. While banding shows lines across your print and streaking creates visible marks, a color cast affects every pixel uniformly. Your printer might be working perfectly from a mechanical standpoint, yet still produce prints with strange color shifts.
The human eye notices these shifts immediately. A portrait that should have natural skin tones might look sunburned or sickly. Landscape photos lose their natural beauty when grass turns yellow-green or skies shift from blue to cyan. Understanding what causes these shifts is your first step toward fixing them.
Most color cast issues stem from mismatched color profiles, incorrect printer settings, or calibration problems. Your monitor might show perfect colors while your printer tells a different story. This disconnect creates frustration and wastes expensive photo paper and ink.
7 Proven Ways to Fix Printer Printing with Color Cast
Step 1: Check Your Monitor Calibration First
Your monitor is the starting point for accurate color. If your screen shows incorrect colors, you’ll make wrong adjustments that compound the problem. A properly calibrated monitor ensures what you see matches what you print.
Use a hardware calibration tool like X-Rite ColorMunki or Datacolor SpyderX. These devices measure your monitor’s actual color output and create a custom profile. Calibrate your monitor monthly for consistent results. Environmental lighting changes affect how you perceive colors on screen.
After calibration, test your setup with standard color reference images. Compare your screen colors to printed reference charts. This verification step catches any remaining issues before you waste paper and ink.
Step 2: Install and Use Correct Color Profiles (ICC Profiles)
Color profiles tell your printer how to interpret color data correctly. Without the right profile, your printer guesses how to reproduce colors, leading to terrible color cast printing results. Every paper type needs its own specific profile.
Download ICC profiles from your paper manufacturer’s website. Brands like Epson, Canon, Red River Paper, and Hahnemühle provide free profiles for their products. Install these profiles in your operating system’s color management folder.
In your print dialog, select the exact profile that matches your paper. Using a glossy paper profile on matte paper creates immediate color problems. This mismatch is one of the most common causes of color casts in prints.
Create a simple chart that lists your papers and their corresponding profiles. Keep this reference handy near your printer. This small step prevents confusion and saves countless ruined prints.
Step 3: Adjust Printer Color Management Settings
Your printer’s color management settings control how it interprets color information. Incorrect settings here override everything else in your workflow. You need to tell your printer who controls color: the application or the printer driver.
Choose between application-managed color or printer-managed color. Never use both simultaneously. This common mistake called “double color management” creates severe color shifts and unpredictable results.
For photographer-level control, use application-managed color. Set your printer driver to “no color adjustment” or “off.” This setup gives your editing software complete control over color decisions using your chosen ICC profile.
Configure these settings as presets in your printer driver. Save different presets for different papers and purposes. You’ll avoid repeating setup steps and reduce the chance of errors during printing sessions.
Step 4: Verify Your Editing Software Color Settings
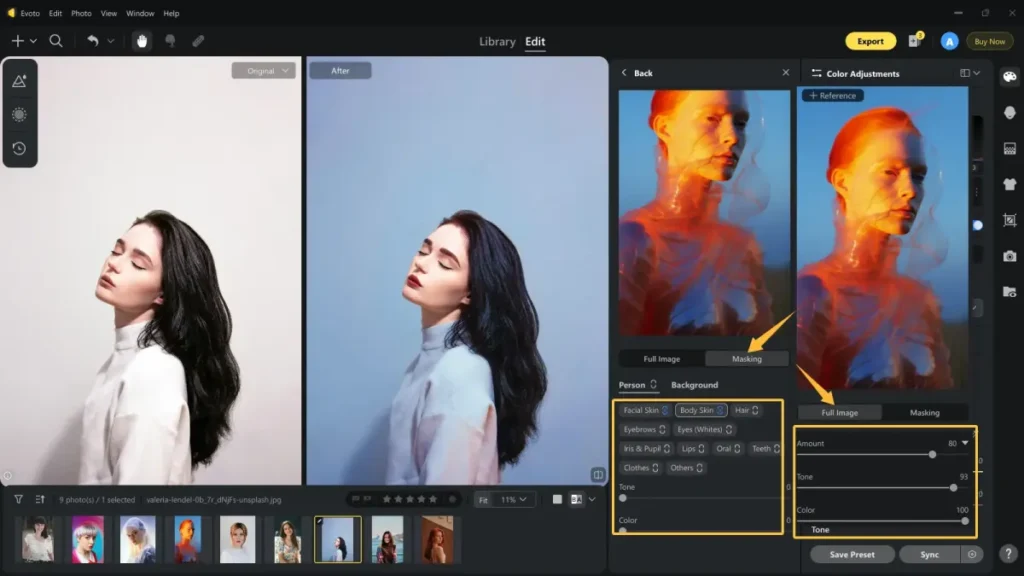
Your photo editing software must use the correct color space throughout your workflow. Adobe Photoshop, Lightroom, and other professional tools default to RGB color space, which is correct for printing. However, some settings might cause issues.
Set your working color space to Adobe RGB or ProPhoto RGB for photo editing. These wider color spaces preserve more color information than sRGB. When printing, your software converts this data using the printer profile you selected.
Check your soft proofing settings before printing. Soft proofing simulates how your print will look using the selected paper profile. This preview helps you catch color cast problems before wasting materials. Adjust your image if the soft proof shows unwanted color shifts.
Enable all color management warnings in your software. These alerts notify you when color space mismatches occur during the workflow. Pay attention to these warnings and resolve them immediately.
Step 5: Run Printer Nozzle Checks and Cleaning Cycles
Physical printing problems often masquerade as color cast issues. Clogged nozzles prevent certain colors from printing properly, creating apparent color shifts. A missing magenta nozzle makes everything look too green, while missing cyan creates an orange cast.
Print a nozzle check pattern from your printer’s maintenance menu. This pattern shows whether all colors are firing correctly. Look for gaps, missing lines, or faded sections in any color channel.
Run cleaning cycles if you spot problems. Most printers offer light, medium, and deep cleaning options. Start with a light clean and retest. Deep cleans waste more ink but fix stubborn clogs.
Clean your print heads weekly if you print infrequently. Ink dries in unused nozzles, creating blockages. Regular maintenance prevents these problems and maintains consistent color output.
Step 6: Replace Old or Low-Quality Ink Cartridges
Ink quality directly affects color accuracy. Old cartridges produce faded colors that shift the overall color balance. Third-party inks sometimes use different color formulations that don’t match the printer’s expectations.
Use genuine manufacturer ink cartridges for critical color work. While third-party inks cost less, they often create color cast printing problems that offset any savings. Manufacturer inks are formulated specifically for your printer model.
Check ink expiration dates before installing cartridges. Expired ink separates or changes chemically, producing unpredictable colors. Store unused cartridges properly according to manufacturer instructions.
Replace all color cartridges when upgrading from third-party to genuine inks. Mixing ink types creates color inconsistencies. The investment in fresh, quality ink pays off in accurate, beautiful prints.
Step 7: Adjust Print Settings for Paper Type and Quality
Your printer adjusts ink application based on paper type settings. Telling your printer you’re using glossy paper when you’re actually using matte causes immediate color problems. The printer applies the wrong amount of ink, creating color shifts and poor quality.
Always select the exact paper type in your print settings. If your specific paper isn’t listed, choose the closest match. Test prints help you identify the best setting for specialty papers.
Adjust print quality settings appropriately. Higher quality settings apply more ink passes and improve color accuracy. Use “best” or “high quality” settings for final prints, not “draft” or “fast” modes.
Disable any automatic color adjustment features in your printer driver when using ICC profiles. Features like “vivid photo” or “color enhancement” override your careful color management and create unpredictable results.
Advanced Tools and Software for Color Management

Professional color management tools take your accuracy to the next level. While basic solutions work for many users, serious photographers benefit from advanced options.
Hardware Calibrators: Beyond basic monitor calibration, tools like the X-Rite i1Photo Pro 3 calibrate both monitors and printers. These systems create custom profiles for your exact equipment and materials.
RIP Software: Raster Image Processors like ImagePrint or Colorburst provide enhanced color management for professional printing. These programs offer advanced controls not available in standard printer drivers.
Spectrophotometers: These devices measure the actual colors your printer produces. Use this data to create ultra-precise custom ICC profiles for any paper. The investment makes sense for photographers printing portfolios or selling prints.
Color Reference Targets: Print and keep color target reference cards. These standardized color charts help you verify your printer maintains accuracy over time. Compare current prints to your references monthly.
Common Mistakes That Cause Color Cast Problems
Double Color Management: This mistake happens when both your editing software and printer driver try to manage color simultaneously. The result is severe color shifts that seem impossible to fix. Always disable color management in one location.
Ignoring Paper Profiles: Using the wrong paper profile or generic settings guarantees color cast issues. Each paper type reflects light differently and absorbs ink uniquely. These physical differences require specific color profiles.
Skipping Monitor Calibration: An uncalibrated monitor shows incorrect colors from the start. You’ll make corrections based on wrong information, creating worse problems. Calibration must be your foundation.
Using Old Ink: Even sealed cartridges degrade over time. Ink separation or chemical changes alter color output. Check dates and replace questionable cartridges.
Mixing Ink Brands: Switching between manufacturer and third-party inks without recalibrating creates inconsistent results. Different ink formulations require different color corrections.
Wrong Color Space: Exporting images in CMYK for inkjet printers causes color shifts. Most photo printers use RGB color space, not CMYK. This confusion stems from commercial printing practices that don’t apply to photo printing.
Environmental Factors: Humidity and temperature affect how paper accepts ink. Extreme conditions cause color shifts even with perfect settings. Store paper properly and allow it to acclimate before printing.
Frequently Asked Questions
Why does my printer add a yellow cast to photos?
Yellow color casts usually indicate either a failing cyan ink cartridge or incorrect color balance settings. Check your cyan nozzles first with a test print. If nozzles are clear, your color profile might be wrong for your paper type. Some third-party papers have optical brighteners that react with certain inks, creating yellow tints.
Can I fix color cast problems by adjusting my photo in editing software?
While you can compensate for color casts by adjusting your image, this approach treats symptoms rather than causes. Fix the root problem first through proper color management. Once your printer outputs accurately, you won’t need image-specific corrections. Compensating in software creates images that look wrong on screen but print correctly, confusing your workflow.
How often should I calibrate my monitor for printing?
Calibrate your monitor monthly for professional work. Casual users can calibrate quarterly. Monitors drift over time, especially as they age. Environmental factors like room lighting changes also affect perception. Set calendar reminders to maintain consistency. If you notice colors looking different than usual, calibrate immediately.
Why do my prints look different under different lighting?
This phenomenon called metamerism happens because different light sources contain different color wavelengths. Your print reflects available light, so it looks different under daylight versus LED bulbs. Choose your preferred viewing light and proof your prints under those conditions. Some papers minimize metamerism better than others.
Conclusion

Fixing your printer printing with color cast issues doesn’t require expensive equipment or technical expertise. By following these proven steps, you’ll achieve accurate, vibrant prints that match your screen. Start with monitor calibration, use proper color profiles, and maintain your printer regularly.
Remember that color management is a system. Every component must work correctly for perfect results. One wrong setting undermines your entire workflow. Take time to set up each step properly, and document your settings for future reference.
Your beautiful photos deserve accurate reproduction. With these fixes in place, you’ll print with confidence knowing your colors will be true to your artistic vision. Say goodbye to wasted paper and frustrating color shifts. Your path to perfect prints starts today with these practical, proven solutions.
Fix Printer EEPROM Flash Storage Errors: Complete Repair Guide Read More.


