
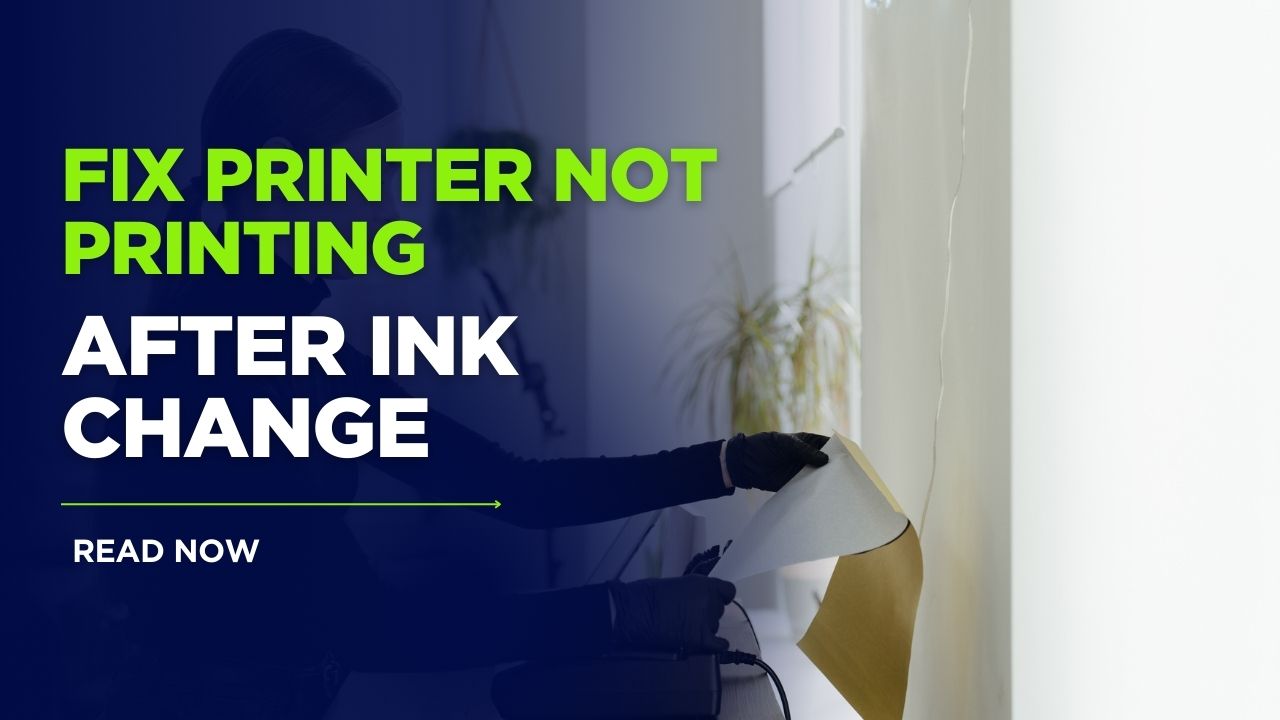
Fix printer not printing after ink change problems with this comprehensive troubleshooting guide. You’ve just replaced your ink cartridge, expecting to resume printing immediately, but instead, your printer refuses to work. This frustrating situation happens to countless printer owners and can disrupt important work, school assignments, or personal projects. Whether your printer displays error messages, prints blank pages, or simply won’t function at all after a cartridge replacement, there are several potential causes—and fortunately, numerous solutions. This guide walks you through ten effective methods to get your printer working again after changing ink cartridges, saving you time, money, and unnecessary stress.
What Is the Cartridge Recognition Problem?
The cartridge recognition problem occurs when your printer fails to properly detect, authenticate, or communicate with a newly installed ink or toner cartridge. Modern printers use sophisticated electronic systems—including memory chips, sensors, and firmware—to identify cartridges, verify their compatibility, check ink levels, and ensure optimal print quality. When this recognition system encounters issues, your printer may display error messages like “cartridge not recognized,” “incompatible cartridge,” or “cartridge error,” or it might simply refuse to print without any clear explanation.
This problem affects virtually all printer brands, including HP, Canon, Epson, Brother, and Lexmark, though the specific error messages and underlying causes may vary by manufacturer and model. The issue can occur with both original manufacturer (OEM) cartridges and third-party alternatives, though it’s more common with the latter. Understanding how printer cartridge authentication works helps explain why these problems happen: modern cartridges contain microchips that communicate with the printer, and any disruption in this communication—whether from physical connection issues, firmware conflicts, or authentication failures—can prevent normal printing operations after a cartridge change.
10 Ways to Fix Printer Not Printing After Ink Change

1. Properly Install and Align the Cartridges
Incorrect installation is one of the most common reasons printers fail to recognize new cartridges.
Step-by-step solution:
- Turn on your printer and open the cartridge access door
- Remove all cartridges carefully (note their positions)
- Examine each cartridge for:
- Protective tape or plastic that hasn’t been removed
- Damaged contacts or chips
- Incorrect orientation markings
- Clean the gold/copper contacts on cartridges with a lint-free cloth (slightly dampened with distilled water if necessary)
- Reinsert each cartridge firmly until you hear a “click”
- Ensure cartridges are in their correct color-coded slots
- Close the access door completely
- Run the alignment utility from your printer’s control panel or maintenance software
According to a study by Consumer Reports, approximately 30% of cartridge recognition issues are resolved through proper reinstallation. Pay particular attention to removing all protective tapes and plastic tabs, as these are designed to prevent ink leakage during shipping but will block proper function if left in place.
2. Restart Your Printer (Power Cycle)
Like most electronic devices, printers sometimes need a complete restart to reset internal systems and recognize new components.
Step-by-step solution:
- Turn off your printer using the power button
- Disconnect the power cable from both the printer and the wall outlet
- Wait at least 60 seconds (this allows capacitors to discharge fully)
- Reconnect the power cable to both the printer and outlet
- Turn on the printer and wait for complete initialization
- Allow any automatic maintenance routines to complete
- Try printing a test page
This simple reset clears temporary memory and forces the printer to re-detect all components, including newly installed cartridges. For network printers, consider also disconnecting and reconnecting network cables during this process to ensure communication channels are refreshed.
3. Clean Cartridge Contacts and Printer Carriage
Poor electrical connections between the cartridge and printer can prevent proper recognition and function.
Step-by-step solution:
- Turn off the printer and open the cartridge access door
- Remove the cartridges and place them on a clean, lint-free cloth with contacts facing up
- For the cartridge contacts:
- Gently clean the gold/copper contacts with a lint-free cloth
- For stubborn residue, slightly dampen the cloth with isopropyl alcohol (91% or higher)
- Allow contacts to dry completely (30-60 seconds)
- For the printer carriage contacts:
- Locate the corresponding contact points inside the printer
- Using a clean, dry lint-free cloth or cotton swab, gently wipe these contacts
- Be careful not to leave lint or debris behind
- Shine a flashlight to ensure contacts are clean and dry
- Reinsert cartridges and close the access door
- Turn on the printer and test
Oxidation, ink residue, and dust on electrical contacts can block the vital communication between cartridge and printer. Regular cleaning of these contacts, especially when changing cartridges, significantly reduces recognition problems and extends printer lifespan.
4. Update Printer Firmware and Drivers
Outdated firmware or drivers can cause compatibility issues with new cartridges, particularly if you’ve switched brands or cartridge types.
Step-by-step solution:
- Determine your printer’s current firmware version:
- Check through the printer’s control panel menu
- Look for “About,” “Settings,” or “Printer Information”
- Visit the manufacturer’s official support website
- Enter your exact printer model number
- Download the latest firmware and driver updates
- Follow the manufacturer’s specific installation instructions
- For firmware updates, ensure your printer remains powered on throughout the process
- After updating, restart your computer and printer
- Attempt to print a test page
Printer manufacturers frequently update firmware to improve cartridge compatibility and address recognition issues. This is particularly important if you’re using third-party cartridges, as manufacturer updates sometimes affect how the printer interacts with non-OEM supplies. According to printer maintenance experts, firmware updates resolve approximately 15-20% of post-cartridge-change printing problems.
5. Disable Cartridge Protection/Authentication
Some printers have features that restrict the use of third-party or refilled cartridges, which can be disabled.
Step-by-step solution:
- For HP printers:
- Access the printer’s control panel
- Navigate to “Setup” or “Tools”
- Find “Cartridge Protection” or “Cartridge Lock” and disable it
- For Epson printers:
- Access the printer utility on your computer
- Look for “Ink Cartridge Settings”
- Disable “Epson Status Monitor” or similar options
- For Canon printers:
- Open the printer utility software
- Navigate to “Maintenance” or “Settings”
- Find and disable “Cartridge Detection” if available
- For Brother printers:
- Access the printer settings menu
- Look for “Ink” or “Maintenance” settings
- Disable “Ink Low Detection” if available
Note that these settings vary significantly between manufacturers and models. Check your printer’s manual or the manufacturer’s website for specific instructions for your model. Be aware that disabling these features might affect ink level monitoring and quality optimization.
6. Address Software and Print Queue Issues
Sometimes the problem lies not with the cartridge but with software conflicts or stuck print jobs.
Step-by-step solution:
- Clear the print queue:
- Windows: Press Windows key + R, type “services.msc”, find “Print Spooler”, right-click and select “Restart”
- Mac: Open System Preferences > Printers & Scanners > select your printer > Open Print Queue > delete all jobs
- Check for printer errors in your computer’s settings:
- Windows: Settings > Devices > Printers & scanners > select your printer > Open queue
- Mac: System Preferences > Printers & Scanners > select your printer > Options & Supplies
- Restart your computer
- Try printing from a different application (e.g., Notepad instead of Word)
- Try printing a printer test page from system settings rather than from an application
Corrupted print jobs or software conflicts can prevent new print jobs from processing, even when hardware issues are resolved. Clearing the print queue forces the system to establish a fresh connection with your printer and newly installed cartridges.
7. Perform Printer Maintenance and Diagnostic Tests
Most printers have built-in maintenance and diagnostic routines that can resolve cartridge recognition issues.
Step-by-step solution:
- Access your printer’s control panel
- Navigate to “Maintenance,” “Tools,” or “Settings”
- Look for these useful functions:
- “Printhead Cleaning” (run 1-2 cycles)
- “Deep Cleaning” (for persistent issues)
- “Cartridge Alignment”
- “Nozzle Check” or “Test Pattern”
- “Diagnostic Mode” or “Self-Test”
- Run printhead cleaning first, followed by alignment
- Print a test pattern to verify all colors are working
- For advanced diagnostics, check your printer’s manual for model-specific self-test procedures
These built-in utilities can resolve many issues by clearing clogged nozzles, precisely aligning printheads, and resetting internal calibration. The diagnostic tests also help identify whether the problem is related to specific colors or functions, narrowing down troubleshooting efforts.
8. Use Compatible Cartridge Settings
If using third-party cartridges, adjusting printer settings can improve compatibility.
Step-by-step solution:
- For Windows:
- Open Devices and Printers
- Right-click your printer and select “Printing Preferences”
- Look for “Cartridge Options,” “Ink Options,” or “Supplies”
- Select settings for “Use non-genuine supplies” if available
- For Mac:
- Open System Preferences > Printers & Scanners
- Select your printer > Options & Supplies > Driver or Options
- Look for similar third-party cartridge settings
- In printer-specific utilities:
- Open your printer’s management software
- Check for options related to cartridge type or monitoring
- Disable features that might reject third-party cartridges
- When printing, select “Continue” if prompted with ink cartridge warnings
These settings vary by manufacturer and model, but many newer printers include options to accommodate third-party supplies. Adjusting these settings tells your printer to be less strict about cartridge authentication.
9. Address Hardware and Printhead Issues
Sometimes physical problems with the printhead prevent the printer from working with new cartridges.
Step-by-step solution:
- Turn off and unplug your printer
- Open the cartridge access area
- For printers with separate printheads:
- Remove cartridges
- Locate and remove printhead assembly (consult manual for specific instructions)
- Clean printhead contacts with a lint-free cloth and isopropyl alcohol
- Allow to dry completely
- Reinstall printhead and cartridges
- For integrated printhead systems:
- Remove cartridges
- Locate printhead area
- Use printer cleaning sheets or dampened lint-free cloth to gently clean accessible areas
- Allow to dry completely
- Reinstall cartridges
- Check for carriage obstructions or damage
- Ensure the carriage moves freely
- Plug in and restart the printer
Printheads can become clogged or damaged over time, preventing proper function even with new cartridges. Regular maintenance of these components extends printer life and improves performance. This is especially important for inkjet printers that have been unused for extended periods.
10. Override Cartridge Errors (Last Resort)
Some printers allow you to override cartridge errors and continue printing.
Step-by-step solution:
- For HP printers:
- When you see a cartridge error, press and hold the “Power” button
- While holding “Power,” press the “Cancel” button
- Release both buttons
- Press “Cancel” once more
- For Epson printers:
- When the error appears, hold down the “Stop” or “Cancel” button for 5-10 seconds
- For Canon printers:
- Press and hold the “Stop/Reset” button for 5-10 seconds
- Release and press again
- For Brother printers:
- Press the “Secure” button and then menu key “1” simultaneously
- Enter maintenance mode and navigate to cartridge reset options
These override methods vary significantly between printer models. Research the specific bypass sequence for your exact printer model. Remember that these are temporary solutions and may need to be repeated each time you turn on the printer. They’re best used for emergency printing needs while you work on more permanent solutions.
Additional Tools and Insights
Several specialized tools and resources can help resolve persistent cartridge recognition issues:
- Manufacturer diagnostic software: Most major printer brands offer free troubleshooting utilities that can diagnose and fix cartridge problems. Examples include HP Print and Scan Doctor, Canon My Printer, and Epson Printer Utility.
- Third-party printer tools: Programs like PrinterTechs Printer Repair Utility can provide detailed diagnostic information beyond what manufacturer tools offer, though use these with caution.
- Cartridge reset tools: For some printer models, specialized reset tools can reprogram cartridge chips to ensure compatibility. These are typically model-specific and available from third-party suppliers.
- Online printer communities: Websites like Printer Knowledge and PrinterForums have model-specific troubleshooting guides and user communities that share effective solutions for cartridge recognition problems.
Understanding your printer’s specific cartridge technology is also helpful. Some printers use thermal inkjet technology (HP, Canon) while others use piezoelectric systems (Epson, Brother), and these differences affect how cartridges interact with the printer and what troubleshooting methods are most effective.
Common Mistakes and Troubleshooting Tips
Avoid these common mistakes when dealing with cartridge recognition issues:
- Installing incompatible cartridges: Always verify cartridge compatibility with your exact printer model. Some cartridges look identical but have different chip configurations that aren’t interchangeable between similar models.
- Touching or damaging cartridge contacts: The gold/copper contacts on cartridges are extremely sensitive. Touching them with bare fingers deposits oils that can interfere with electrical connections. Always handle cartridges by their plastic casings.
- Mixing old and new printer drivers: After updating printer firmware, make sure your computer’s printer drivers are also updated to compatible versions. Mismatched firmware and drivers can cause communication issues with new cartridges.
- Ignoring printer maintenance: Regular cleaning and maintenance routines prevent many cartridge recognition issues. Set a reminder to run cleaning cycles monthly, especially for printers used infrequently.
- Using extremely low-quality third-party cartridges: While many third-party cartridges work well, extremely cheap options often have poorly manufactured chips or inconsistent quality control. Moderately priced alternatives from reputable brands typically cause fewer recognition problems.
When troubleshooting, remember to document which solutions you’ve tried and their results. This methodical approach helps identify patterns and prevents repeating ineffective steps. Additionally, if you need to contact manufacturer support, having a detailed troubleshooting history greatly improves their ability to assist you.
Frequently Asked Questions
Why does my printer say cartridge is empty when it’s new?
This typically happens when the printer’s internal memory hasn’t reset after cartridge replacement or when the cartridge chip isn’t communicating properly. Try removing the cartridge, turning the printer off for 60 seconds, then reinstalling the cartridge after powering the printer back on.
Can firmware updates cause my printer to reject third-party cartridges?
Yes, printer manufacturers occasionally release firmware updates that enhance verification systems for printer supplies. These updates can sometimes affect compatibility with third-party cartridges. Check the manufacturer’s update notes before installing firmware updates if you use alternative supplies.
Is it normal for printers to pause briefly after installing new cartridges?
Yes, most printers perform initialization and calibration routines when new cartridges are installed. This process can take 1-3 minutes during which the printer may appear idle or display “initializing” messages. Allow this process to complete fully before attempting to print.
Should I be concerned if my printer doesn’t show ink levels for third-party cartridges?
Not necessarily. Many third-party cartridges work perfectly for printing but don’t include the chip technology needed to report accurate ink levels. You may need to monitor print quality visually rather than relying on digital ink level indicators when using these cartridges.
Conclusion
Fix printer not printing after ink change issues by applying the ten solutions outlined in this comprehensive guide. From simple fixes like properly reinstalling cartridges and restarting your printer to more advanced solutions involving firmware updates and printhead maintenance, these approaches address the most common causes of post-cartridge-change printing problems. Remember that printer technology varies widely between manufacturers and models, so you may need to try several methods before finding the right solution for your specific situation.
Preventing future cartridge recognition issues is often simpler than resolving them after they occur. Regular printer maintenance, using quality cartridges, keeping firmware updated, and following proper installation procedures significantly reduce the likelihood of encountering these frustrating problems. By understanding how your printer communicates with its cartridges and addressing potential issues proactively, you can ensure smoother printing experiences and extend the life of your printer investment.
Connect a Printer to Your Laptop Read More.


Recent Comments