
Introduction
Learning how to fix printer door not closing is essential for maintaining your printer’s functionality and preventing costly repairs or replacements. A malfunctioning printer door or cover can halt your printing operations entirely, as most modern printers include safety mechanisms that prevent operation when access panels aren’t properly secured.
Printer door problems affect millions of users annually and can stem from various causes including misaligned hinges, damaged latches, foreign objects, or worn components. The good news is that most printer cover repair issues can be resolved with basic tools and systematic troubleshooting approaches that don’t require professional service.
This comprehensive guide will walk you through proven methods to diagnose and repair printer door issues, helping you restore normal operation quickly and cost-effectively while preventing future problems through proper maintenance techniques.
What Are Printer Door and Cover Closing Issues?
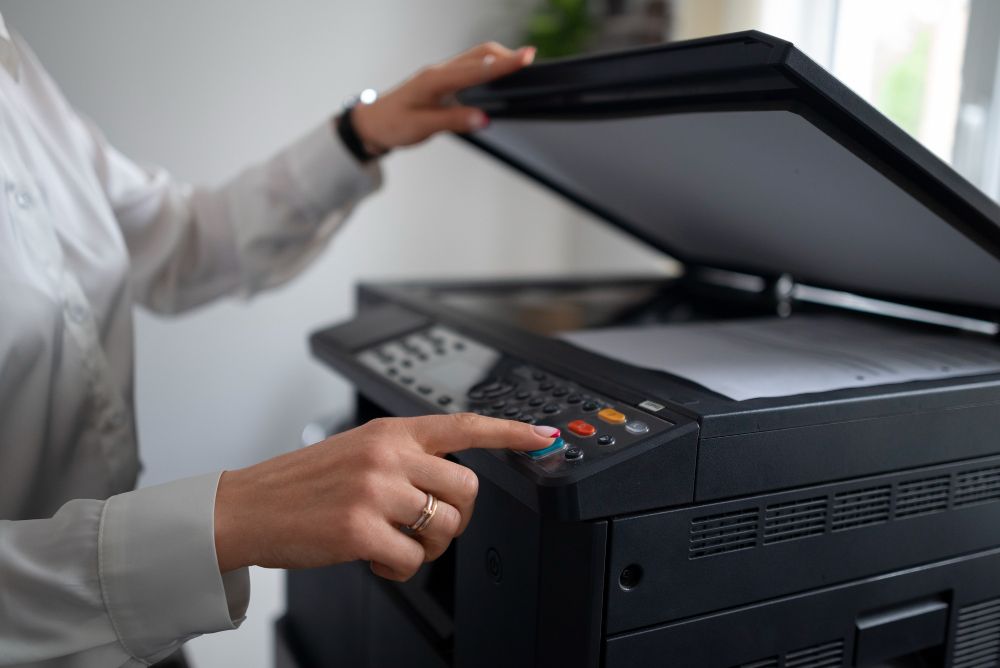
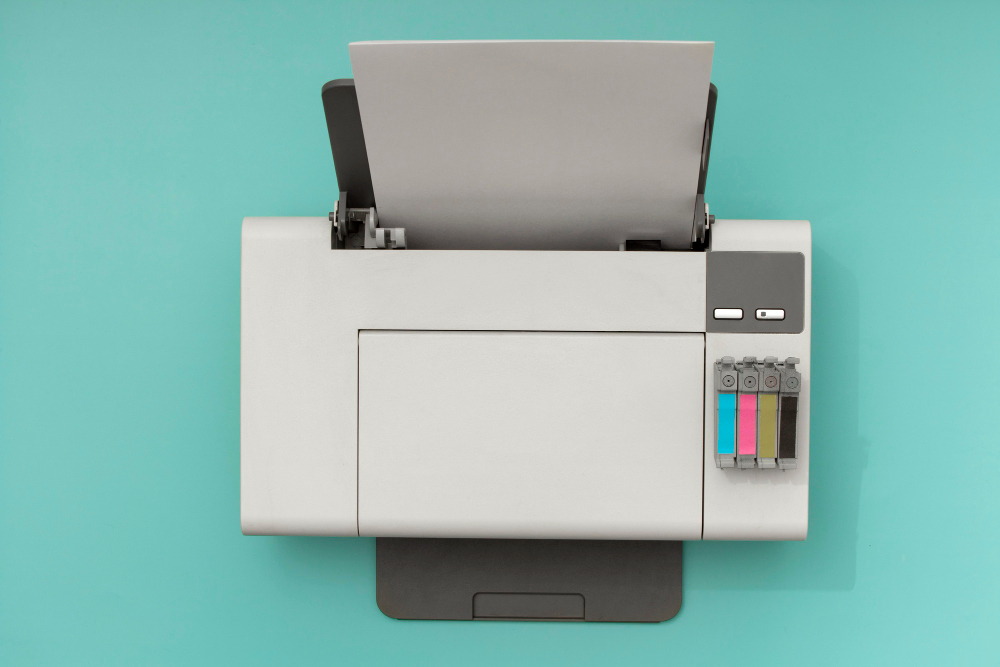
Printer door and cover closing issues encompass a range of mechanical problems that prevent access panels, cartridge doors, paper trays, or maintenance covers from properly closing and latching on printing devices. These problems can manifest as doors that won’t close completely, covers that pop open unexpectedly, or panels that appear closed but don’t engage the printer’s safety sensors.
Modern printers rely on multiple door and cover sensors to ensure safe operation and prevent damage to internal components. When any access panel fails to close properly, the printer’s control system typically displays error messages and refuses to operate until the issue is resolved. This safety feature protects both users and expensive internal mechanisms from potential damage.
Common manifestations include front access doors that won’t latch after cartridge replacement, rear covers that spring open during operation, paper tray covers that refuse to seat properly, and scanner lids that won’t close flush with the printer body. Each type of closure problem requires specific diagnostic and repair approaches based on the printer’s design and the affected component’s function.
The complexity of these issues ranges from simple obstructions that can be cleared in minutes to mechanical wear that may require part replacement or professional service. Understanding the specific type of closure problem affecting your printer is the first step toward implementing an effective repair strategy.
8 Proven Methods to Fix Printer Door Not Closing
1. Clear Physical Obstructions and Debris
Begin by powering off your printer and unplugging it for safety. Carefully examine all door and cover areas for visible obstructions such as paper fragments, dust accumulation, or foreign objects that might prevent proper closure.
Use a flashlight to illuminate hard-to-see areas around hinges, latches, and sensor locations. Remove any debris using compressed air, soft brushes, or lint-free cloths, being careful not to damage sensitive components or push debris deeper into the mechanism.
2. Inspect and Realign Door Hinges
Examine door hinges for signs of damage, wear, or misalignment that could prevent smooth operation. Look for bent hinge pins, cracked plastic components, or hinges that have shifted from their original positions.
Gently manipulate the door while observing hinge movement to identify binding or irregular motion. If hinges appear misaligned, carefully adjust them by applying gentle pressure to restore proper positioning, ensuring the door moves smoothly through its full range of motion.
3. Check and Adjust Latch Mechanisms
Locate all latch points where the door or cover should engage when closed. Test each latch by gently pressing it while attempting to close the door, noting any latches that don’t engage properly or feel loose.
Clean latch mechanisms with compressed air to remove dust and debris that might prevent proper engagement. If latches appear worn or damaged, determine whether they can be adjusted or require replacement based on your printer’s design.
4. Examine Sensor Alignment and Functionality
Identify sensor locations that detect when doors and covers are properly closed. These sensors are typically small plastic tabs, magnetic switches, or optical sensors located near latch points.
Test sensor functionality by manually activating each sensor while the printer is powered on, observing whether the printer recognizes the sensor activation. Clean sensor areas and ensure nothing obstructs the sensor’s ability to detect proper door closure.
5. Address Warped or Damaged Panels
Inspect door and cover panels for warping, cracking, or other damage that might prevent proper closure. Warping often occurs due to heat exposure or manufacturing defects and can prevent panels from seating correctly.
For minor warping, gentle pressure applied over time might restore proper shape. More severe damage may require panel replacement or professional repair, depending on the extent of the problem and availability of replacement parts.
6. Lubricate Moving Components
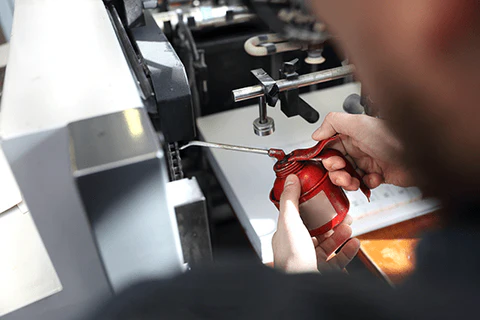
Apply appropriate lubricants to hinge pins, pivot points, and moving mechanisms that might benefit from reduced friction. Use printer-safe lubricants like white lithium grease or dry graphite lubricants that won’t attract dust or interfere with printer operation.
Avoid petroleum-based lubricants that can damage plastic components or contaminate internal printer mechanisms. Apply lubricants sparingly and wipe away excess to prevent attracting debris that could cause future problems.
7. Reset Printer Electronics and Sensors
Perform a complete printer reset by unplugging the device for several minutes, then reconnecting power while holding specific button combinations as specified in your printer’s manual. This process can clear sensor errors and recalibrate door detection systems.
Some printers require specific reset procedures to clear door sensor errors. Consult your printer’s manual or manufacturer’s website for model-specific reset instructions that might resolve software-related door detection issues.
8. Professional Assessment for Complex Issues
If previous methods don’t resolve the problem, the issue may require professional diagnosis or part replacement beyond typical user repair capabilities. Document all attempted repairs and gather model information before contacting technical support.
Consider the cost-effectiveness of professional repair versus printer replacement, especially for older models where replacement parts might be expensive or difficult to obtain.

Advanced Printer Cover Repair Tools and Techniques
Professional printer repair technicians use specialized tools including digital calipers for measuring component tolerances, torque screwdrivers for precise fastener tightening, and oscilloscopes for testing sensor circuits. While these tools aren’t necessary for basic repairs, understanding their applications helps identify when professional service is warranted.
Replacement parts for printer doors and covers can often be sourced from manufacturer parts departments, third-party suppliers, or salvaged from similar printer models. Keep detailed records of your printer’s model number, serial number, and part numbers when searching for replacement components.
3D printing technology increasingly offers solutions for creating replacement parts for discontinued printer models. Online communities and maker spaces often share CAD files for common printer components, enabling cost-effective repairs for otherwise unrepairable units.
Preventive maintenance including regular cleaning, proper handling techniques, and environmental controls can significantly extend the lifespan of printer door and cover mechanisms, reducing the likelihood of future closure problems.
Troubleshooting Common Printer Door Problems
Recurring Door Opening Issues
Doors that repeatedly pop open during operation often indicate weak or damaged latch springs, misaligned latch mechanisms, or excessive vibration during printer operation. Inspect latch springs for proper tension and replace if they appear stretched or damaged.
Excessive printer vibration can cause properly latched doors to work loose over time. Ensure your printer sits on a stable, level surface and consider adding vibration-dampening pads if the printer operates on a desk or shelf that amplifies mechanical vibrations.
Check for internal component issues that might cause excessive vibration, such as unbalanced print heads, worn drive mechanisms, or foreign objects caught in moving parts that could contribute to door opening problems.
Sensor Detection Failures
Intermittent sensor failures often result from dirty sensor surfaces, misaligned sensor components, or electrical connection problems. Clean all sensor surfaces with appropriate cleaning solutions and ensure proper alignment between sensor components.
Test sensor functionality using multimeter measurements if appropriate for your skill level, or observe printer error messages that might indicate specific sensor malfunctions. Document any patterns in sensor failures that might indicate environmental factors or usage patterns contributing to the problem.
Some sensors may require calibration procedures specified in service manuals to restore proper operation after cleaning or adjustment. Contact manufacturer technical support for calibration procedures if standard troubleshooting doesn’t resolve sensor issues.
Mechanical Wear and Component Failure
Heavily used printers may experience mechanical wear that prevents proper door closure even after cleaning and adjustment. Signs of significant wear include visible component damage, excessive play in moving parts, or complete failure of latch mechanisms.
Evaluate repair costs versus replacement costs for printers with significant mechanical wear, considering the age of the unit and availability of replacement parts. Sometimes investing in a new printer proves more cost-effective than extensive repairs to aging equipment.
Frequently Asked Questions
Q: Why does my printer door keep popping open during printing? A: This typically indicates weak latch springs, misaligned latch mechanisms, or excessive printer vibration. Check latch engagement and ensure your printer sits on a stable surface. Clean latch areas and inspect springs for proper tension.
Q: Can I continue using my printer if the door won’t close properly? A: No, most printers have safety mechanisms that prevent operation when doors aren’t properly closed. Attempting to bypass these safety features can damage your printer and void warranties, so it’s important to resolve door issues before continued use.
Q: How do I know if my printer door problem requires professional repair? A: If basic cleaning, adjustment, and troubleshooting don’t resolve the issue, or if you notice cracked plastic components, damaged hinges, or complex electronic sensor problems, professional repair may be necessary.
Q: Are printer door repairs covered under warranty? A: Warranty coverage depends on the cause of the problem and your warranty terms. Manufacturing defects are typically covered, while damage from misuse, accidents, or normal wear may not be covered. Check your warranty documentation for specific coverage details.
Conclusion
Successfully learning how to fix printer door not closing issues empowers you to maintain your printing equipment and avoid costly service calls or premature replacements. The systematic approaches outlined in this guide address the most common causes of printer cover repair problems, from simple obstructions to complex mechanical adjustments.
Most printer door problems can be resolved through careful inspection, cleaning, and basic adjustments that don’t require specialized tools or technical expertise. The key to successful repairs lies in methodical troubleshooting and understanding your specific printer’s design and safety mechanisms.
By implementing these repair techniques and maintaining proper printer care practices, you’ll ensure reliable door operation and extend your printer’s operational lifespan while maintaining the safety features that protect both users and equipment from potential damage.
Assign Static IP to Printer Read More.


Recent Comments