
Introduction
Getting the optimal settings for printing on transparencies right can feel like solving a puzzle. You load your clear sheet, hit print, and… smudges everywhere. Or the ink doesn’t dry. Or worse, your expensive transparency gets jammed in the printer.
I’ve been there. So have thousands of crafters, teachers, and designers who need crystal-clear prints on transparent or vellum materials.
Here’s the good news: once you understand the right settings and techniques, printing on transparencies and vellum becomes easy. Whether you’re creating overlays for presentations, crafting stencils, or making beautiful invitations, this guide will show you exactly how to get perfect results every single time.
Let’s dive into everything you need to know about optimal settings for printing on transparencies.
What Are Transparencies and Vellum?
Before we talk settings, let’s clarify what we’re working with.
Transparencies are completely clear plastic sheets. They’re typically made from polyester or acetate. You’ve probably seen them used for overhead projectors, screen printing, or layered art projects.
Vellum is different. It’s a translucent paper with a slight texture and frosted appearance. It’s not fully clear like transparency film. Vellum gives a soft, elegant look and is popular for wedding invitations, scrapbooking, and art prints.
Both materials require special handling because they’re not standard paper. Regular printer settings will give you awful results.
Why Special Settings Matter
Standard paper absorbs ink quickly. Transparencies and vellum? Not so much.
The surface is smooth and non-porous. If you use wrong settings, ink sits on top and smears. Or it doesn’t adhere at all. You need to adjust temperature, ink density, and drying time to get clean, lasting prints.
Think of it like painting on glass versus painting on canvas. Different surfaces need different approaches.
Understanding Printer Types for Transparencies
Not all printers handle transparencies the same way.
Inkjet Printers: These work well for transparencies and vellum. The ink spray creates good coverage. But you must use inkjet-specific transparency film. Regular transparencies won’t work.
Laser Printers: These use heat to fuse toner. They need laser-specific transparencies that can handle high temperatures without melting. Never use inkjet transparencies in laser printers.
Which is better? Inkjet gives richer colors and better detail. Laser is faster and more durable. Choose based on your needs.
Pro tip: Check your printer manual. Some printers specifically don’t support transparencies. Forcing them can damage your machine.
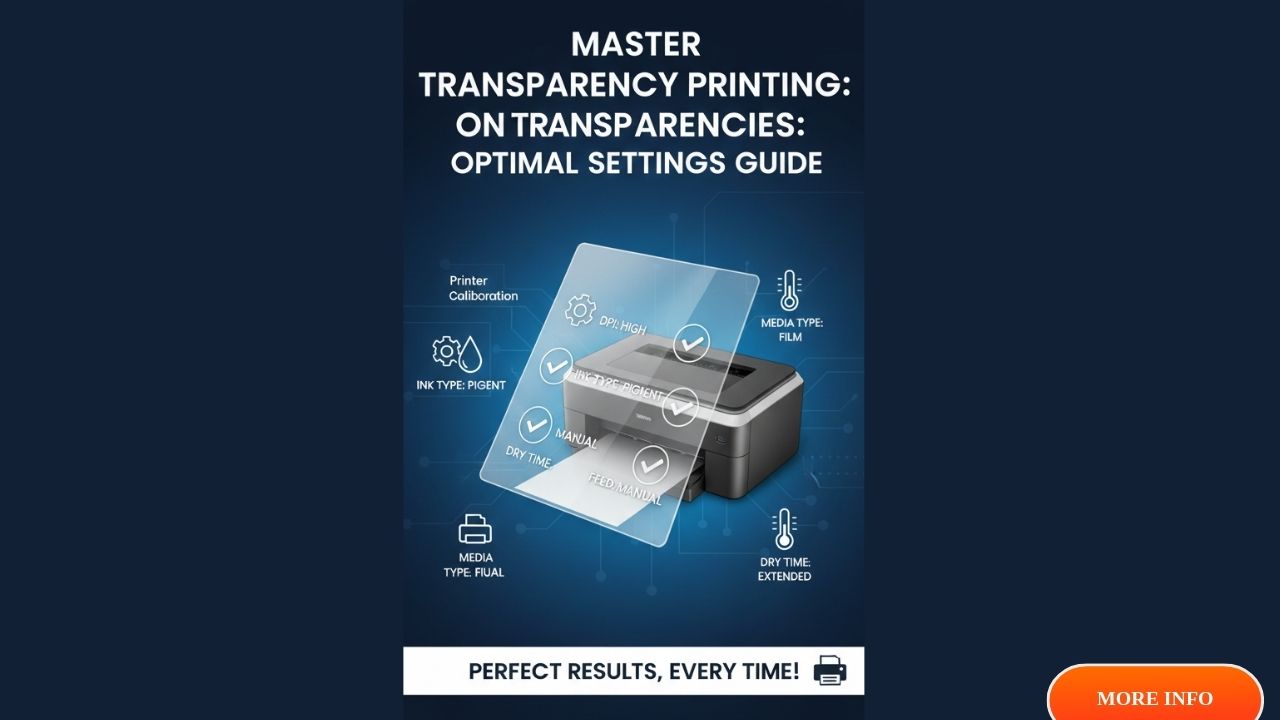
7 Essential Steps for Optimal Settings for Printing on Transparencies
Let’s get into the practical stuff. Follow these steps for perfect prints every time.
Step 1: Choose the Right Transparency Film
This is crucial. You can’t use any clear sheet.
For inkjet printers, buy transparency film labeled “inkjet compatible.” Brands like Apollo, 3M, and Avery work great. These sheets have a special coating that helps ink adhere.
For laser printers, get laser-specific transparencies. They withstand higher heat without warping or melting.
Check the package. It should clearly state “inkjet” or “laser.” Using the wrong type ruins your prints and potentially damages your printer.
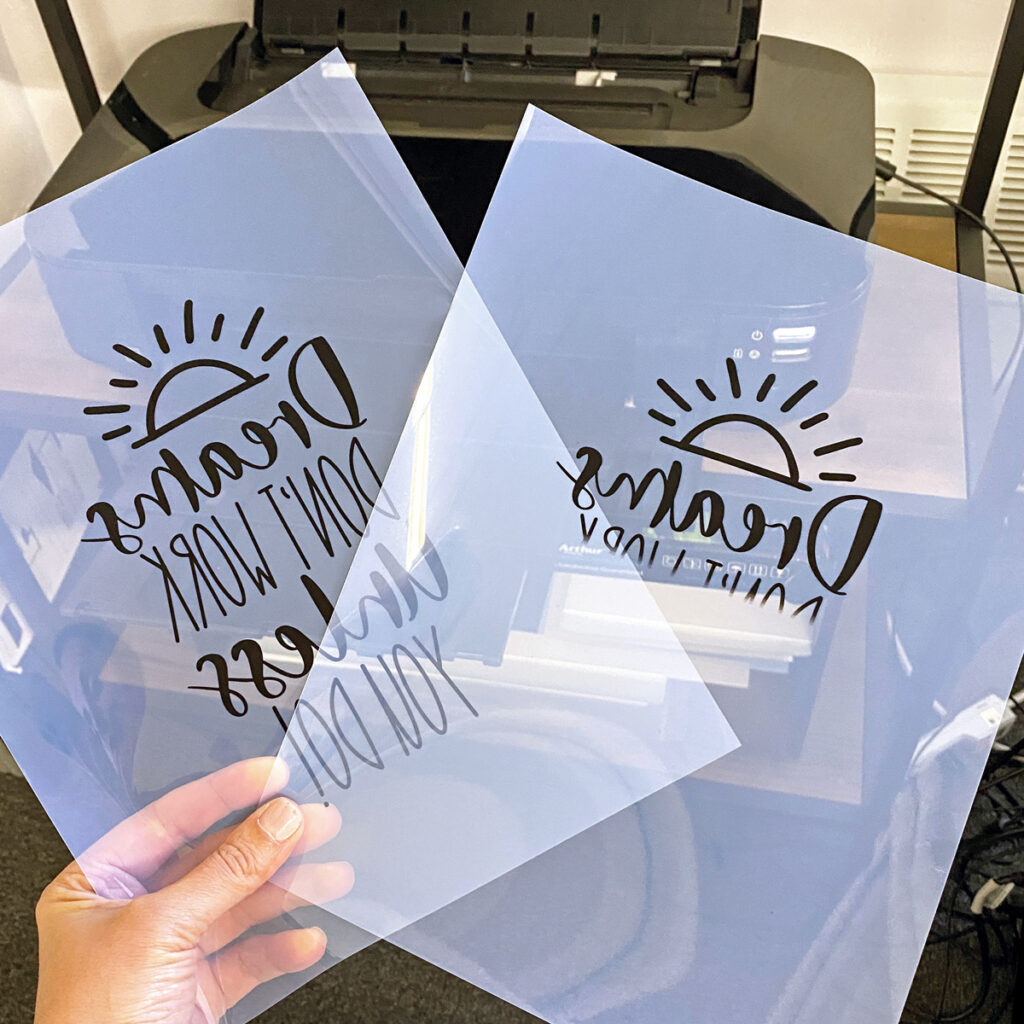
Step 2: Identify the Correct Side
Most transparency sheets have two sides: a coated side and an uncoated side.
The coated side accepts ink. It usually feels slightly rougher or has a subtle texture. Sometimes there’s a white strip or indicator arrow showing which side to print on.
Print on the wrong side and your ink will smear or bead up. Not fun.
If you’re not sure which side is which, do a test. Put a tiny water drop on each side. The coated side will absorb it slightly. The uncoated side will just bead.
Step 3: Configure Your Printer Settings
Here’s where optimal settings for printing on transparencies really matter.
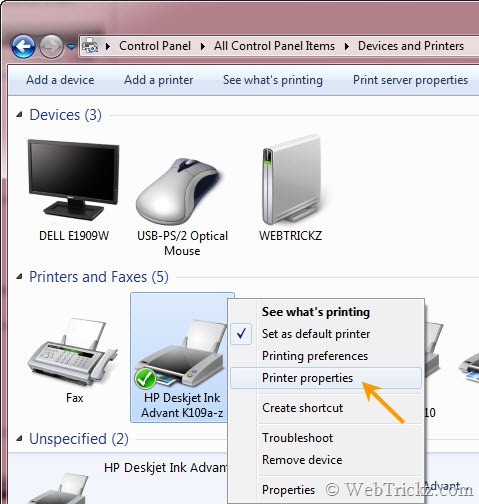
On Windows:
- Open Control Panel → Devices and Printers
- Right-click your printer and select “Printing Preferences”
- Find “Paper Type” or “Media Type”
- Select “Transparency Film” or “Transparency”
- Adjust print quality to “Best” or “High”
On Mac:
- Go to System Preferences → Printers & Scanners
- Select your printer and click “Options & Supplies”
- Under print settings, choose “Transparency” as media type
- Set quality to highest available setting
Key settings to adjust:
- Paper Type: Always select “Transparency” or “Premium Glossy Film”
- Print Quality: Choose “Best” or “High” for detailed prints
- Color Settings: Use “Vivid” or “Maximum DPI” for richer colors
- Drying Time: Increase if your printer has this option
Step 4: Adjust Advanced Settings
For even better results with optimal settings for printing on transparencies, dig into advanced options.
Ink Density: Lower it slightly if you’re getting smudging. Too much ink won’t dry properly on transparent surfaces.
Print Speed: Slower is better. Fast printing doesn’t give ink time to set.
Temperature: For laser printers, some models let you reduce fuser temperature. This prevents warping. Check your printer manual for specifics.
Bidirectional Printing: Turn this OFF. It improves alignment and reduces smearing.
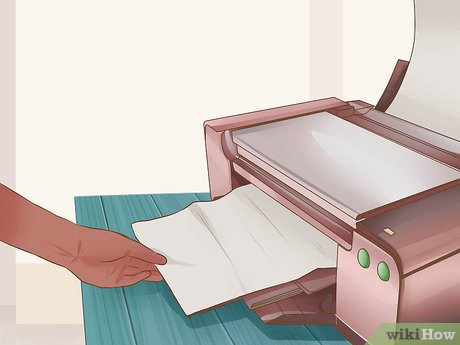
Step 5: Load Transparencies Correctly
Loading matters as much as settings.
Only load a few sheets at a time. Transparencies are slippery and can stick together, causing jams. I usually load 5-10 sheets maximum.
Place them in the manual feed tray if your printer has one. This gives you more control.
Make sure the coated side faces the right direction. Most printers print on the side facing down in the tray. Check your manual to confirm.
Fan the sheets before loading. This separates them and prevents multiple sheets feeding at once.
Step 6: Print a Test Page
Never start with your final print. Always do a test first.
Print a simple design with text and colors. This shows you how ink adheres and whether colors look right.
Check for:
- Smudging or streaking
- Color accuracy
- Ink coverage
- Drying time
If something’s off, adjust settings and test again. This saves expensive transparency film and frustration.
Step 7: Allow Proper Drying Time
This step is non-negotiable for optimal settings for printing on transparencies.
Don’t touch your print immediately. Even if it looks dry, ink needs time to fully set.
For inkjet prints: Wait at least 15-20 minutes. Some inks need up to an hour.
For laser prints: These dry almost instantly since they use heat. But still wait a few minutes before stacking.
Lay prints flat on a clean surface. Don’t stack them while wet. Use paper towels between sheets if you must stack them.
Speed up drying by using a fan (not a hair dryer—too hot and can smear ink).
Optimal Settings for Printing on Vellum
Vellum needs slightly different treatment than clear transparencies.
Vellum is paper-based, so it’s more forgiving. But it’s still delicate and thin.
Best printer settings for vellum:
- Paper Type: Select “Premium Matte” or “Specialty Paper”
- Weight: Choose “Light” or “Thin” if available
- Quality: High or Best quality setting
- Manual Feed: Use this option to prevent multiple sheets feeding
Vellum can curl more than transparencies. To prevent this, adjust your printer’s temperature down if possible.
Also, vellum absorbs ink slightly more than transparency film. You can use normal ink density settings instead of reducing them.
Different Vellum Weights
Vellum comes in different thicknesses: 17lb, 21lb, and 27lb are common.
Lighter vellum (17lb) is more translucent but more delicate. It might jam more easily. Use the lightest weight setting on your printer.
Heavier vellum (27lb) is sturdier but less transparent. You might need to select “Cardstock” or “Heavy Paper” settings for this.
Test with a single sheet first to see how your printer handles the specific weight you’re using.
Additional Tools and Tips for Better Results

Want to take your transparency printing to the next level? Here are some extra tools and tricks.
Cleaning Your Printer: Clean print heads regularly. Transparencies show every imperfection. Built-up ink residue creates streaks. Run your printer’s cleaning cycle before important print jobs.
Color Management: Use ICC color profiles for accurate colors. This is especially important if you’re matching brand colors or specific shades. Many transparency manufacturers provide color profiles on their websites.
Software Settings: Design your artwork with transparency printing in mind. Avoid large solid color areas—these take longer to dry and are more likely to smear. Use vector graphics when possible for crisp edges.
Storage: Keep unused transparency sheets in their original packaging. Dust and fingerprints ruin prints. Only handle sheets by the edges.
External Resources: For detailed printer-specific settings, visit your printer manufacturer’s website. Epson’s support site has excellent guides for printing on specialty media.
Common Mistakes and Troubleshooting for Transparency Printing
Even with optimal settings for printing on transparencies, problems can happen. Here’s how to fix them.
Problem: Ink Smears or Doesn’t Dry
Causes: Too much ink, wrong transparency type, or not enough drying time.
Solutions:
- Reduce ink density in printer settings by 10-20%
- Verify you’re using inkjet film with inkjet printers
- Increase drying time to 30+ minutes
- Check if you’re printing on the coated side
Problem: Transparency Jams in Printer
Causes: Loading too many sheets, sheets sticking together, or wrong feed path.
Solutions:
- Load only 3-5 sheets at a time
- Fan sheets before loading
- Use manual feed tray instead of automatic
- Clean printer rollers—built-up residue makes sheets stick
Problem: Washed-Out or Faint Colors
Causes: Wrong printer settings or low-quality transparency film.
Solutions:
- Select “Best” or “Maximum DPI” quality setting
- Choose “Vivid Colors” or “Enhanced” color setting
- Increase color saturation in your design software
- Use premium transparency film—cheap versions don’t hold ink well
Problem: Transparency Warps or Melts
Causes: Using inkjet transparencies in laser printers or temperature too high.
Solutions:
- ONLY use laser-specific transparencies for laser printers
- Lower fuser temperature if your printer allows it
- Check that media type is set to “Transparency”
- Some transparencies can’t handle certain laser printers—check compatibility
Problem: Text or Images Look Pixelated
Causes: Low resolution design or wrong quality settings.
Solutions:
- Use at least 300 DPI resolution for your designs
- Select highest quality print setting
- Use vector graphics instead of raster when possible
- Ensure you’re not upscaling low-resolution images
Frequently Asked Questions
Q: Can I use regular printer paper settings for transparencies?
No. Regular paper settings use too much ink and wrong temperatures. You must select transparency-specific settings to get optimal settings for printing on transparencies. Otherwise you’ll get smudging, poor ink adhesion, or jammed sheets.
Q: How do I know if my transparency is for inkjet or laser printers?
Check the package—it will clearly say “inkjet” or “laser.” If you lost the packaging, inkjet transparencies usually have a slightly textured coating on one side. Laser transparencies are typically thicker and completely smooth. Never mix them up—using the wrong type damages your printer.
Q: Why does my transparency print look different than on screen?
Transparencies display colors differently because they’re clear or translucent. Light passes through them instead of reflecting off like paper. Colors appear lighter and less saturated. To compensate, increase color saturation by 10-15% in your design software before printing.
Q: Can I print double-sided on transparencies?
Technically yes, but it’s tricky. You need to let the first side dry completely (30+ minutes). Then manually reload the sheet, making sure it’s aligned perfectly. Most people avoid this because misalignment is common. For double-sided projects, consider printing on two separate sheets and aligning them manually.
Q: How long do transparency prints last?
With proper optimal settings for printing on transparencies and good-quality materials, prints can last years. Protect them from direct sunlight, which fades colors. Store flat in protective sleeves. Inkjet prints are less durable than laser—they can smudge if they get wet. Laser prints are more permanent.
Q: Do I need special ink for printing on transparencies?
No. Your regular printer ink works fine. The special part is the transparency film itself—it has a coating that accepts standard ink. Just make sure you’re using the right type of transparency for your printer (inkjet or laser).
Conclusion
Getting optimal settings for printing on transparencies doesn’t have to be frustrating. With the right film, correct printer settings, and proper technique, you’ll get professional-quality results every time.
Remember the key points: always use the right type of transparency for your printer, select transparency-specific settings, print on the coated side, and allow plenty of drying time. Test first, adjust as needed, and don’t rush the process.
Whether you’re printing on clear transparencies for presentations or delicate vellum for special projects, these settings will save you time, money, and headaches.
Now you’ve got everything you need to master transparency printing. Go create something beautiful—your perfectly printed transparencies are waiting.
Why Prints Fade Over Time: Essential Prevention Guide That Works Read More


