
Introduction
Choosing the right printer paper guide can make a huge difference in your print quality. Many people grab the cheapest paper at the store and wonder why their photos look dull or their documents jam constantly.
The truth is that paper choice matters just as much as your printer settings. Different papers work better for different jobs. Photos need glossy paper, while business documents look more professional on bright white sheets.
In this comprehensive printer paper guide, you’ll learn everything about paper types, weights, and finishes. You’ll discover how to match paper to your specific printing needs. By the end, you’ll know exactly which paper to buy for perfect results every time.
What Is Printer Paper and Why Does It Matter?
Printer paper is specially designed to accept ink or toner and produce clear, vibrant prints. Not all paper is created equal when it comes to printing.
Regular copier paper might work fine for basic documents. But it won’t give you the same results as paper designed specifically for your printer type. The coating, thickness, and brightness all affect how ink sits on the surface.
Inkjet printers spray tiny droplets of liquid ink onto paper. These printers need paper that absorbs ink quickly without bleeding or feathering. Laser printers use heat to fuse toner powder onto paper, requiring paper that can handle high temperatures.
The right paper prevents jams, improves color accuracy, and makes your prints last longer. It also protects your printer from damage caused by paper dust or coatings that aren’t compatible with your printing technology.
When you match paper to your printer and project, you get sharper text, more vibrant colors, and professional-looking results. The small investment in quality paper pays off in better prints and fewer frustrations.
Understanding Paper Weight and What It Means
Paper weight tells you how thick and sturdy a sheet is. In the United States, weight is measured in pounds, based on the weight of 500 sheets in their basic size.
Standard copy paper is usually 20 lb. This works fine for everyday documents that you’ll read and recycle. It’s thin enough to print on both sides without ink showing through.
Heavier papers like 24 lb or 28 lb feel more substantial. These are great for important letters, resumes, or presentations. The extra thickness gives a more professional impression.
Photo paper ranges from 50 lb to over 100 lb. This heavy weight prevents curling and gives photos a quality feel similar to traditional photo prints.
Cardstock typically starts at 65 lb and goes up to 110 lb or more. You’ll use this for greeting cards, invitations, or any project that needs to stand up on its own.
Thicker paper takes longer to dry and might require special printer settings. Always check your printer manual to see what paper weights it can handle. Most home printers work best with paper between 20 lb and 80 lb.
8 Steps to Choose the Perfect Printer Paper
Selecting the right paper doesn’t have to be confusing. Follow these steps to make the best choice for your printing needs.
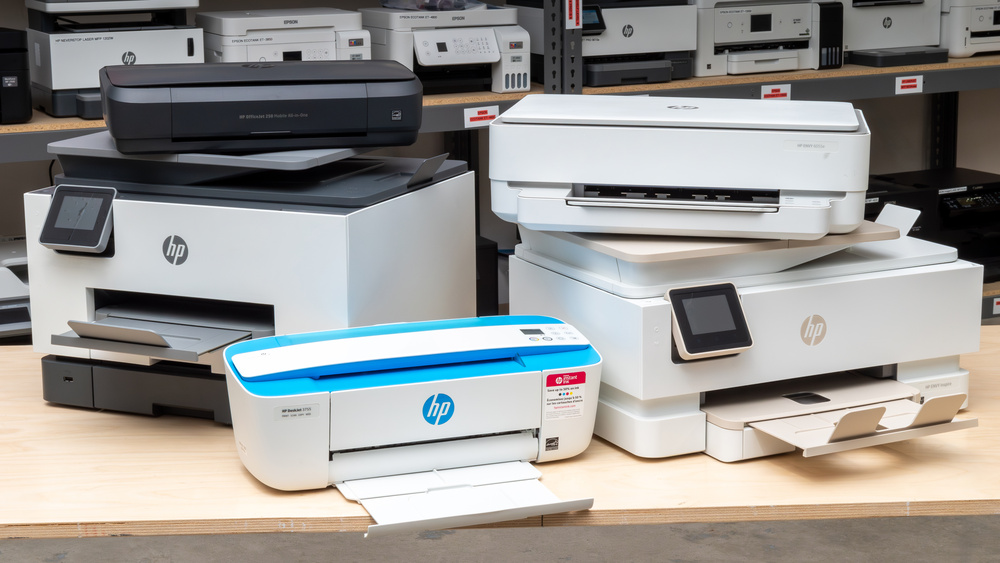
Step 1: Identify Your Printer Type
First, determine whether you have an inkjet or laser printer. This is the most important factor in paper selection.
Inkjet printers need paper designed to absorb liquid ink without spreading. Look for packages labeled “inkjet paper” or “inkjet compatible.”
Laser printers require paper that can withstand high heat. Laser paper has special coatings that won’t melt or stick to printer rollers. Using inkjet paper in a laser printer can damage your machine.
Check your printer model online if you’re not sure which type you have. The manufacturer’s website will tell you the printer category.
Step 2: Define Your Project Purpose
What are you printing? The answer determines which paper you need.
For everyday documents like emails or drafts, basic 20 lb copy paper works perfectly. It’s affordable and gets the job done.
Important business documents deserve better paper. Use 24 lb or 28 lb bright white paper for letters, proposals, or reports. The extra weight and brightness make a professional impression.
Photos require specialized photo paper with special coatings. Choose glossy for vibrant colors or matte for a softer, less reflective finish.
Marketing materials like brochures need heavier paper with good color reproduction. Look for 32 lb or heavier paper with high brightness ratings.
Step 3: Consider Paper Finish
Paper finish affects both appearance and how ink sits on the surface. The three main finishes are matte, glossy, and satin.
Matte paper has no shine and provides a natural look. It’s easy to write on and doesn’t show fingerprints. Matte works great for documents, reports, and text-heavy prints.
Glossy paper has a shiny, reflective surface that makes colors pop. Photos look vibrant and professional on glossy paper. However, it shows fingerprints easily and can be harder to write on.
Satin or semi-gloss paper offers a middle ground. It has some shine but less reflection than glossy. This finish works well for photos you want to write on the back of or documents with images.
Choose finish based on your final use. Documents for reading benefit from matte. Photos for framing look best on glossy. Mixed content works well on satin.
Step 4: Check Brightness and Whiteness
Paper brightness is rated on a scale from 1 to 100. Higher numbers mean brighter, whiter paper.
Standard copy paper usually has a brightness of 92 to 94. This works fine for basic printing needs.
Premium paper ranges from 96 to 98 brightness. The extra brightness makes colors more vivid and text sharper. It’s worth the upgrade for important documents.
Ultra-bright paper at 98 or higher gives the most striking results. This level is perfect for presentations, marketing materials, or any prints where appearance matters.
Don’t confuse brightness with shade. Some “white” papers actually have a warm (cream) or cool (blue) tint. True white paper gives the most accurate color reproduction.
Step 5: Select Appropriate Weight
Match paper weight to your project needs and printer capabilities.
For double-sided printing, use at least 24 lb paper. Lighter paper might show ink bleeding through from the other side.
Single-page documents can use standard 20 lb paper unless appearance matters. Then upgrade to 24 lb or 28 lb.
Photos need heavy paper (50 lb to 80 lb) to prevent curling and give a quality feel.
Cards and invitations require cardstock (65 lb to 110 lb) for proper stiffness.
Always check your printer’s maximum paper weight. Feeding paper that’s too thick can cause jams or damage your printer.
Step 6: Verify Paper Size Compatibility
Most printers handle standard letter size (8.5 x 11 inches) without issues. But verify before buying specialty sizes.
Legal size (8.5 x 14 inches) requires a printer with an extended paper tray. Not all home printers support this length.
Photo sizes like 4×6 or 5×7 need specific photo trays or manual feed. Check if your printer has these features.
Some printers can handle larger formats like 11×17 or A3. This is common in professional printers but rare in home models.
Envelope printing requires special settings and sometimes manual feed. Your printer manual will list compatible envelope sizes.
Step 7: Consider Special Coatings
Special coatings serve specific purposes and improve print results for certain projects.
Inkjet photo paper has a special coating that accepts ink droplets and holds them on the surface. Without this coating, ink would soak in and colors would look muddy.
Laser paper often has a smoother finish that helps toner fuse evenly. Some laser papers include special coatings that resist smudging.
Waterproof or water-resistant paper protects prints from moisture. This is important for outdoor signs, labels, or documents that might get wet.
Quick-dry coatings help ink set faster, reducing smudging when you handle fresh prints. This is especially useful for high-volume printing.
Step 8: Read Reviews and Test Small Quantities
Before buying in bulk, purchase small packs to test with your printer.
Read online reviews from users with the same printer model. They’ll mention compatibility issues, jamming problems, or color results.
Print a test page with text, photos, and graphics. This shows how the paper handles different content types.
Check how quickly ink dries and whether colors match your expectations. Some papers make colors look oversaturated while others appear dull.
Test durability by handling prints after a few days. Quality paper shouldn’t curl, fade, or yellow quickly.
Once you find paper that works well, you can buy larger quantities to save money.
Paper Types for Different Printing Needs
Understanding specific paper types helps you make faster decisions at the store.
Multipurpose Copy Paper
This is your everyday workhorse paper. It’s affordable, widely available, and works in most printers for basic documents. Brightness typically ranges from 92 to 96.
Premium Presentation Paper
Heavier and brighter than copy paper, presentation paper makes documents look more professional. It’s ideal for client presentations, important reports, or marketing materials.
Inkjet Photo Paper
Specially coated to produce vibrant photos, this paper comes in glossy, matte, and satin finishes. It’s available in various weights and sizes for different photo projects.
Cardstock
Thick, sturdy paper perfect for business cards, invitations, postcards, and craft projects. Weights range from 65 lb to 110 lb, and it comes in many colors.
Specialty Papers
This category includes transfer paper for t-shirts, label sheets, magnetic paper, and more. Each type serves a specific purpose and requires compatible printer settings.
You can find detailed specifications for various paper types on the International Paper website, which offers technical information about paper properties and uses.
Common Paper Selection Mistakes to Avoid
Many people make the same mistakes when buying printer paper. Here’s how to avoid them.
Using the Wrong Paper Type
The biggest mistake is using laser paper in an inkjet printer or vice versa. Laser paper doesn’t absorb inkjet ink properly, causing smudging and poor color. Inkjet paper in a laser printer can melt and damage the fuser.
Always check the package label to ensure compatibility with your printer type.
Buying Based Only on Price
The cheapest paper often causes the most problems. Low-quality paper jams more often, produces dull colors, and can leave dust inside your printer.
Spending a bit more on quality paper saves money in the long run through fewer jams, better prints, and less wasted ink.
Ignoring Paper Weight Limits
Feeding paper that’s too thick can damage your printer’s rollers and feed mechanism. Check your printer manual for the maximum supported paper weight.
Most home printers handle up to 80 lb paper. Anything heavier might require manual feed or won’t work at all.
Storing Paper Improperly
Paper absorbs moisture from the air, which causes jams and poor print quality. Always store paper in its original wrapper or a sealed container.
Keep paper in a cool, dry place away from windows and humid areas. Room temperature storage prevents curling and maintains paper quality.
Not Adjusting Printer Settings
Even with the right paper, you need to tell your printer what you’re using. Select the correct paper type in your print dialog before printing.
Choosing “photo paper” settings for plain paper wastes ink. Selecting “plain paper” for photos produces disappointing results. Match your settings to your paper for best results.
Mixing Different Paper Types
Don’t load different paper types in the same tray. The printer assumes all paper is the same and uses one set of settings for the entire tray.
Mixing papers causes some pages to print poorly. Keep different paper types in separate trays or swap them out when changing projects.
Troubleshooting Paper-Related Printing Problems
Sometimes issues arise even with the right paper. Here’s how to fix common problems.
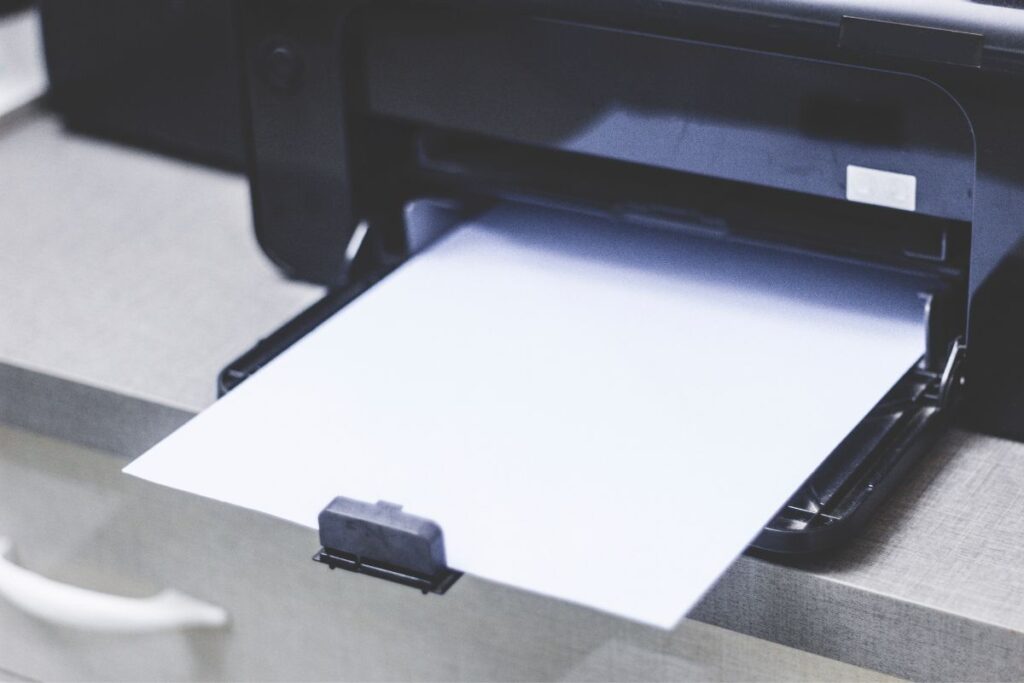
Paper Jams
If paper jams frequently, check that you’re not overloading the tray. Most trays have a maximum line you shouldn’t exceed.
Make sure paper edges are aligned and the guides touch the paper edges without squeezing. Loose or tight guides both cause jams.
Fan the paper before loading to separate sheets. This prevents multiple sheets from feeding together.
Smudged or Blurry Prints
Smudging often means you’re using the wrong paper type or settings. Verify that paper matches the setting selected in your print dialog.
For inkjet printers, smudging can also indicate that ink isn’t drying fast enough. Try a paper with better ink absorption or allow prints to dry longer before handling.
Colors Look Wrong
If colors don’t match your screen, your paper might be absorbing too much or too little ink. Try switching to paper specifically designed for your printer type.
Also check your paper’s brightness and whiteness. Cream-tinted paper makes colors look warmer than pure white paper.
Paper Curling
Curling happens when paper absorbs moisture unevenly. Store paper flat in a dry location.
For photo paper, curling often results from using paper that’s too thin. Upgrade to heavier weight photo paper (60 lb or higher).
Remove prints from the output tray promptly and place them under a heavy book overnight to flatten them.
Frequently Asked Questions
Can I use any paper in my printer?
No, you should use paper designed for your printer type. Inkjet printers need inkjet paper, and laser printers need laser paper. Using the wrong type can damage your printer or produce poor results.
What’s the difference between bright white and regular white paper?
Brightness refers to how much light the paper reflects. Bright white paper (96+ brightness) makes colors more vivid and text sharper. Regular white (92-94 brightness) works fine for everyday documents but produces less striking prints.
How do I know what paper weight my printer can handle?
Check your printer’s user manual or specifications page on the manufacturer’s website. Most home printers handle 20 lb to 80 lb paper. Some can manage heavier cardstock up to 110 lb.
Does expensive paper really make a difference?
Yes, quality paper significantly affects print results. Premium paper produces sharper text, more accurate colors, and fewer jams. For important documents or photos, the investment is worth it. For basic drafts, standard paper is fine.
Conclusion
This printer paper guide has shown you how to choose the perfect paper for any printing project. Understanding paper types, weights, and finishes helps you get professional results every time.
Remember that paper choice is just as important as printer quality or ink selection. The right paper prevents jams, improves colors, and makes your prints look their best. It also protects your printer from damage and helps your prints last longer.
Start by identifying your printer type and project needs. Then match paper weight, finish, and brightness to those requirements. Avoid common mistakes like using incompatible paper or ignoring printer settings.
With this knowledge, you can confidently choose paper that delivers excellent results. Whether printing important documents, vibrant photos, or creative projects, the right paper makes all the difference. Take time to test different options and find what works best for your specific printer and needs.
Printer Firmware Update: Essential Guide to Keep Your HP Printer Running Read More.


