
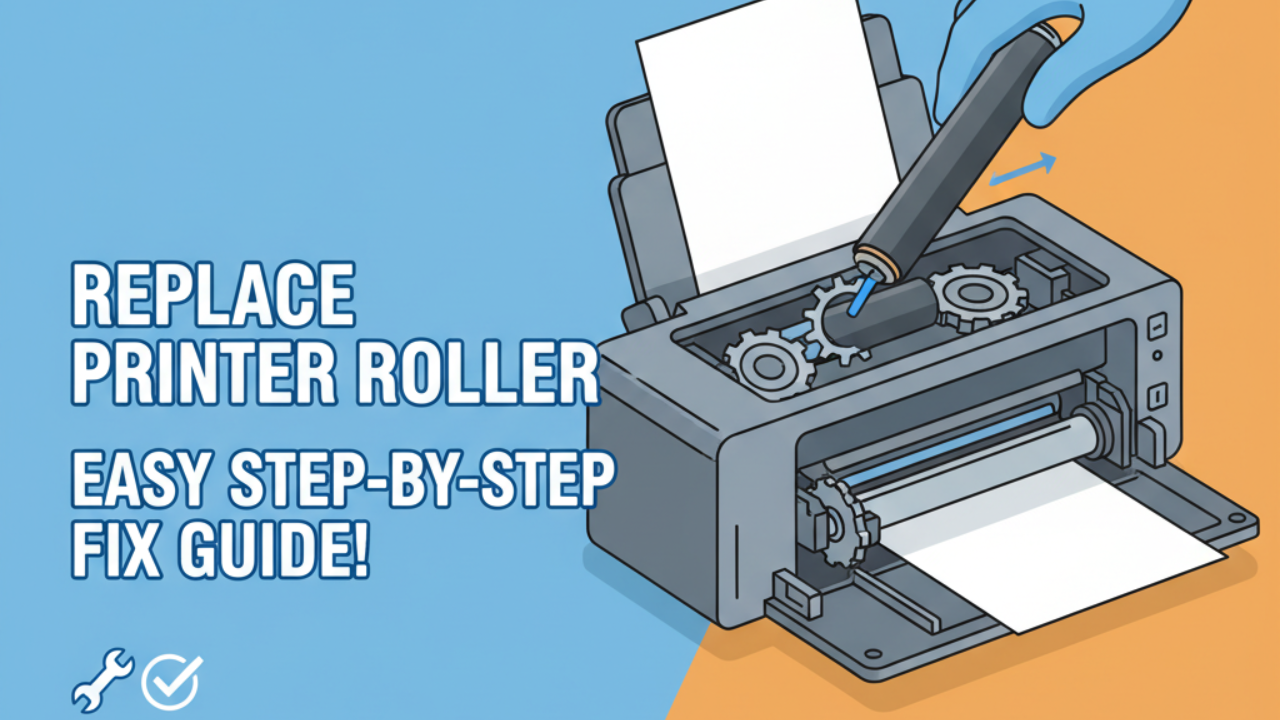
Learning to replace printer roller components saves money and extends your printer’s life. Paper jams, multiple sheets feeding at once, or paper not feeding at all often signal worn rollers. These rubber parts wear down over time from friction and use. The good news? You can replace printer roller parts yourself without calling a technician. This guide walks you through the entire process with clear, simple instructions anyone can follow, even if you’ve never opened a printer before.
What Are Printer Rollers and Why Do They Wear Out?
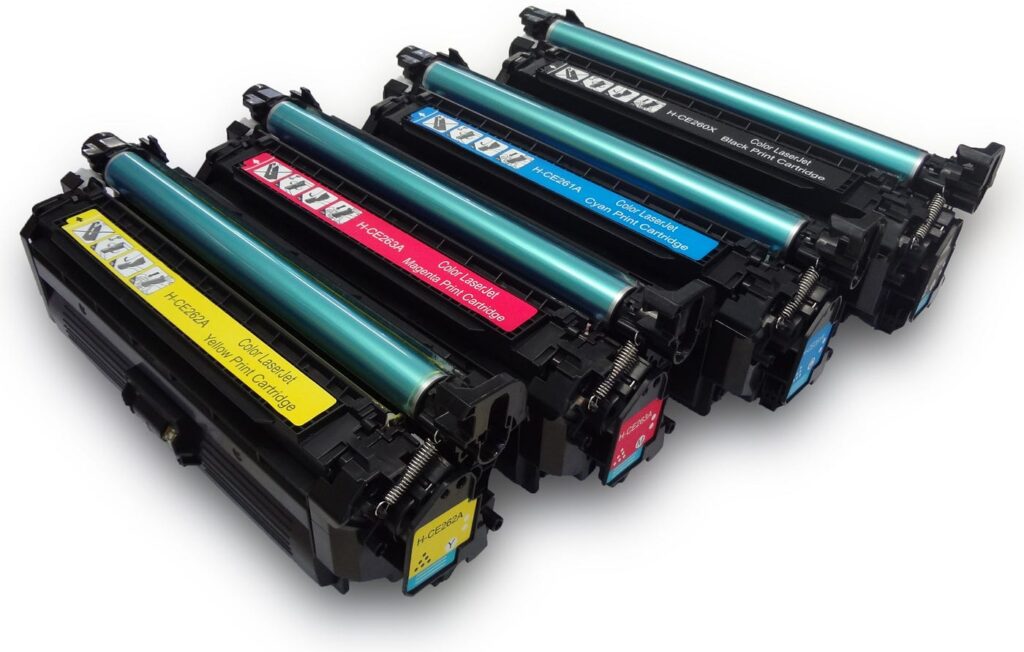
Printer rollers are rubber-coated cylinders that grab and move paper through your printer. Different rollers serve specific purposes. The pickup roller grabs paper from the tray. Feed rollers guide it through the printer. Transfer rollers help apply toner or ink. Separation rollers prevent multiple sheets from feeding together.
These rollers work constantly during printing. Each sheet that passes wears the rubber slightly. Over time, the surface becomes smooth, hard, or cracked. When this happens, rollers lose their grip on paper.
Several factors speed up roller wear. Dusty environments coat rollers with particles. Poor quality paper leaves residue. High humidity or extreme temperatures damage rubber. Heavy printing volumes accelerate wear. Most rollers need replacement every 50,000 to 100,000 pages.
Signs of worn rollers include frequent paper jams, paper not feeding from the tray, multiple sheets feeding at once, skewed or crooked printing, and grinding or squeaking noises during feeding. If you experience these issues regularly, roller replacement likely solves the problem.
8 Simple Steps to Replace Printer Roller Successfully
Step 1: Identify Which Roller Needs Replacement
Not all rollers wear at the same rate. Start by identifying the problem roller. The pickup roller is usually the culprit when paper won’t feed from the tray.
Check your printer manual or search online for your specific model. Look for diagrams showing roller locations. Different printers have rollers in different places.
Visually inspect accessible rollers. Look for cracks, smooth surfaces, or hardened rubber. Feel the roller surface if you can reach it. Worn rollers feel slick rather than grippy.
If you can’t identify the problem roller, start with the pickup roller. It’s the most common failure point and usually the easiest to access.
Step 2: Order the Correct Replacement Roller
Finding the right replacement part is crucial. Use your printer’s exact model number when searching. Model numbers appear on a label, usually on the back or bottom of the printer.
Check the manufacturer’s website first. They sell genuine replacement rollers guaranteed to fit. Note the part number for future reference.
Third-party rollers cost less but vary in quality. Read reviews carefully before buying. Look for complaints about fit or durability. Reputable third-party brands often work well and save money.
Sites like Amazon, eBay, or office supply stores carry printer rollers. Verify compatibility before purchasing. Some sellers offer return policies if the part doesn’t fit.
Step 3: Gather Necessary Tools and Prepare Workspace
Most roller replacements require minimal tools. You typically need a small Phillips screwdriver, possibly a flathead screwdriver, and clean lint-free cloths. Some printers need no tools at all.
Set up a clean, well-lit workspace. Use a table with enough room to lay out parts. Good lighting helps you see small components and screws clearly.
Have your printer manual handy as a reference. Print or download the relevant pages showing roller locations and removal instructions. This saves searching on your phone mid-repair.
Unplug the printer from power before starting. This prevents accidental starts and protects you from electrical hazards. Let the printer cool down if it was recently used.
Step 4: Remove Paper and Access Covers
Empty all paper from the trays. Open any covers that might interfere with roller access. This prevents damage to the printer during disassembly.
Remove the paper tray completely by pulling it straight out. Most trays simply slide out. Some have release tabs you must press first.
Open the front or top cover depending on your printer model. Many printers have hinged covers that provide access to internal components. Prop them open securely.
Check for additional panels or covers that need removal. Some printers hide rollers behind small access panels secured with screws. According to HP’s maintenance guides, proper access preparation prevents damage during repairs.
Step 5: Locate and Remove the Old Roller
Find the worn roller using your manual’s diagram. Pickup rollers usually sit just inside the paper tray opening. They’re small rubber cylinders on a metal or plastic shaft.
Note how the roller is positioned before removing it. Take a photo with your phone for reference. This helps during reassembly.
Most rollers have tabs or clips holding them in place. Gently press the release tabs while pulling the roller assembly out. Some require rotating slightly while pulling.
If screws hold the roller assembly, remove them carefully. Place screws in a small container so they don’t get lost. Remember which screw came from which hole.
Handle the old roller carefully. Even worn rollers can leave rubber residue on your hands. Avoid touching other printer components unnecessarily.
Step 6: Clean the Roller Area Thoroughly

Before installing the new roller, clean the surrounding area. Dust and paper debris accumulate around rollers and cause problems.
Use a lint-free cloth slightly dampened with water. Wipe away dust from the roller housing and nearby surfaces. Don’t use alcohol or harsh cleaners unless your manual specifically recommends them.
Check for stuck paper fragments. Small pieces of torn paper hide in corners and cause future jams. Remove any you find.
Let all cleaned areas dry completely before proceeding. Moisture can damage electronic components or cause the new roller to slip.
Step 7: Install the New Roller Properly
Unpack the replacement roller carefully. Avoid touching the rubber surface with bare hands. Oils from your skin can affect roller performance.
Align the new roller exactly like the old one was positioned. Refer to your photo if needed. The roller should slide into place easily.
Press or click the roller firmly into its mounting. You should hear or feel it lock into position. Gentle tugging should not dislodge it.
If screws were removed, replace them now. Tighten them snugly but not overly tight. Overtightening can crack plastic components.
Rotate the roller manually if possible. It should spin freely without binding or scraping. If it doesn’t move smoothly, remove and reinstall it.
Step 8: Reassemble and Test the Printer
Replace any covers or panels you removed earlier. Ensure all latches click securely. Loose covers can cause noise or interfere with printer operation.
Reinsert the paper tray fully. Load paper if the tray is empty. Use good quality paper for testing.
Plug the printer back in and turn it on. Let it complete its startup routine. Some printers run calibration after being powered off.
Print a test page to verify the replacement worked. Watch the paper feed carefully. It should grab smoothly and feed straight through without hesitation.
If the paper feeds correctly, your replacement succeeded. If problems persist, double-check the roller installation or consider that multiple rollers might need replacement.
Essential Tools and Resources for Printer Roller Maintenance

Having the right supplies makes roller replacement easier. Keep a basic printer maintenance kit including small screwdrivers, lint-free cloths, and isopropyl alcohol for cleaning.
Printer manufacturer websites offer valuable resources. They provide parts diagrams, video tutorials, and troubleshooting guides specific to your model. Bookmark these pages for future reference.
YouTube has countless video tutorials showing roller replacement for specific printer models. Watching someone perform the task builds confidence before you start.
Online forums like Reddit’s printer community or manufacturer-specific forums help when you encounter problems. Experienced users share solutions to common issues.
Consider buying multiple rollers if yours are heavily used. Having spare parts on hand reduces downtime when replacement becomes necessary.
Common Mistakes to Avoid When You Replace Printer Roller Parts
Ordering the wrong part wastes time and money. Always verify the part number matches your exact printer model. Similar model numbers often use different parts.
Forcing components during removal or installation damages them. If something doesn’t move easily, you’re probably missing a release mechanism. Review instructions carefully rather than applying force.
Touching the new roller’s rubber surface with bare hands transfers oils that reduce grip. Handle rollers by their ends or mounting points only.
Skipping the cleaning step allows old debris to interfere with new roller performance. Always clean thoroughly before installing new parts.
Over-tightening screws cracks plastic housings. Tighten just until snug. If you feel significant resistance, you’ve gone too far.
Rushing through reassembly leads to forgotten screws or misaligned parts. Take your time and verify each step. Double-check that all components are properly seated.
Forgetting to test immediately means you might not discover problems until you need to print urgently. Always test after any maintenance work.
Not keeping records of when you replace printer roller components makes future maintenance harder. Note replacement dates and part numbers. This helps track when next replacement might be needed.
Frequently Asked Questions
Q: How often should I replace printer rollers? Replace rollers when you notice feeding problems, not on a fixed schedule. Heavy users might need replacement every 1-2 years. Light users might go 3-5 years. Watch for symptoms like jams and misfeeds rather than replacing on a timeline.
Q: Can I clean rollers instead of replacing them? Cleaning helps temporarily but doesn’t restore worn rubber. Clean rollers with slightly damp cloth to remove dust and debris. This extends life between replacements but eventually won’t solve hardened or cracked roller problems.
Q: Are generic replacement rollers as good as original parts? Quality varies with generic rollers. Premium third-party brands often perform well and cost less. Cheap generic rollers might not last as long or fit as precisely. Read reviews and choose reputable sellers for best results.
Q: Why does my printer still jam after I replace printer roller? Multiple worn rollers, debris in the paper path, or bent guides can cause continued jams. Check separation rollers and transfer rollers too. Thoroughly clean the entire paper path. Ensure paper quality is good and not damaged or damp.
Q: Can I replace printer rollers myself or need a technician? Most people can replace pickup and feed rollers themselves with basic tools. The process is straightforward for most consumer printers. Internal transfer rollers might require more disassembly and could need professional help for complex models.
Conclusion
Learning to replace printer roller components empowers you to maintain your printer affordably. This simple repair extends printer life and eliminates frustrating paper feeding problems. Most replacements take just 15-30 minutes once you understand the process.
The key is identifying the worn roller correctly, ordering the right replacement part, and following systematic steps. Take your time, refer to your manual, and don’t force anything. With patience and care, you’ll have your printer feeding smoothly again.
Regular maintenance including roller replacement keeps your printer running reliably for years. Save the cost of service calls or premature printer replacement by handling this simple repair yourself. Once you’ve done it once, future replacements become even easier and faster.
Best All-in-One Printers 2025: Ultimate Buying Guide Read More.


