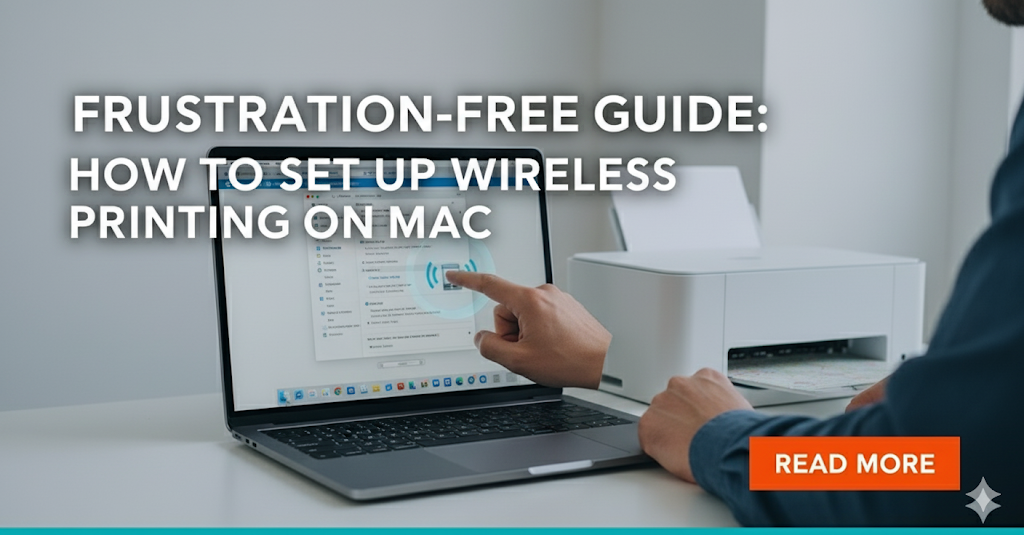
Trying to set up wireless printing on your Mac should be a simple task, but it can sometimes feel like a technical puzzle. The dream is to click “Print” and have your document appear magically from a printer across the room. The reality can involve confusing settings, printers that refuse to appear, and mounting frustration. Wires are a thing of the past, and your sleek Mac setup deserves a seamless, wireless printing solution to match.
If you’re tired of searching for cables or feeling baffled by network settings, you’ve come to the right place. This guide will walk you through the entire process, from unboxing your printer to printing your first wireless page. We’ll cover everything in simple terms, ensuring you get connected quickly and easily. Let’s untangle the mystery of wireless printing together.
Understanding Wireless Printing on a Mac
Before diving into the steps, it helps to know what’s happening behind the scenes. The main reason it’s so easy to set up wireless printing on a Mac is a technology called AirPrint. Developed by Apple, AirPrint is built into macOS, iOS, and iPadOS, as well as most modern wireless printers.
Think of AirPrint as a universal language that your Mac and printer both speak. When a printer is AirPrint-compatible, your Mac can automatically discover it on your Wi-Fi network and print to it without needing you to install any special software or drivers. It’s designed to “just work.”
For printers that aren’t AirPrint-enabled or for users who need access to highly specific features, you might need to install software from the printer’s manufacturer (like HP, Canon, or Epson). But for the vast majority of users today, AirPrint is the technology that makes wireless printing a breeze. Your Mac is designed to handle the heavy lifting for you.
The 5 Essential Steps to Set Up Wireless Printing on Your Mac

Connecting your printer wirelessly is a straightforward process. By following these steps in order, you can avoid common issues and get everything running smoothly.
Step 1: Prepare Your Printer and Network
First, get your hardware ready. This foundational step prevents most common connection problems.
- Power On Your Printer: Make sure your printer is plugged in and turned on.
- Connect to Wi-Fi: Using your printer’s built-in screen or setup buttons, connect it to the exact same Wi-Fi network that your Mac is using. This is the most critical part. If your Mac is on “MyHomeNetwork” and your printer is on “MyHomeNetwork_5G,” they won’t be able to communicate.
- Check Supplies: Ensure the printer has paper loaded and that the ink or toner cartridges are installed correctly and are not empty.
Step 2: Let Your Mac Discover the Printer (The Easy Way)
For AirPrint-compatible printers, the setup can be almost automatic. Before you even go into your settings, try this:
- Open any document on your Mac (a webpage, a note, a photo).
- Go to
File > Printor pressCommand + Pon your keyboard. - Click on the “Printer” dropdown menu.
- Wait a few seconds. If you see your printer’s name appear in the list, you’re done! Your Mac has found it automatically. You can select it and print a test page.
If it doesn’t appear, don’t worry. Move on to the manual method in the next step.
Step 3: Manually Adding the Printer via System Settings

This is the standard and most reliable method to add a printer to your Mac wirelessly.
- Click the Apple icon in the top-left corner of your screen.
- Select System Settings… (On older macOS versions, this is “System Preferences…”).
- In the sidebar, scroll down and click on Printers & Scanners.
- Click the “Add Printer, Scanner, or Fax…” button. A new window will pop up.
- Your Mac will now scan your network for available printers. After a few moments, your printer should appear in the list.
- Click on your printer’s name to select it. In the “Use” dropdown at the bottom, your Mac will usually select “AirPrint.” This is the best option if available.
- Click the Add button.
Your printer is now installed and ready to use from any application on your Mac.
Step 4: Installing Manufacturer Software (If Needed)
If your printer did not appear in the list, is an older model, or you need to use its scanning function and other advanced features, you may need to install the official software.
- Visit the support website for your printer’s manufacturer (e.g., HP Support, Epson Support).
- Search for your exact printer model number.
- Download the recommended software or driver package for macOS.
- Run the installer and follow the on-screen instructions. This process will typically guide you through the Wi-Fi setup and add the printer to your Mac for you.
Step 5: Print a Test Page

Whichever method you used, the final step is to confirm that everything is working. Open a simple document and print it. Seeing that page successfully emerge from your printer is the confirmation that your new wireless setup is a success.
Beyond the Basics: Pro Tips and Tools
Once you set up wireless printing on your Mac, you can unlock even more convenience. Since the printer is on your network, you can now print directly from your iPhone or iPad with zero additional setup, thanks to AirPrint.
You can also manage your print jobs effectively. When you print something, a new printer icon appears in your Mac’s Dock. Clicking this opens the Printer Queue. Here, you can see the status of your print job, pause it, resume it, or cancel it entirely. If you have multiple printers installed, you can go back to System Settings > Printers & Scanners and set one as your Default Printer so it’s always selected first.
Finally, remember that your printer’s software, if installed, often provides tools for maintenance, like checking ink levels or performing a printhead cleaning. It’s also where you’ll find updates for your printer’s internal software, known as firmware. For more on this, you can learn about What is Printer Firmware and Do You Really Need to Update It? from tech experts at PCMag.
Troubleshooting Common Mac Printing Problems
Even with a simple process, you might run into a snag. Here are solutions to the most common issues when trying to get your macOS printer setup working.
- Problem: “My Mac Can’t Find My Printer.”
- The Fix: This is almost always a network issue. First, double-check that your Mac and printer are on the exact same Wi-Fi network. Next, try the classic “turn it off and on again” trick. Restart your Wi-Fi router, then your printer, and finally your Mac. This clears up most temporary network glitches.
- Problem: “The Printer is Showing as ‘Offline’.”
- The Fix: This means your Mac can’t communicate with the printer. Check that the printer is on and not in a deep sleep mode (press the power button to wake it). Verify its Wi-Fi connection is still active. If the problem persists, go to
System Settings > Printers & Scanners, right-click (or Control-click) the printer, and select “Reset Printing System…” This will remove all your printers, allowing you to add them again with a fresh connection.
- The Fix: This means your Mac can’t communicate with the printer. Check that the printer is on and not in a deep sleep mode (press the power button to wake it). Verify its Wi-Fi connection is still active. If the problem persists, go to
- Problem: “The Software for this Printer Isn’t Available.”
- The Fix: This error can occur if your Mac’s built-in software library doesn’t recognize your printer. The solution is to visit your printer manufacturer’s website, download the latest macOS driver for your model, and install it manually as described in Step 4.
Frequently Asked Questions (FAQs)
1. Do I need to install a special driver for my printer on a Mac? Usually not. Thanks to AirPrint, most modern printers work out of the box with no extra software needed. You only need to install a driver if your printer is very old or if you need to access advanced scanning or maintenance features.
2. How do I find my printer’s IP address on the network? You can usually find the IP address by printing a “network configuration” or “network status” page from the printer’s own menu system. This is useful for advanced troubleshooting.
3. Can I set up a printer on a Mac without Wi-Fi? Absolutely. While this guide focuses on wireless, you can always connect a printer directly to your Mac using a USB cable. Your Mac will typically recognize it and set it up automatically.
4. Why is my AirPrint printer not showing up? The most common reasons are that the printer and Mac are on different Wi-Fi networks, or a network firewall is blocking the discovery protocol (Bonjour). Restarting your router often resolves this.
Conclusion
Successfully setting up wireless printing on your Mac is a liberating experience that streamlines your workflow and declutters your desk. While it can seem intimidating, the process is usually as simple as ensuring your devices are on the same network and letting Apple’s elegant AirPrint technology do the rest. By following the steps outlined in this guide—from preparation and automatic discovery to manual setup and troubleshooting—you have all the tools you need to solve any issue that arises.
Now you can enjoy the convenience you were promised: a clean, wireless connection between your Mac and your printer that “just works.” Go ahead and print that document from your couch—you’ve earned it.
Unlock Perfect Prints: Your Ultimate Guide to Affordable Wireless Printers for Home Office 2025 Read More.


