
Introduction
Dealing with a laser printer replace drum error can stop your work dead in its tracks. These frustrating messages pop up at the worst times, often when you need to print urgent documents.
The good news? Most drum and waste toner errors are easy fixes that don’t require expensive parts or service calls. Many users panic and rush to buy new drums or call technicians when simple solutions would work.
Whether you’re seeing “Replace Drum,” “Waste Toner Full,” or similar error messages, this guide has you covered. We’ll show you five proven methods that solve these issues quickly and effectively.
These fixes work for most major laser printer brands including Brother, HP, Canon, and Lexmark. You’ll save time, money, and get back to printing in minutes.
What Is Laser Printer Drum and Waste Toner Error?
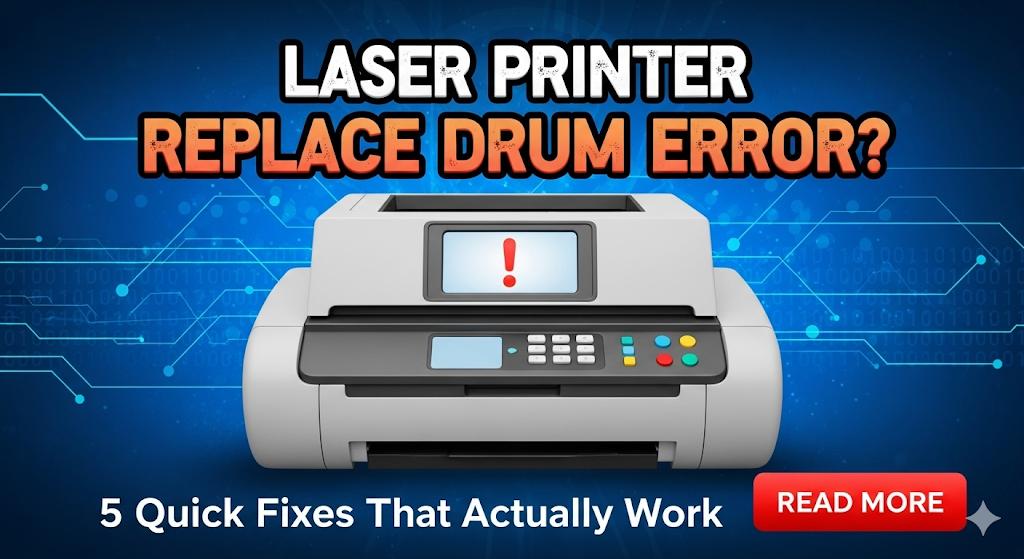
Laser printer drum errors occur when your printer thinks the imaging drum unit needs replacement. The drum is a crucial component that transfers toner onto paper during the printing process.
Modern printers track drum usage through page counters and estimate when replacement is needed. However, these counters aren’t always accurate and sometimes trigger premature error messages.
Waste toner full error fix messages appear when the printer’s waste toner container reaches capacity. This container collects excess toner during printing and cleaning cycles.
Both errors can completely stop your printer from working, even when the actual components still function perfectly. The printer’s safety systems prevent operation to avoid potential damage or poor print quality.
Understanding these errors helps you decide whether you need actual replacement parts or just need to reset the printer’s internal counters. Many times, a simple reset solves the problem without spending money on new parts.
The key is knowing when the error reflects a real problem versus an overly cautious printer system that needs manual override.
5 Ways to Fix Replace Drum and Waste Toner Errors

Method 1: Reset the Drum Counter
Most laser printers let you reset drum counters through the control panel menu. This is often the quickest solution for premature drum replacement warnings.
Turn on your printer and navigate to the “Settings” or “Tools” menu on the display. Look for options like “Reset Drum,” “Drum Counter,” or “Maintenance.”
Select the drum reset option and follow the prompts. Some printers require you to confirm the reset multiple times to prevent accidental resets.
The exact menu location varies by brand. Brother printers often use the “Machine Info” menu, while HP models typically place it under “Service” options.
After resetting, your printer should clear the error message and resume normal operation. This method works when the drum still has usable life remaining.
Method 2: Clean and Reinstall the Drum Unit
Physical cleaning can resolve errors caused by toner buildup or poor connections. Power off your printer completely and open the front or top cover.
Carefully remove the drum unit following your printer’s manual. Handle it gently and avoid touching the green or blue drum surface directly.
Use a lint-free cloth to clean the metal contacts on both the drum unit and inside the printer. Remove any visible toner dust or debris.
Check for any protective covers or tape that might interfere with proper installation. Reinstall the drum unit firmly until it clicks into place.
Close all covers and power on your printer. This physical reset often clears error messages caused by connection issues.

Method 3: Empty and Reset Waste Toner Container
For drum unit replacement guide scenarios involving waste toner, locate your printer’s waste toner container. This is usually a clear or black box inside the printer.
Remove the container carefully to avoid spilling toner. Most containers can be emptied and reused rather than replaced entirely.
Dispose of waste toner properly according to local regulations. Toner powder can be harmful if inhaled, so work in a well-ventilated area.
Clean the container thoroughly and reinstall it. Access your printer’s menu to reset the waste toner counter, similar to the drum counter process.
This method saves money on replacement containers while solving the immediate error message.
Method 4: Override Safety Locks
Some printers have hidden override options for experienced users. These bypass normal safety checks but should be used carefully.
Access your printer’s service menu by holding specific button combinations during startup. Common combinations include holding “Cancel” + “Secure” + “Start” buttons.
Navigate to diagnostic menus and look for counter reset or override options. These menus often use technical language and require careful navigation.
Use this method only when you’re confident the drum or waste container still functions properly. Overriding safety systems can lead to poor print quality if components truly need replacement.
Document your current counter values before making changes in case you need to restore original settings.
Method 5: Perform Complete System Reset
When other methods fail, a full system reset can clear persistent error states. This is similar to a factory reset but focuses on maintenance counters.
Power off your printer and disconnect all cables for at least two minutes. This clears temporary memory and resets internal systems.
Reconnect power and turn on the printer while holding the “Menu” or “Settings” button. This often accesses special reset modes.
Look for “All Clear,” “Factory Reset,” or “Initialize” options in the service menu. Confirm the reset when prompted.
Your printer will restart and should clear all error messages. You’ll need to reconfigure network settings and preferences after this reset.

Additional Tools and Resources for Laser Printer Maintenance Errors
Professional printer maintenance software can help monitor drum life and predict when replacement is actually needed. Tools like PrinterLogic or PaperCut provide detailed usage analytics.
Drum life calculators help estimate remaining capacity based on your printing habits. These tools are more accurate than built-in counters for many users.
Generic drum reset utilities are available online for specific printer models. However, use reputable sources and scan downloads for malware before installation.
Manufacturer websites often provide model-specific reset procedures and troubleshooting guides. Bookmark these resources for future reference.
Consider investing in drum life extender products that can genuinely increase drum longevity. These specialized cleaning solutions work for some printer models.
Keep spare drums and waste containers on hand if your business relies heavily on laser printing. This prevents downtime when components genuinely need replacement.
Common Mistakes to Avoid
Never ignore genuine drum replacement needs just because you know how to reset counters. Worn drums produce poor quality prints and can damage other printer components.
Don’t attempt drum cleaning with water or household cleaners. These can permanently damage the photosensitive drum surface and require expensive replacement.
Avoid touching the drum surface with bare hands or tools. Oils and scratches can create permanent marks that appear on every printed page.
Many users reset counters without checking actual drum condition first. Inspect your prints for quality issues before deciding whether reset or replacement is needed.
Don’t dispose of toner waste in regular trash. Most areas have specific disposal requirements for toner powder due to environmental concerns.
Some users try to refill waste toner containers beyond capacity. Overfilled containers can leak and damage internal printer components permanently.
Never force drum units or waste containers into place. Proper installation should be smooth and secure without excessive pressure.
Frequently Asked Questions
Q: How do I know if my laser printer replace drum error is real or just a counter issue? A: Check your print quality first. If prints look good with sharp text and even coverage, the error is likely just a counter reset issue. Faded, streaky, or spotted prints indicate genuine drum wear.
Q: Can I clean and reuse waste toner containers? A: Yes, most waste toner containers can be emptied and reused multiple times. Clean thoroughly and reset the counter after emptying. Replace only when the container shows physical damage.
Q: How often should I actually replace my printer drum? A: Typical drum life ranges from 12,000 to 50,000 pages depending on your printer model. Check your manual for specific ratings and base replacement on actual print quality rather than counter warnings.
Q: Is it safe to override drum replacement warnings? A: It’s safe if print quality remains good. However, continuing to use genuinely worn drums can damage other printer components and produce poor results. Monitor print quality closely after overriding warnings.
Conclusion
Laser printer replace drum error messages don’t always mean you need expensive replacements. These five proven methods solve most drum and waste toner errors quickly and cost-effectively.
Start with simple counter resets before moving to physical cleaning or system overrides. Most users find success with the first few methods, saving both time and money on unnecessary parts.
Remember that some errors do indicate genuine maintenance needs. Balance cost savings with print quality to determine when actual replacement is necessary versus simple counter resets.
Regular maintenance and proper handling extend drum life significantly. Clean your printer monthly and handle drums carefully to maximize their lifespan and minimize error messages.
With these tools and techniques, you can keep your laser printer running smoothly without constant error interruptions or expensive service calls.
HP Printer Factory Reset: Ultimate Fix Guide (When You Actually Should) Read More.
Brother Printer Support – For model-specific drum replacement procedures and official troubleshooting guides


