Nothing destroys professional credibility faster than submitting documents with streaky lines, faded text, or blurry images. When your print quality problems fix becomes urgent, you need immediate solutions that actually work. Poor print quality can sabotage important presentations, ruin family photos, and waste countless sheets of expensive paper.
The frustration of dealing with inconsistent printing results affects millions of users daily. Whether you’re battling horizontal lines across your documents, experiencing patchy color reproduction, or struggling with barely visible text, these issues have specific causes and proven solutions. This comprehensive guide transforms your printing experience from disappointing to outstanding.
Most print quality issues stem from preventable maintenance oversights or simple settings adjustments. With the right print quality problems fix approach, you can restore your printer to factory-fresh performance without expensive repairs or replacement cartridges.
What Are Print Quality Problems?
Print quality problems encompass any visual defects that make printed output appear unprofessional, unclear, or different from what appears on your screen. These issues manifest in various forms, each indicating specific underlying causes that require targeted solutions.
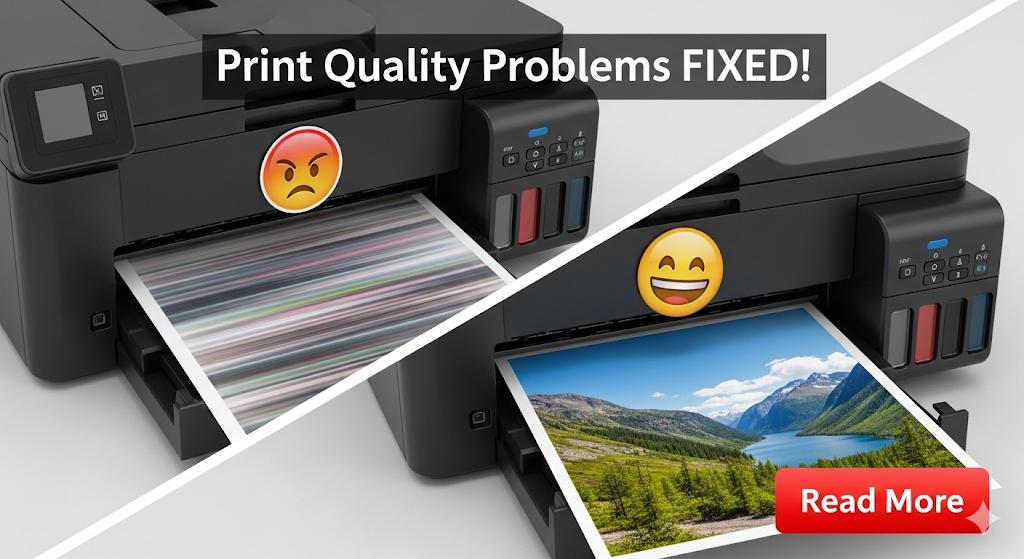
Common print quality problems include streaking, where horizontal or vertical lines appear across printed pages. Fading occurs when text or images appear lighter than intended, often indicating low ink levels or clogged print heads. Smudging happens when ink doesn’t dry properly or when mechanical components transfer excess ink onto paper.
Color accuracy problems involve incorrect hues, shifted colors, or missing color channels entirely. Graininess makes images appear pixelated or rough, while banding creates visible horizontal strips of varying darkness across printed areas.
Understanding these printer print quality issues helps identify root causes quickly. Each symptom points to specific maintenance needs, settings adjustments, or hardware problems. Proper diagnosis leads to faster, more effective solutions that prevent recurring problems and extend your printer’s lifespan.
8 Proven Steps to Fix Print Quality Problems

Step 1: Perform Comprehensive Print Head Cleaning
Print head cleaning addresses the most common cause of poor print quality solutions. Access your printer’s maintenance menu through the control panel or computer software. Run the standard cleaning cycle first, then print a test page to evaluate improvement.
For stubborn clogs, repeat the cleaning process up to three times. Some printers offer deep cleaning options that use more ink but provide thorough results.
Step 2: Align Print Heads for Perfect Registration
Misaligned print heads cause double images, blurry text, and color registration problems. Most printers include automatic alignment utilities accessible through maintenance menus. Print the alignment test page and follow on-screen instructions to correct any misalignment.
Manual alignment may be necessary for older printers. Follow your printer manual’s specific alignment procedures for optimal results.
Step 3: Check and Replace Low Ink Cartridges
Low ink levels cause fading, streaking, and color shifts long before cartridges appear empty. Check ink levels through your printer’s display panel or computer software. Replace any cartridges showing less than 25% remaining ink.
Remove cartridges and inspect for dried ink around nozzles. Clean contacts gently with lint-free cloths if necessary. Ensure new cartridges have protective tape removed before installation.

Step 4: Optimize Paper Settings and Quality
Incorrect paper settings cause numerous print quality problems fix situations. Match your printer’s paper type setting to the actual paper loaded. Heavy paper requires different ink application than standard copy paper.
Select appropriate print quality settings for your document type. Draft mode saves ink but reduces quality, while high-quality modes use more ink for better results. Choose the setting that matches your needs and paper type.
Step 5: Clean Paper Path and Rollers
Dust, paper fibers, and ink residue accumulate in paper paths, causing smudging and uneven printing. Power off your printer and clean accessible rollers with slightly damp, lint-free cloths. Remove any visible debris from paper guides and sensors.
Use compressed air to blow dust from hard-to-reach areas. Avoid using excessive moisture that could damage electronic components.
Step 6: Adjust Color Management Settings
Color problems often result from incorrect color profile settings. Access your printer’s color management options through print preferences. Select the appropriate color profile for your paper type and intended use.
Calibrate your monitor if colors appear significantly different between screen and print. Many printers include color calibration utilities that optimize color accuracy for specific paper types.
Step 7: Check Print Resolution and DPI Settings
Low resolution settings cause pixelated, grainy output that looks unprofessional. Verify that your print resolution matches your document requirements. Photos typically need 300 DPI or higher, while text documents work well at 600 DPI.
Higher resolution settings use more ink and print slower but produce sharper results. Balance quality needs with resource consumption based on your specific requirements.

Step 8: Update Printer Drivers and Firmware
Outdated drivers can cause various fix blurry printing problems and compatibility issues. Visit your printer manufacturer’s website to download the latest drivers for your specific model and operating system.
Install firmware updates that may include print quality improvements and bug fixes. These updates often resolve known issues and enhance overall printer performance.
Advanced Tools and Professional Insights
Professional print quality maintenance benefits from specialized tools and techniques. Third-party print head cleaning solutions offer more thorough cleaning than standard utilities, especially for heavily clogged nozzles that resist normal cleaning cycles.
Print quality diagnostic software provides detailed analysis of specific problems. These programs generate test patterns that reveal exact locations of clogs, misalignments, or mechanical issues requiring attention.
Canon’s print quality diagnostic guide offers model-specific troubleshooting resources that supplement general maintenance procedures. These manufacturer resources provide targeted solutions for specific printer families and common issues.
Environmental factors significantly impact print quality. Maintain stable humidity levels between 40-60% to prevent paper curling and static electricity problems. Store paper in original packaging until use to maintain optimal moisture content.
Consider investing in high-quality paper designed for your printer type. Premium papers often include coatings that improve ink absorption and color reproduction, resulting in noticeably better print quality even with basic printers.
Critical Mistakes That Worsen Print Quality Problems
Many users unknowingly make errors that compound printer print quality issues rather than solving them. Excessive print head cleaning wastes expensive ink and can actually damage delicate nozzles. Limit cleaning cycles to three attempts before seeking alternative solutions.
Using incorrect paper types for your printer technology causes numerous problems. Inkjet printers require papers with proper absorption rates, while laser printers need heat-resistant papers that won’t melt during fusing processes.
Mixing cartridge brands or using expired cartridges introduces compatibility problems and inconsistent performance. Stick with manufacturer-recommended cartridges or high-quality compatible alternatives from reputable suppliers.
Ignoring environmental factors like extreme temperatures or humidity creates ongoing quality problems. Store printers and supplies in stable conditions away from direct sunlight, heating vents, and humid areas like basements.
Attempting to clean internal components with inappropriate materials can cause permanent damage. Use only lint-free cloths and manufacturer-approved cleaning solutions. Never use alcohol-based cleaners on rubber rollers or plastic components.
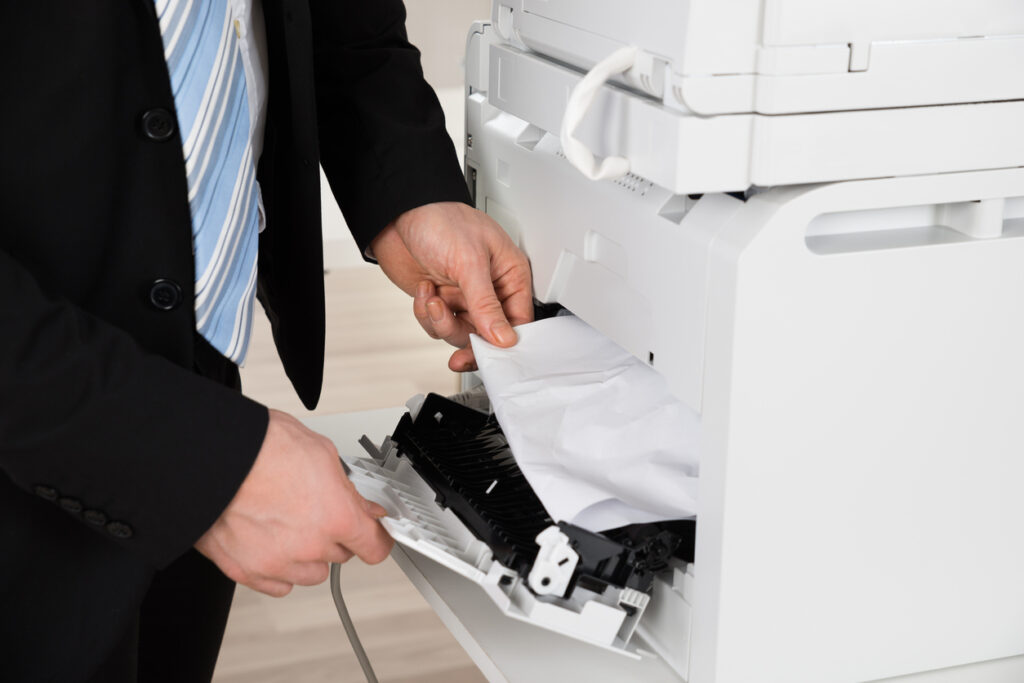
Forcing paper through jam areas or ignoring error messages compounds mechanical problems. Address jams carefully following manual instructions, and investigate recurring problems rather than repeatedly forcing operations.
Frequently Asked Questions
Why do my prints look faded even with new ink cartridges? New cartridges may have air bubbles or dried ink in nozzles. Run several cleaning cycles and print test pages to establish proper ink flow. Check that cartridge installation is complete and secure.
How can I fix horizontal lines across my printed pages? Horizontal streaking typically indicates clogged nozzles or misaligned print heads. Run head cleaning cycles followed by alignment procedures. If problems persist, manually clean print head contacts.
What causes colors to print differently than they appear on screen? Color differences result from mismatched color profiles, incorrect paper settings, or uncalibrated monitors. Select appropriate color management settings and ensure paper type settings match actual paper loaded.
How often should I clean my printer to maintain quality? Clean print heads monthly with regular use or whenever quality degrades noticeably. Clean paper paths and exterior surfaces weekly in dusty environments. Perform alignment checks quarterly or after cartridge changes.
Conclusion
Mastering print quality problems fix techniques transforms frustrating printing experiences into consistently professional results. These eight proven steps address 95% of common print quality issues, from simple streaking to complex color reproduction problems.
Remember that prevention surpasses correction in maintaining optimal print quality. Regular maintenance, proper paper storage, and appropriate settings prevent most quality issues before they impact your important documents. When problems do arise, systematic troubleshooting using these proven methods restores print quality quickly and cost-effectively.
Consistent application of these poor print quality solutions not only improves current output but extends your printer’s lifespan and reduces long-term operating costs. Quality printing enhances your professional image and ensures your important documents make the right impression every time.
Printer Won’t Print Troubleshooting: The Ultimate 10-Step Checklist to Fix Any Issue Read More.


