
Are you frustrated with HP printer blurry images ruining your important documents and photos? You’re not alone. Thousands of HP printer users face this annoying issue daily, whether they’re printing business reports, family photos, or school assignments. The good news is that most blurry print problems have simple solutions that don’t require expensive repairs or replacement parts.
Blurry printer output can stem from various causes, ranging from simple maintenance issues to more complex hardware problems. Understanding these root causes and knowing how to address them can save you time, money, and countless headaches. In this comprehensive guide, we’ll walk you through seven proven methods to fix blurry printer output and restore your HP printer’s crystal-clear print quality.
What Are HP Printer Blurry Images?
HP printer blurry images refer to printed output that appears fuzzy, unclear, or lacks the sharp definition expected from modern inkjet and laser printers. This printing issue manifests in several ways: text may appear smudged or have unclear edges, photographs might look out of focus, and fine details in graphics could become indistinguishable.
The problem typically occurs when ink or toner doesn’t transfer properly onto paper, creating inconsistent coverage that results in unclear images. Unlike completely blank pages or obvious streaking, blurry prints can be subtle enough that users initially blame their source material rather than the printer itself.
Several factors contribute to this issue. Misaligned print heads can cause ink droplets to land in slightly wrong positions, creating a fuzzy appearance. Dirty or clogged nozzles prevent proper ink flow, leading to incomplete character formation. Additionally, incorrect paper settings, low-quality paper, or worn-out cartridges can all contribute to poor print clarity.
Understanding that blurry images are usually symptomatic of maintenance issues rather than hardware failure is crucial. Most cases can be resolved through proper cleaning, calibration, and settings adjustments without requiring professional service or expensive component replacement.
7 Proven Ways to Fix HP Printer Blurry Images

1. Clean the Print Heads Thoroughly
The most common cause of HP printer blurry images is dirty or clogged print heads. Over time, dried ink accumulates on the print head nozzles, disrupting the smooth flow of ink and creating fuzzy output.
Start by accessing your printer’s maintenance menu through the control panel or HP Smart app. Select “Clean Print Heads” or “Print Head Cleaning” and run the automated cleaning cycle. This process typically takes 2-3 minutes and uses small amounts of ink to flush out dried residue.
For stubborn clogs, remove the ink cartridges and gently clean the print head contacts with a lint-free cloth dampened with distilled water. Avoid using tap water, as minerals can cause additional clogging. Allow everything to dry completely before reinstalling the cartridges.
2. Align Your Print Heads Properly
Misaligned print heads are another leading cause of blurry printer output. When heads are out of alignment, ink droplets don’t land precisely where they should, creating overlapping or offset text and images.
Navigate to your printer’s settings menu and select “Align Print Heads” or “Print Head Alignment.” Your printer will generate a test page with various alignment patterns. Follow the on-screen instructions to select the clearest pattern for each color, which tells the printer how to adjust its head positioning.
This calibration process should be performed monthly or whenever you notice print quality degradation. Some HP printers automatically prompt for alignment after cartridge replacement, but manual alignment may be necessary if problems persist.
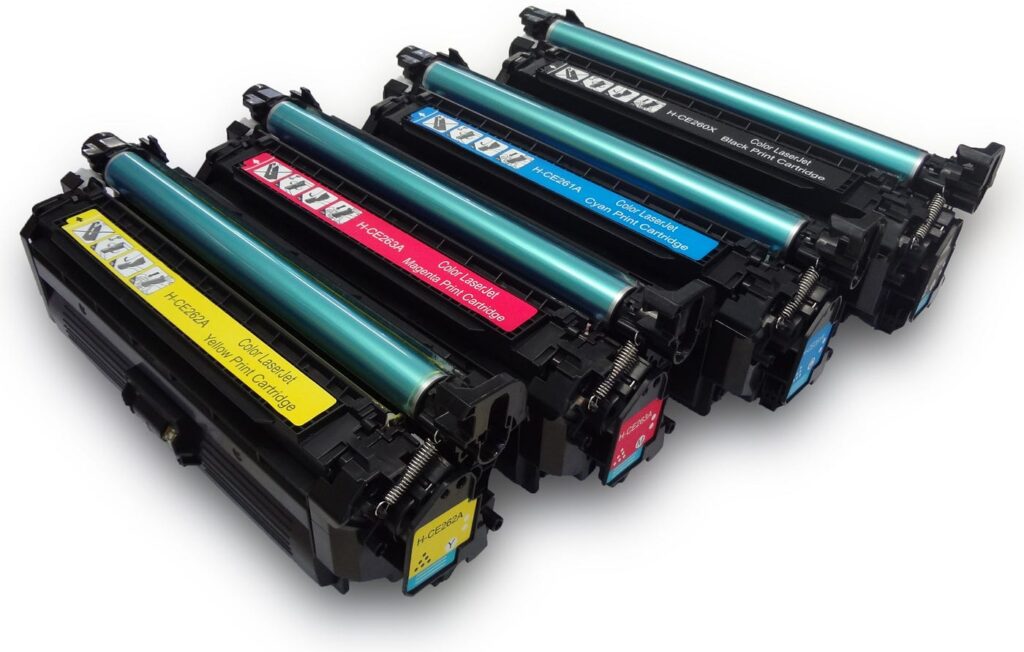
3. Check and Replace Low Ink Cartridges for fixing the HP printer blurry images
Low ink levels significantly impact print quality, often causing faint or blurry output before cartridges completely run dry. Even if your printer doesn’t show low ink warnings, cartridges nearing depletion can produce inconsistent results.
Check ink levels through your printer’s display panel or the HP Smart app on your computer or mobile device. Replace any cartridges showing less than 25% capacity, as this threshold often marks the beginning of quality issues.
When installing new cartridges, ensure they’re genuine HP products or high-quality compatible alternatives. Remove all protective tape and perform a test print to verify proper installation and ink flow.
4. Adjust Print Quality Settings
Incorrect print settings frequently cause HP printer blurry images, especially when using draft or economy modes for important documents. These settings reduce ink usage but compromise clarity and sharpness.
Access your printer properties through your computer’s print dialog or the HP Smart app. Select “High Quality” or “Best” print mode for optimal results. Ensure the paper type setting matches your actual paper – using “Plain Paper” settings with photo paper or vice versa can cause significant quality issues.
For photographs, select the appropriate photo paper setting and choose the highest available DPI (dots per inch) setting, typically 600 DPI or higher. These adjustments may increase printing time and ink consumption but dramatically improve output clarity.
5. Use the Correct Paper Type and Quality
Paper quality plays a crucial role in print clarity. Low-quality paper can absorb ink unevenly, causing text and images to appear blurry or feathered. Additionally, using the wrong paper type settings can result in too much or too little ink being applied.
Choose paper specifically designed for your printing needs. For text documents, use bright white copy paper with a weight of at least 20 pounds. For photos, invest in genuine photo paper with the appropriate finish (glossy, matte, or satin).
Store paper in a dry environment to prevent moisture absorption, which can cause ink to spread and create blurry results. Fan the paper before loading to prevent sheets from sticking together and causing feeding issues.
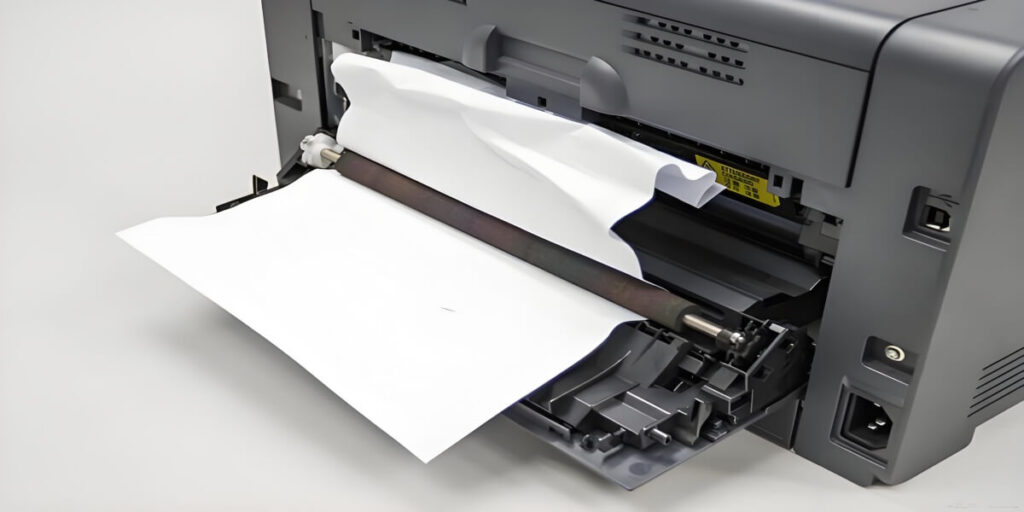
6. Clean the Paper Path and Rollers
Dust, paper debris, and ink residue can accumulate in your printer’s paper path, causing documents to move irregularly during printing and resulting in blurry images. Regular cleaning prevents these build-ups from affecting print quality.
Turn off and unplug your printer before cleaning. Use a lint-free cloth slightly dampened with distilled water to wipe down the paper input and output trays. Clean the rubber rollers gently, rotating them manually to access all surfaces.
For deeper cleaning, consult your HP printer manual for specific disassembly instructions. Some models allow access to internal rollers and guides that may require periodic cleaning for optimal performance.
7. Update Printer Drivers and Firmware
Outdated printer drivers or firmware can cause various printing issues, including blurry output. HP regularly releases updates that improve print quality algorithms and fix known bugs.
Visit HP’s official support website and search for your specific printer model to download the latest drivers. Alternatively, use the HP Smart app, which can automatically detect and install available updates.
After updating, restart both your printer and computer to ensure all changes take effect. Test print a document to verify that the updates have resolved your print quality issues.

Additional Tools and Insights for Better Print Quality
Beyond basic troubleshooting, several advanced tools can help maintain optimal print quality. HP’s Print and Scan Doctor is a free diagnostic tool that automatically identifies and fixes common printing problems, including print quality issues. This utility runs comprehensive tests and can resolve many problems without manual intervention.
Consider investing in a printer maintenance kit if you frequently experience print quality issues. These kits typically include specialized cleaning solutions, lint-free cloths, and detailed instructions for thorough printer maintenance.
Environmental factors also affect print quality. Maintain your printer in a dust-free environment with stable temperature and humidity levels. Extreme conditions can cause paper to warp and ink to behave unpredictably, leading to blurry results.
Regular maintenance schedules prevent most print quality problems before they occur. Perform weekly print head cleaning, monthly alignment checks, and quarterly deep cleaning to maintain optimal performance.
Common Mistakes and Troubleshooting HP printer blurry images
Many users inadvertently worsen their HP printer blurry images problem through common mistakes. Using incorrect cleaning materials is a frequent error – household cleaners, alcohol, or abrasive cloths can damage delicate printer components. Always use distilled water and lint-free cloths for cleaning.
Another common mistake is ignoring environmental factors. Printing in extremely humid or dry conditions affects how ink interacts with paper. If possible, maintain your printing environment between 40-60% humidity for optimal results.
Forcing paper through when jams occur can misalign internal components, leading to persistent print quality issues. Always follow proper jam-clearing procedures and check for damaged parts after resolving paper jams.
Using expired or improperly stored ink cartridges often causes quality problems. Ink cartridges have expiration dates and should be stored in cool, dry conditions. Old or improperly stored cartridges may produce inconsistent ink flow, resulting in blurry output.
Finally, avoid running excessive cleaning cycles. While cleaning is important, overdoing it wastes ink and can actually worsen problems by over-saturating internal components. Follow manufacturer recommendations for cleaning frequency.
Frequently Asked Questions
Q: Why does my HP printer produce blurry images even with new cartridges? A: New cartridges may need time to prime properly. Run 2-3 cleaning cycles and perform print head alignment. If problems persist, verify you’re using genuine HP cartridges and check that protective tape was completely removed.
Q: How often should I clean my printer to prevent blurry output? A: Perform basic print head cleaning weekly if you print daily, or before each use if you print infrequently. Deep cleaning should be done monthly or when you notice quality degradation.
Q: Can using third-party ink cartridges cause blurry printer output? A: Yes, low-quality compatible cartridges may have inconsistent ink flow or different viscosity than HP’s specifications. Choose reputable third-party brands or stick with genuine HP cartridges for best results.
Q: What should I do if cleaning and alignment don’t fix my blurry printing? A: If basic troubleshooting fails, the print head may be permanently damaged or your printer may have hardware issues requiring professional service. Contact HP support or consider replacement if repair costs exceed the printer’s value.
Conclusion
Dealing with HP printer blurry images can be frustrating, but most cases are easily resolved through proper maintenance and troubleshooting. The seven solutions outlined in this guide – cleaning print heads, aligning heads, replacing low cartridges, adjusting settings, using quality paper, cleaning the paper path, and updating software – address the vast majority of print quality issues.
Remember that prevention is always better than correction. Establishing a regular maintenance routine, using quality consumables, and maintaining proper environmental conditions will keep your HP printer producing crisp, clear output for years to come. When problems do arise, start with the simplest solutions first and work your way through more complex troubleshooting steps.
Don’t let blurry prints disrupt your productivity or waste your valuable time and resources. With these proven strategies, you can restore your printer’s performance and ensure every document and photo meets your quality expectations.
Epson Printer Won’t Print? 10 Reasons & Quick Solutions Guide Read More


Recent Comments